Whole30 60 Second Homemade Mayo
Published Apr 21, 2022 Updated Jul 11, 2023
This post may contain affiliate links. Please read our disclosure policy.
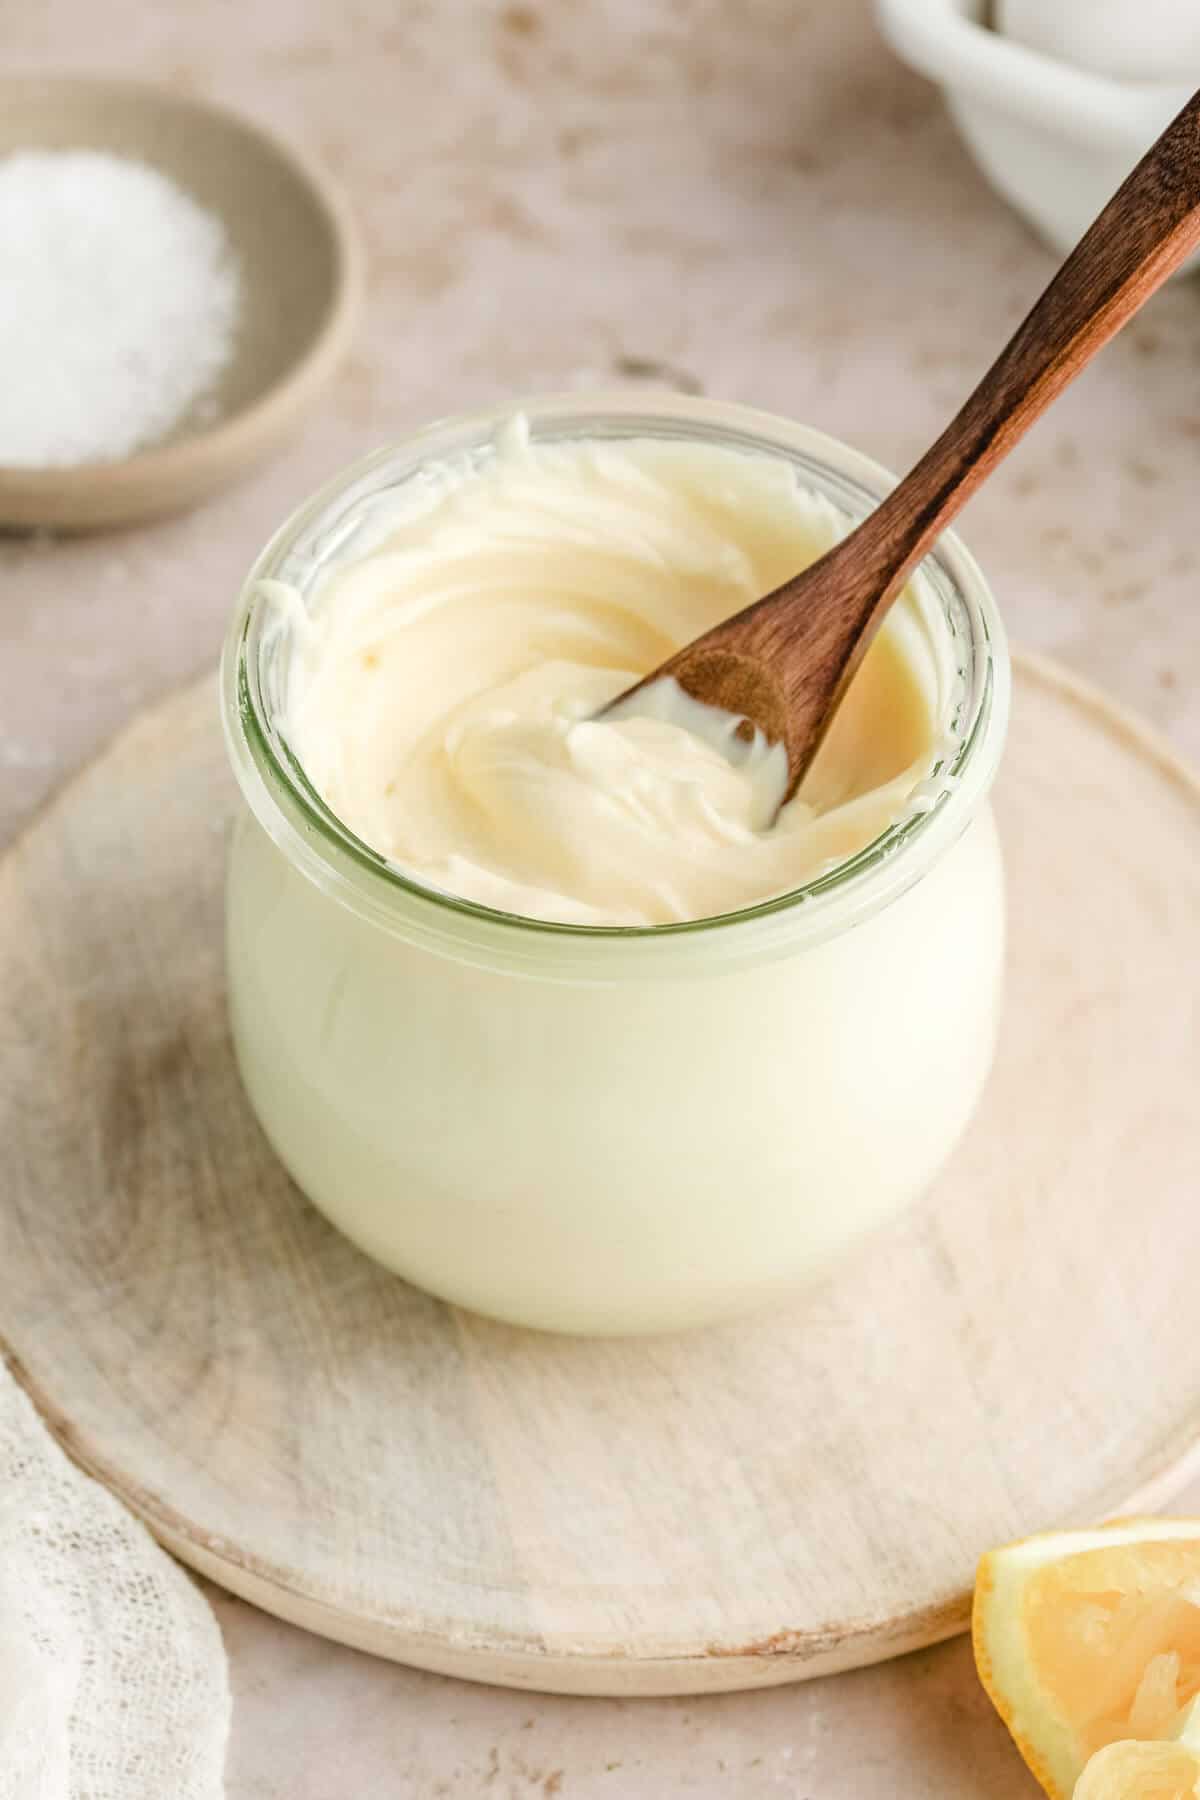
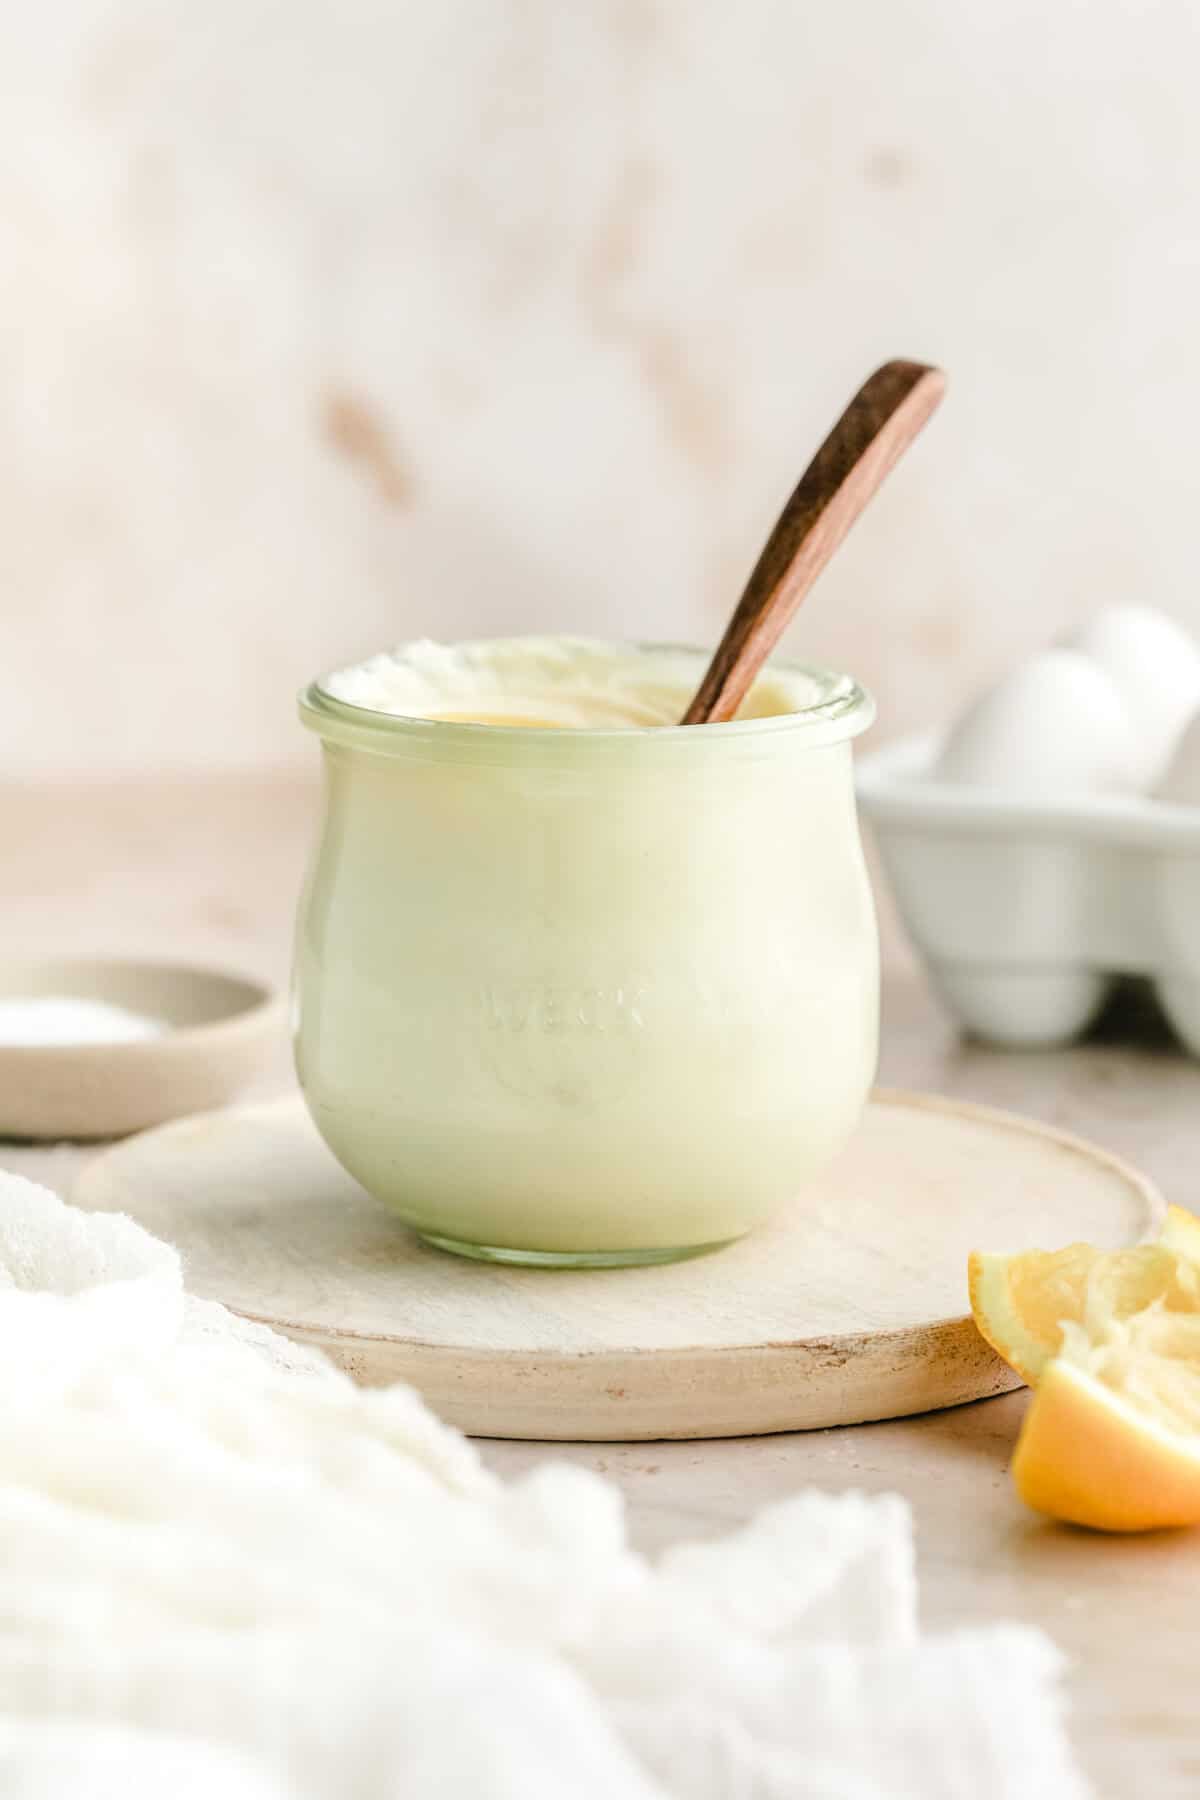
Homemade Mayo is a must-have item in my fridge every single week. There are so many different ways you can use mayo; in dressing, sauces, casseroles, or even as a base for my delicious homemade ranch dressing. This Whole30 homemade mayo can be whipped up in 60 seconds and is a hundred times better than any store-bought version. If this is your first time making homemade mayo, you’re in for a real treat!
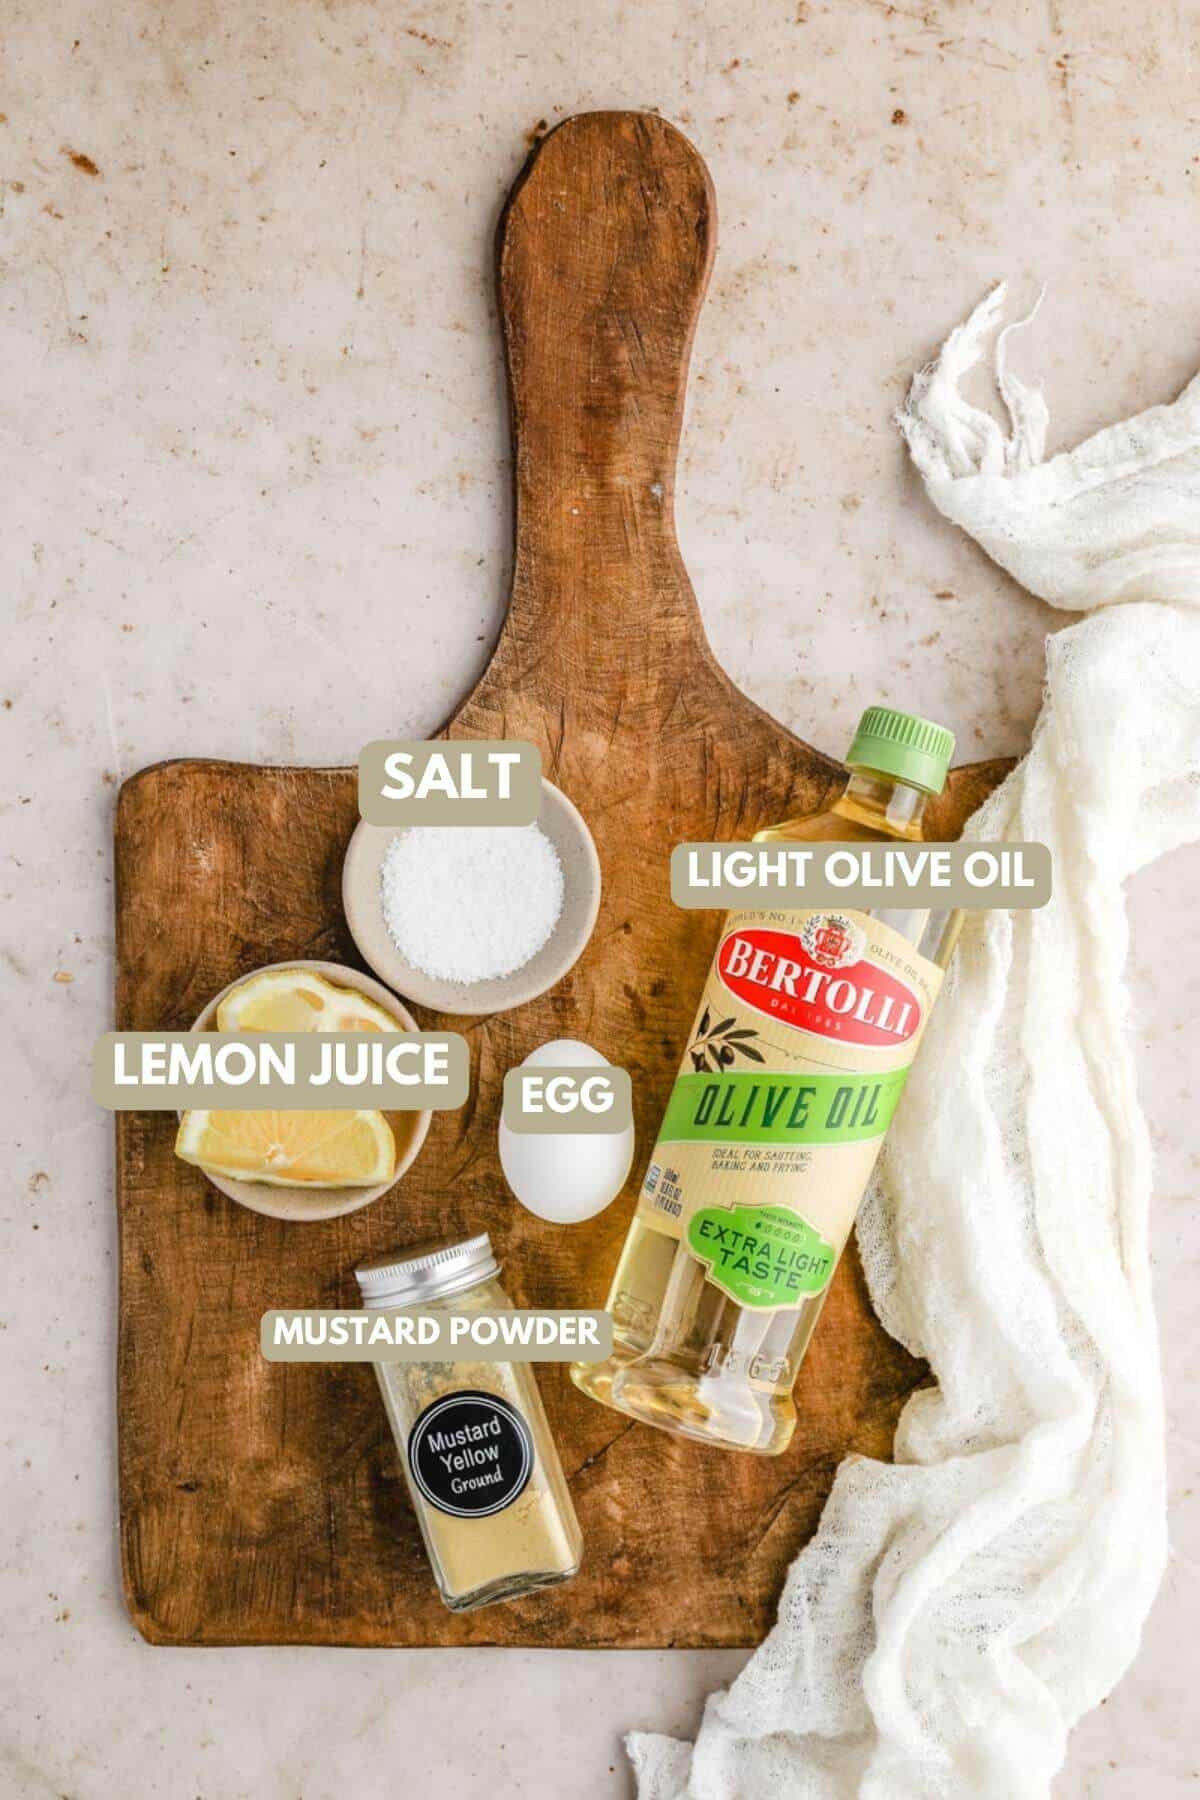
Homemade Mayo Ingredient Notes:
Egg: I use a raw egg for this recipe. If you are concerned, feel free to buy pasteurized eggs. These eggs have been gently heated. It’s not heated high enough to cook the egg, but just enough to kill bacteria.
Ground Mustard: Mustard adds a bite of a bitter bite that is key to making mayo taste good. I use ground mustard powder, but some even opt to use Dijon mustard.
Light Olive Oil: Make sure not to buy extra virgin olive oil. It has to be a neutral oil such as LIGHT olive oil, grapeseed, safflower, or avocado oil to make this recipe work.
Salt: I like adding a 1/2 teaspoon but feel free to add more or less to taste.
Lemon Juice: Lemon juice adds a little acid and gives a ton of flavor to the finished mayo. It also helps stabilize the ingredients.
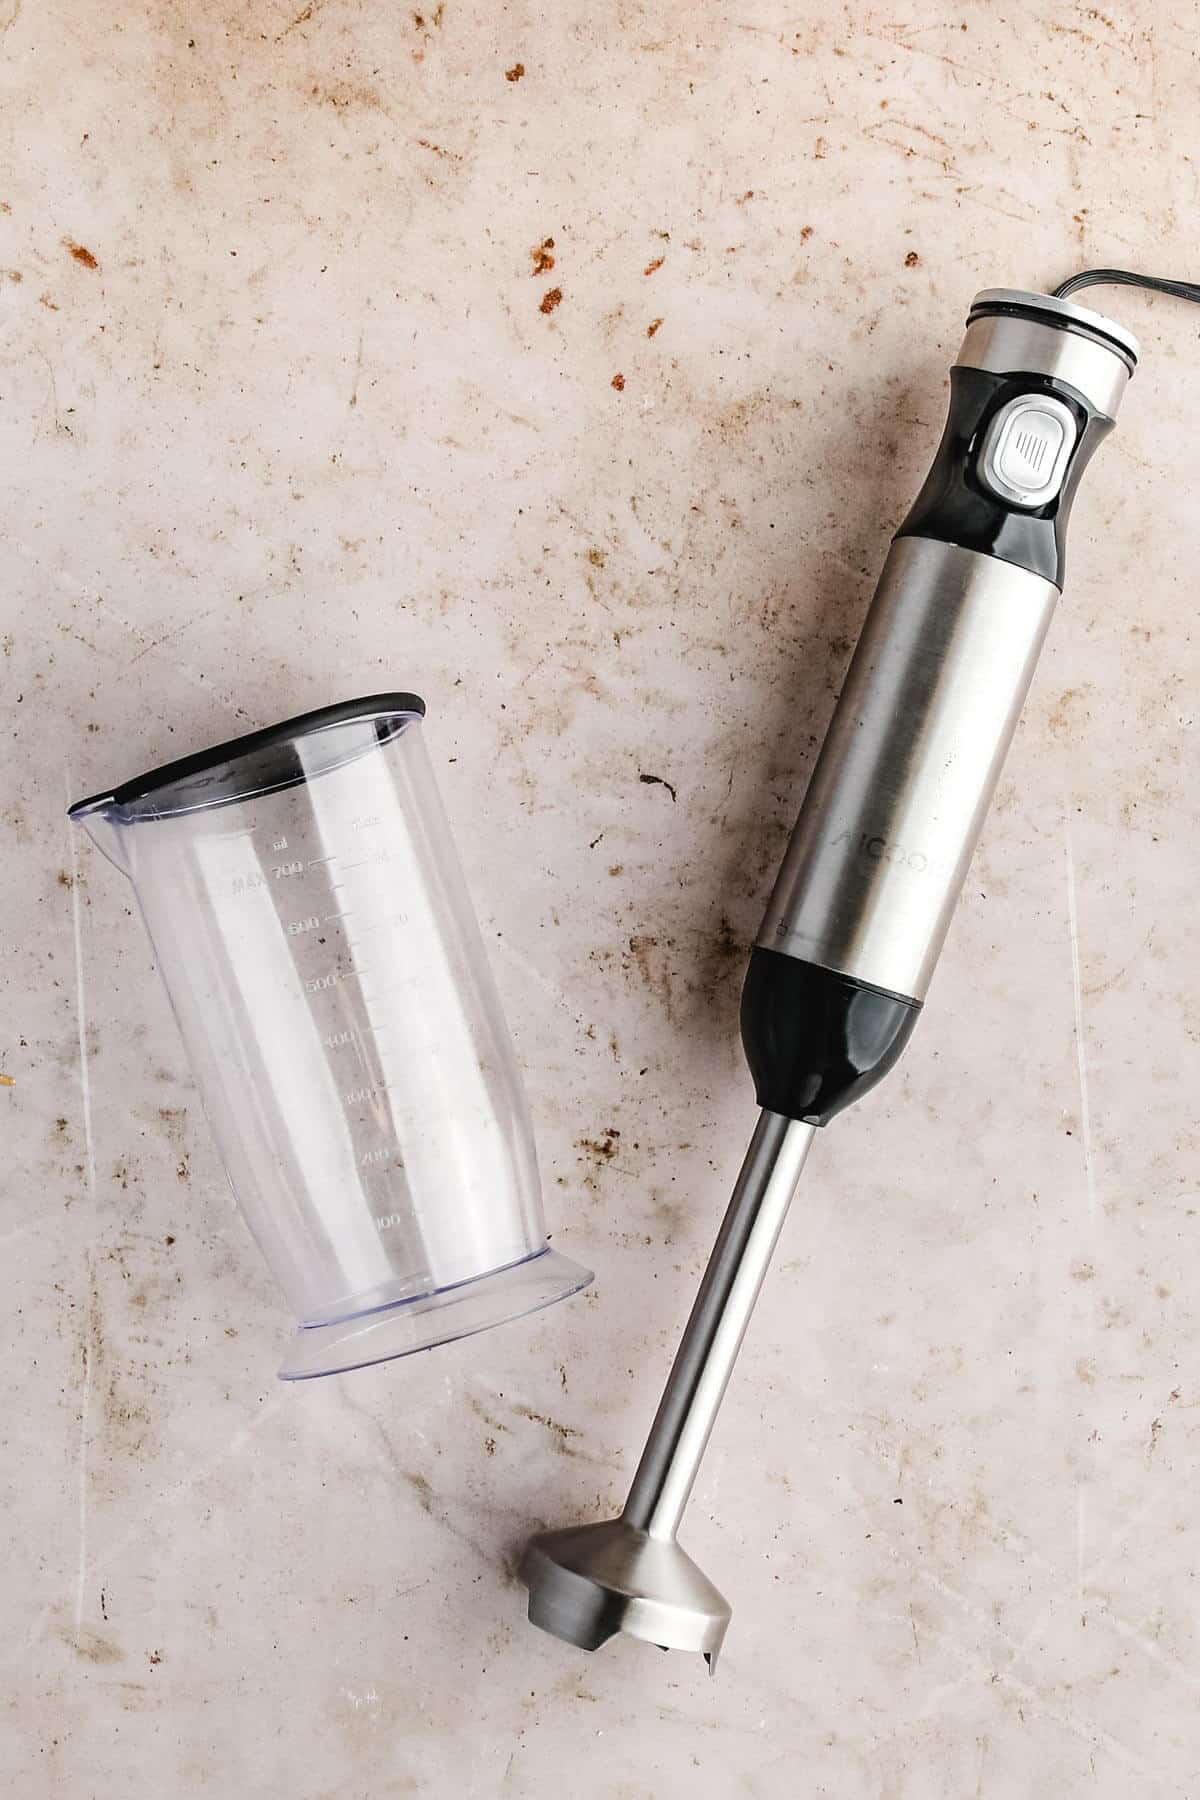
Homemade Mayo Equipment
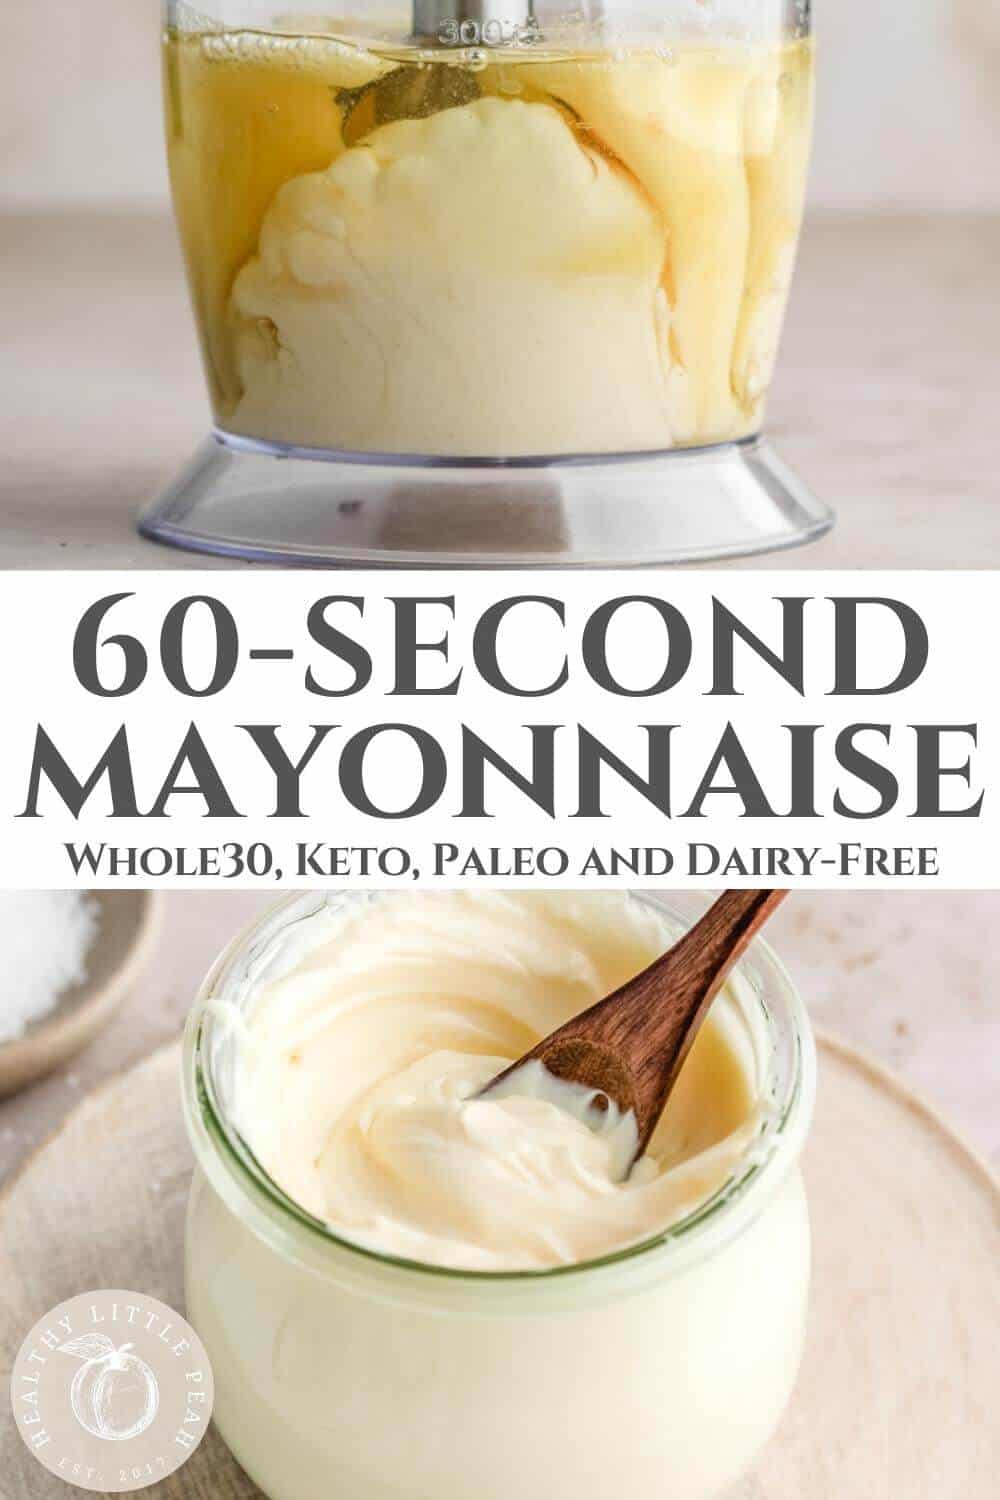
Immersion Blender: My personal preference is using an immersion blender. This is my favorite to use because I don’t have to transfer my mayo once it is made. I will make it in a wide-mouth mason jar and put a lid on it and store it in the fridge. Easy peasy!
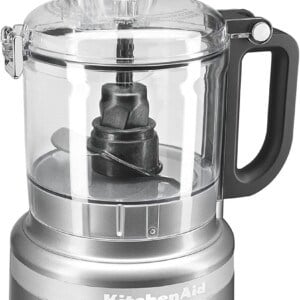
Blender or Food Processor: For the blender and food processor method, add everything to the blender or processor and turn it on medium speed. Slowly being to add the light olive oil. Keep adding until it becomes thick and the olive oil is gone.
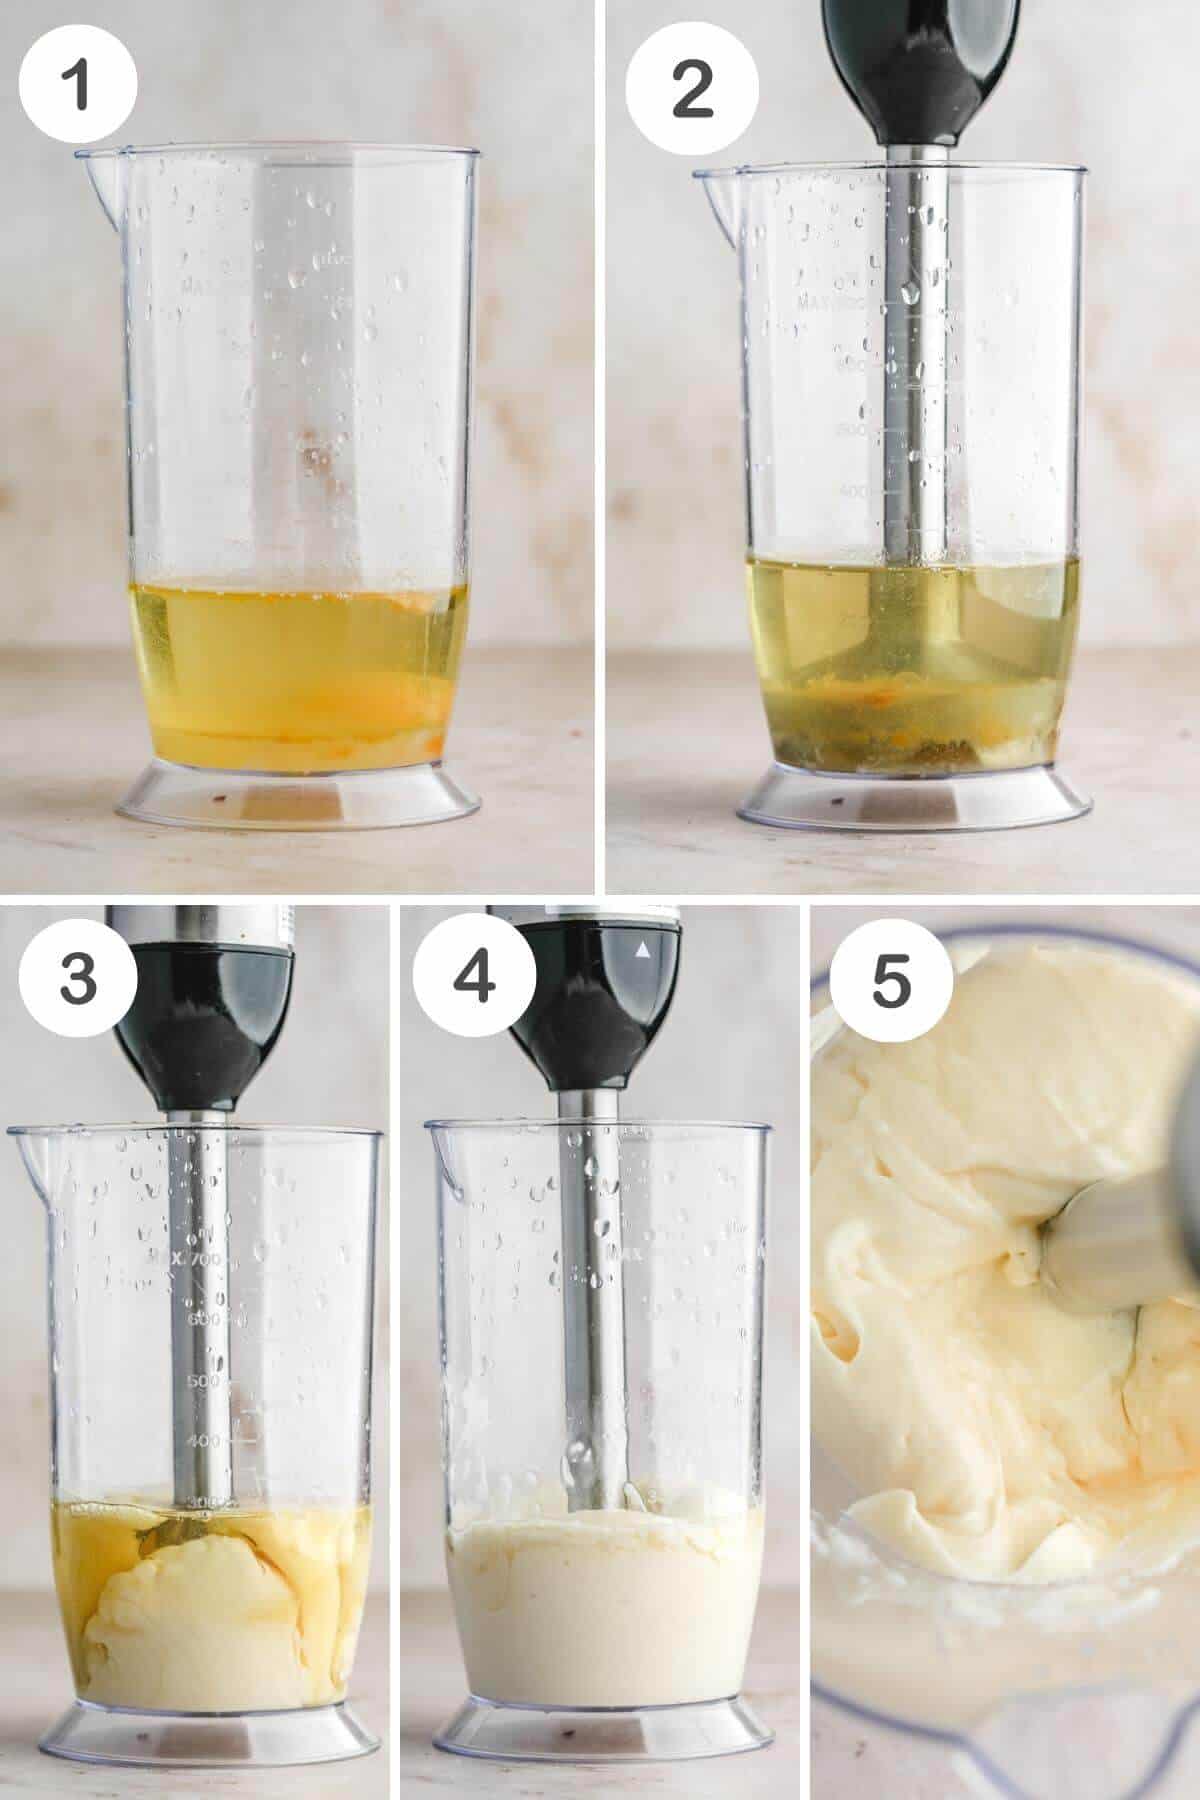
Step By Step Guide
Variations
Mayo is great as is, however, it is even better when you add your own spin. I love adding spices and herbs to brighten it up a bit. I also use this mayo as a base for most of my sauces below.
What’s The Best Oil To Use?
I love using light olive oil. Make sure not to confuse this with extra virgin olive oil. LIGHT tasting olive is my all-time favorite oil to use when making the perfect mayo.
Other Neutral Tasting Oils:
- Grapeseed Oil
- Safflower Oil
- Avocado Oil
Why Can’t I Get My Mayo To Thicken?
This seems to be a common problem when you first start making mayo. I always say practice makes perfect, but I do have one tip that usually works every single time. When using an immersion blender, it is important to keep the blender on top of the egg yolk and count to 10 Mississippi until the mayo starts to thicken. If you are using a regular blender, it is important to have it on medium speed and slowly pour in the olive oil.
Can I Fix Broken Mayo?
If you are in the beginning stages of learning how to make mayo, broken mayo will certainly happen. It is a total bummer, but there are a couple of ways you can fix it.
- Add Another Yolk: Place a fresh egg yolk in a bowl and slowly whisk in the broken mayo. “Slowly” is key here. The extra yolk will re-emulsify the ingredients, making it smooth and creamy again.
- Warm Water: Whisk in two teaspoons of boiling water. The hot water will re-emulsify the ingredients. If the broken mayo doesn’t thicken right away, add another teaspoon and go from there until it thickens.
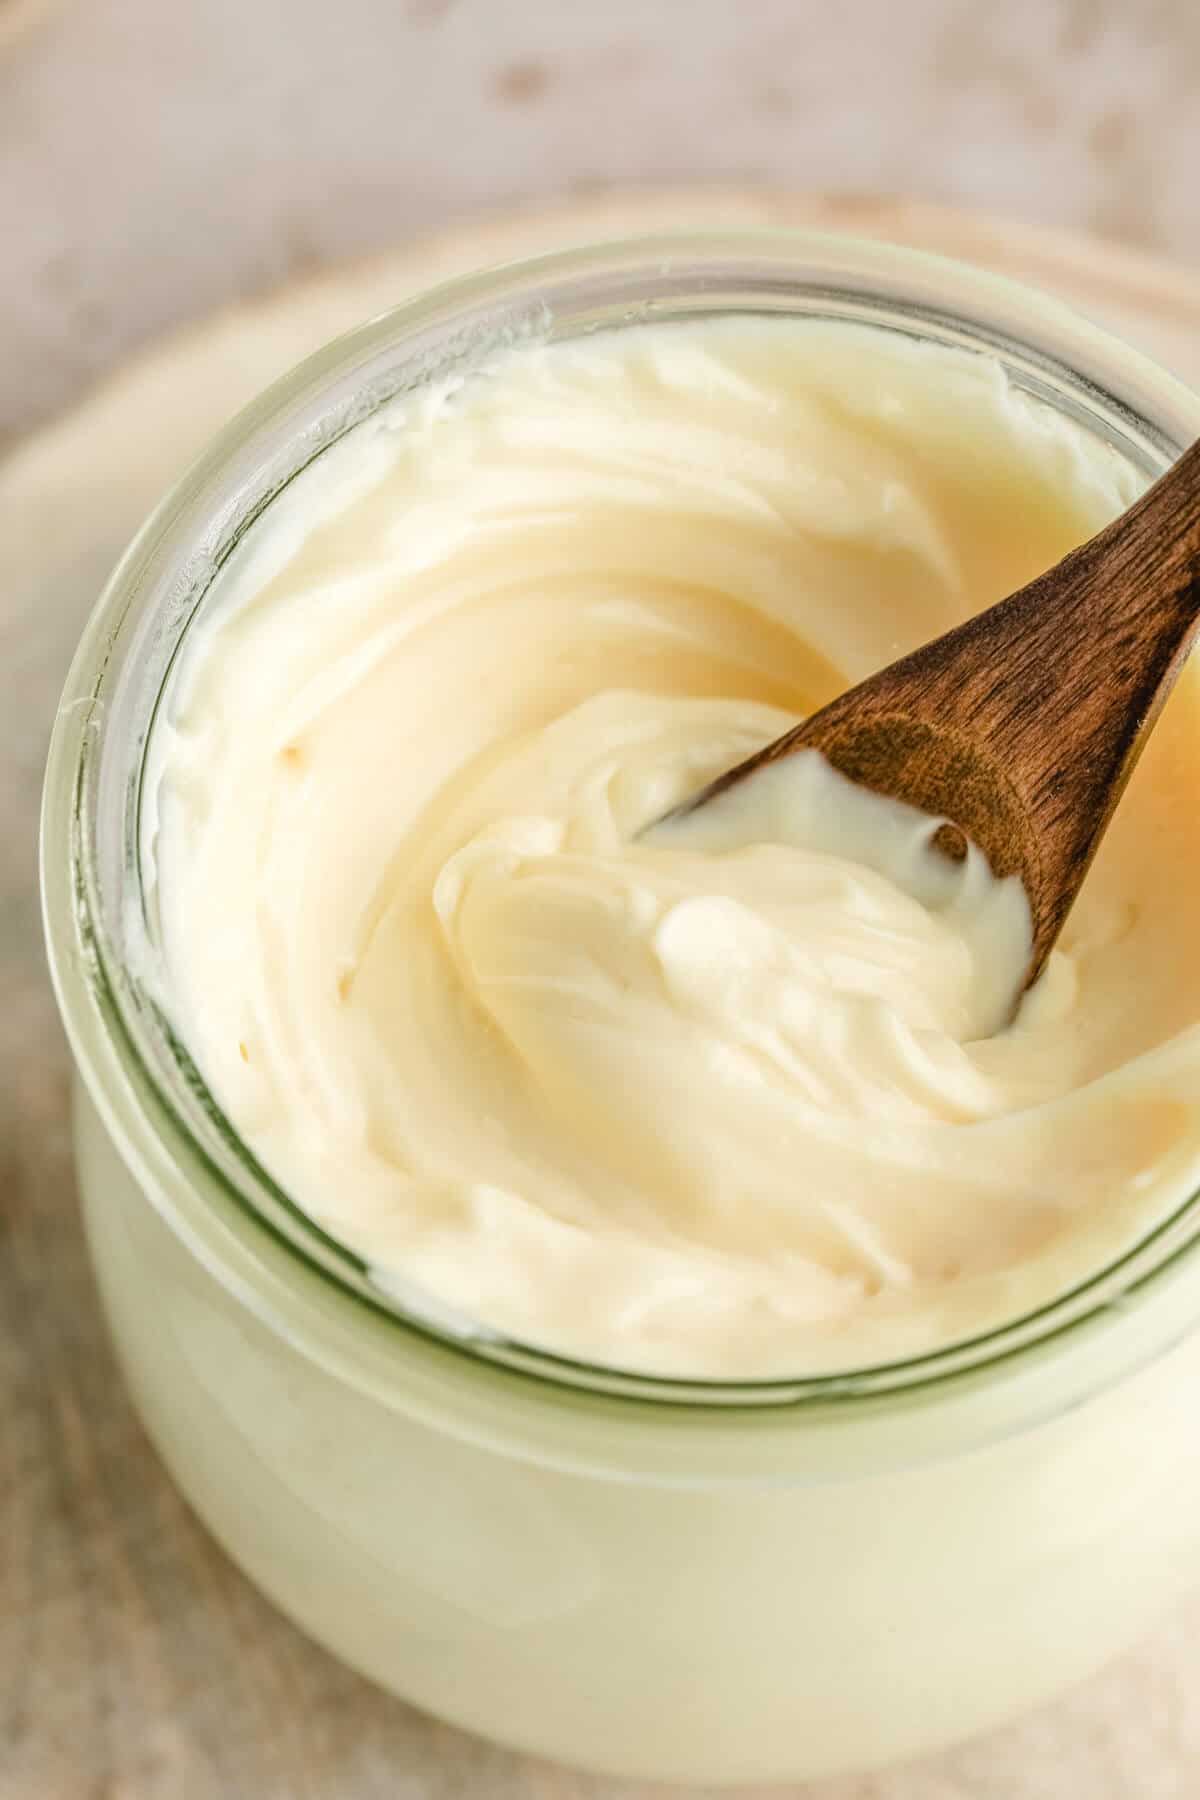
Store in an airtight jar or container for up to one week.
In my opinion, yes homemade mayo is safe to eat. However, if you are ever concerned about using a raw egg, buy pasteurized eggs. Another tip is to only buy eggs from stores and suppliers that you trust and keep refrigerated properly. Many articles state that the risk is estimated that about 1 in 20,000 eggs has salmonella. Learn more about how to pasteurize your egg here if you are concerned about consuming raw eggs and want to kill all bacteria.
It is creamy, thick, and tastes a hundred times better than the store-bought version. You also know exactly what is in it and there are no hidden ingredients.
Homemade mayo will last as long as the seal date on your eggs. However, I only keep mine in the fridge for 7 days. I don’t like going past that. But the good news is, most of the time it’s gone by then.
More Sauce Recipes:

60 Second Homemade Mayo
Ingredients
- 1 cup light olive oil
- 1 large egg room temperature
- 1/2 tsp ground mustard
- 1/2 teaspoon salt
- 1 tablespoon lemon juice room temperature
Instructions
- Add all the ingredients to a wide-mouth mason jar. The jar needs to be wide enough to fit the immersion blender.
- Place the immersion blender over the top of the egg and turn the blender to low speed. Leave the immersion blender here and don’t move it until the mixture begins to turn white.
- Increase the speed of the immersion blender and begin slowly lifting the blender up. Blend, taking the immersion blender up, down, and to the side until all the oil is completely emulsified. This process can take up to 1 minute.
- When creamy and the oil is completely emulsified, remove the blender.
- Serve immediately or store in an air-tight jar and store for up to 7 days.
- Note: If you are using a blender, add everything in except for the light olive oil. Turn the blender on medium speed and slowly add in the olive oil and blend until thick and creamy.
Notes
- Room Temperature: To prevent broken mayo, make sure that all ingredients are at room temperature.
- Oil: Light olive oil, avocado oil, grapeseed, or safflower oil.
- Storage: This will last up to 1 week in the fridge
- Egg: This recipe contains raw eggs. If you have a concern, buy pasteurized eggs.
Nutrition information is automatically calculated, so should only be used as an approximation.




This literally took 2 minutes to make. It’s delicious and easy!! Way better than hellmans !!
I’m so glad to hear that—thank you for trying it!
I made this recipe using avocado oil and the oil is taking over the taste. Is light olive oil the better choice? Or is it just going to take some time to get used to a homemade taste versus store bought?
Mines liquid 🤷🏼♀️
Be sure to read the tips in the blog post to help with this!