How to Make A Spring/Easter Charcuterie Board!
Published Mar 24, 2022 Updated Mar 20, 2024
This post may contain affiliate links. Please read our disclosure policy.
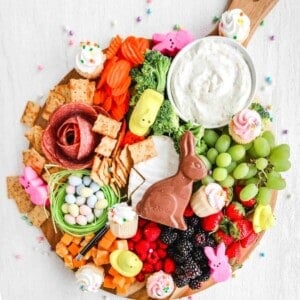
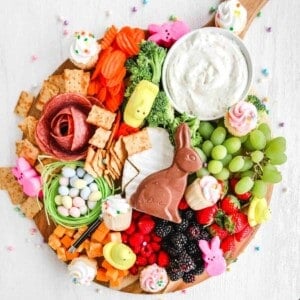
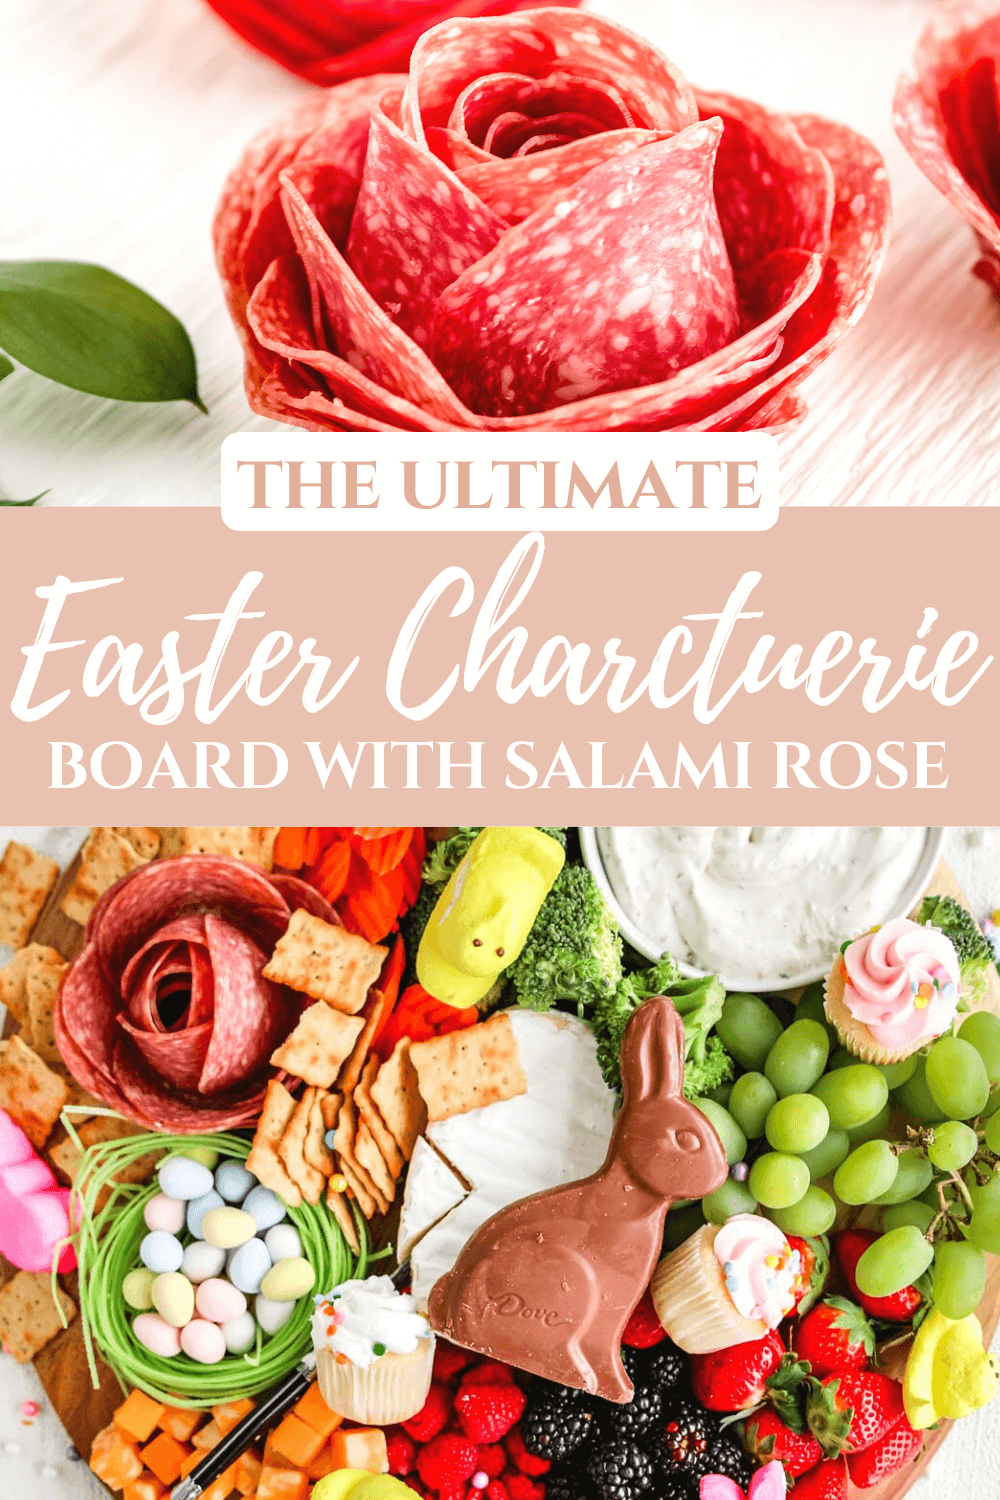
How to make an easy, delicious, spring-themed Easter Charcuterie Board with simple ingredients. A festive appetizer platter filled with fruits, vegetables, dips, chocolates, fresh fruits, peeps, and more!
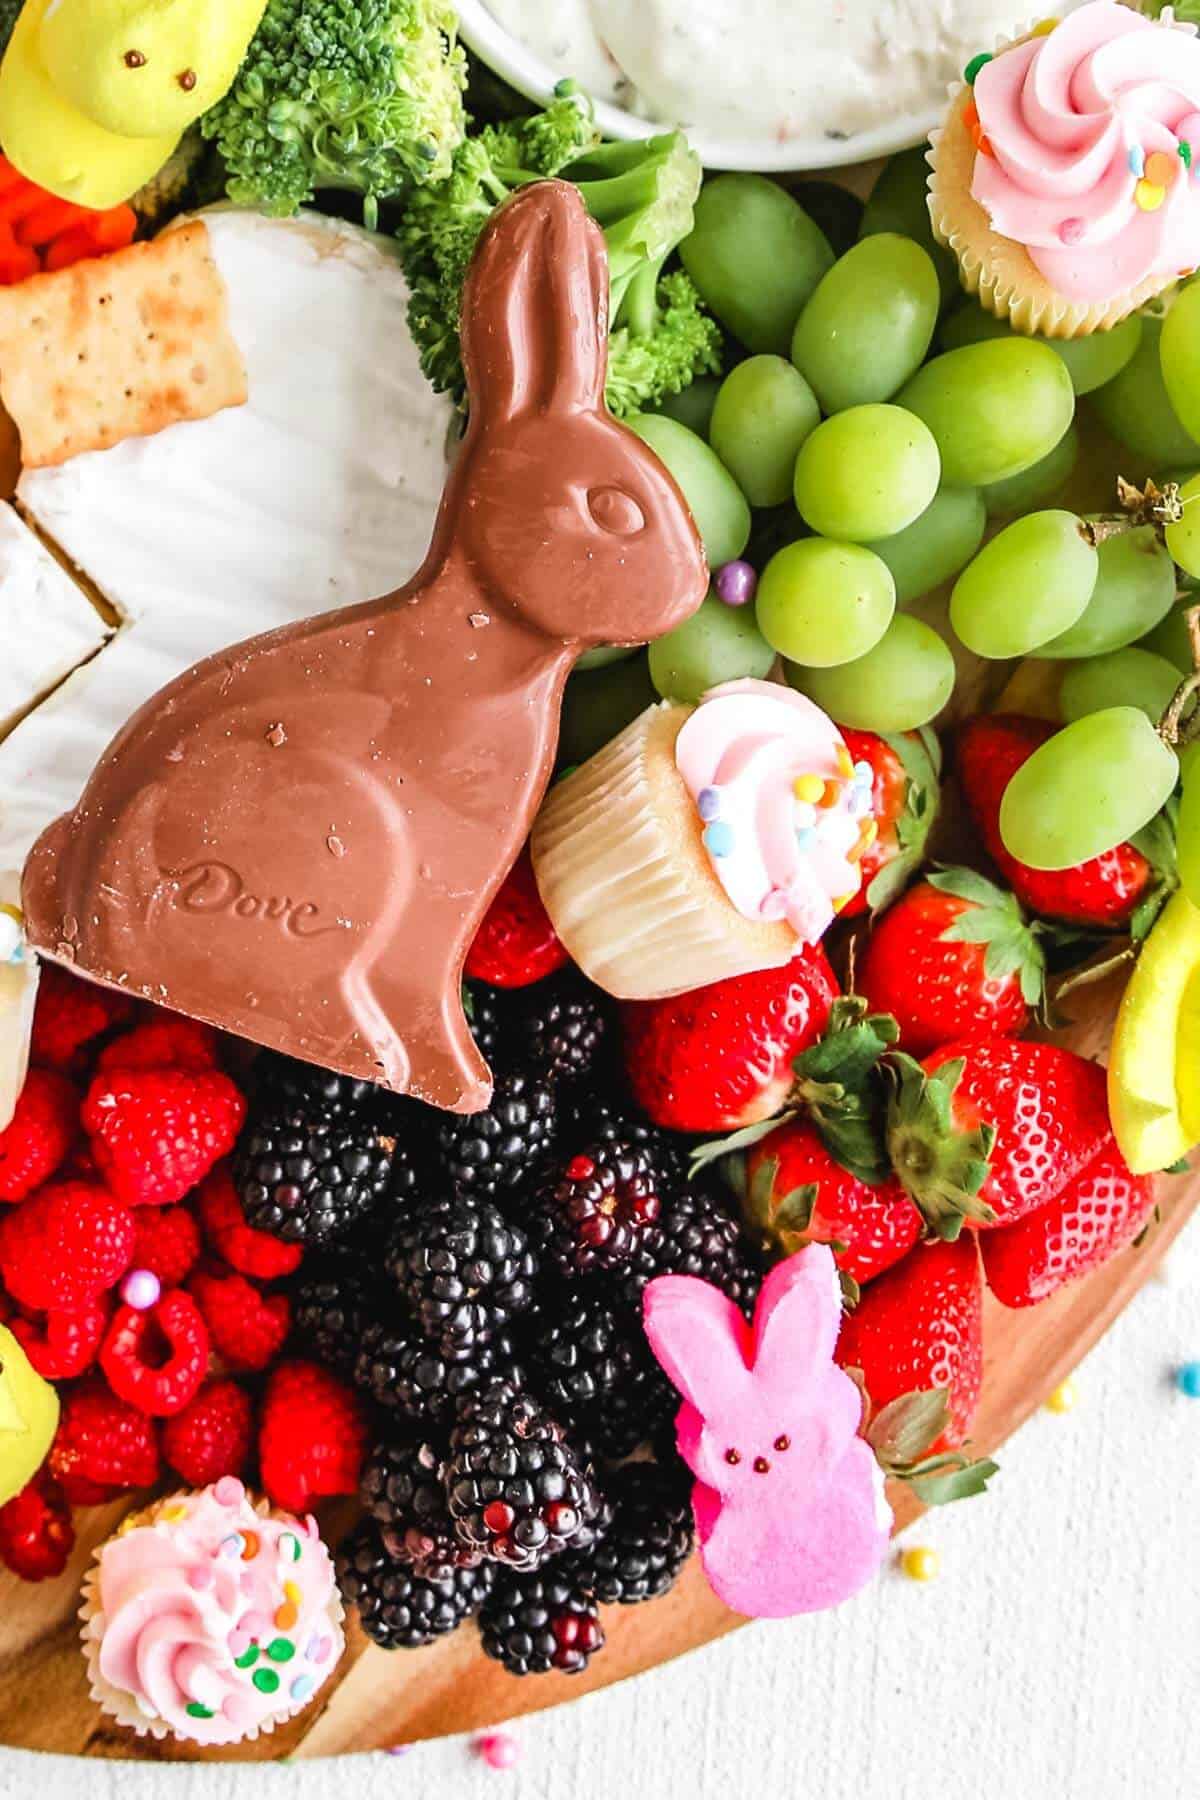
Table of Contents
- What Is A Charcuterie Board?
- What Makes This Recipe Great
- How To Make An Easter Themed Charcuterie Board
- Suggested Ingredients
- Step-by-Step Instructions
- Serving Tips
- Storage Tips
- Video: How To Make Salami Roses
- Recipe FAQs
- Shop My Spring Home Favorites
- Want More Spring Recipes?
- How to Make A Spring/Easter Charcuterie Board! Recipe
What Is A Charcuterie Board?
According to Webstraunt Store, “In the French tradition, charcuterie (pronounced “shahr-ku-tuh-ree”) is the art of preparing and assembling cured meats and meat products. … A charcuterie board is an assortment of meats, cheeses, artisan bread, olives, fruit, and nuts, all artfully arranged on a serving board.”
What Makes This Recipe Great
Spring has finally sprung and I couldn’t be happier for warmer weather and Easter coming up. I wanted to create a beautiful Easter Charcuterie Board that could be used at a family gathering or party this season, or at your Easter holiday meal!
Fill it with fresh vegetables, fruit, meats, cheeses, candy, nuts, and of course a chocolate Easter bunny in the center. Depending on the time of day you’re gathering, you can adjust this board for brunch, dinner, or dessert! It’s an easy way to offer snacks before your big Easter dinner.
My favorite thing about charcuterie boards is that they are easy to customize to the crowd you’re serving. Adults only? Add more cheeses, meats, olives, and nuts. Kids too? Layer in more fresh fruit and candies/sweets, crackers, and cheese cubes. Snack boards like this one are a fun idea and make the perfect snacks and appetizers for a crowd.
Let your own creativity be your guide. And if you’re stumped, just watch my video and I’ll help you get it just right!
Check out these themed charcuterie boards for the perfect addition to any season! Here’s my Thanksgiving Charcuterie Board, Sweet & Spooky Halloween version, Keto Charcuterie Cups, and this Dessert board.
How To Make An Easter Themed Charcuterie Board
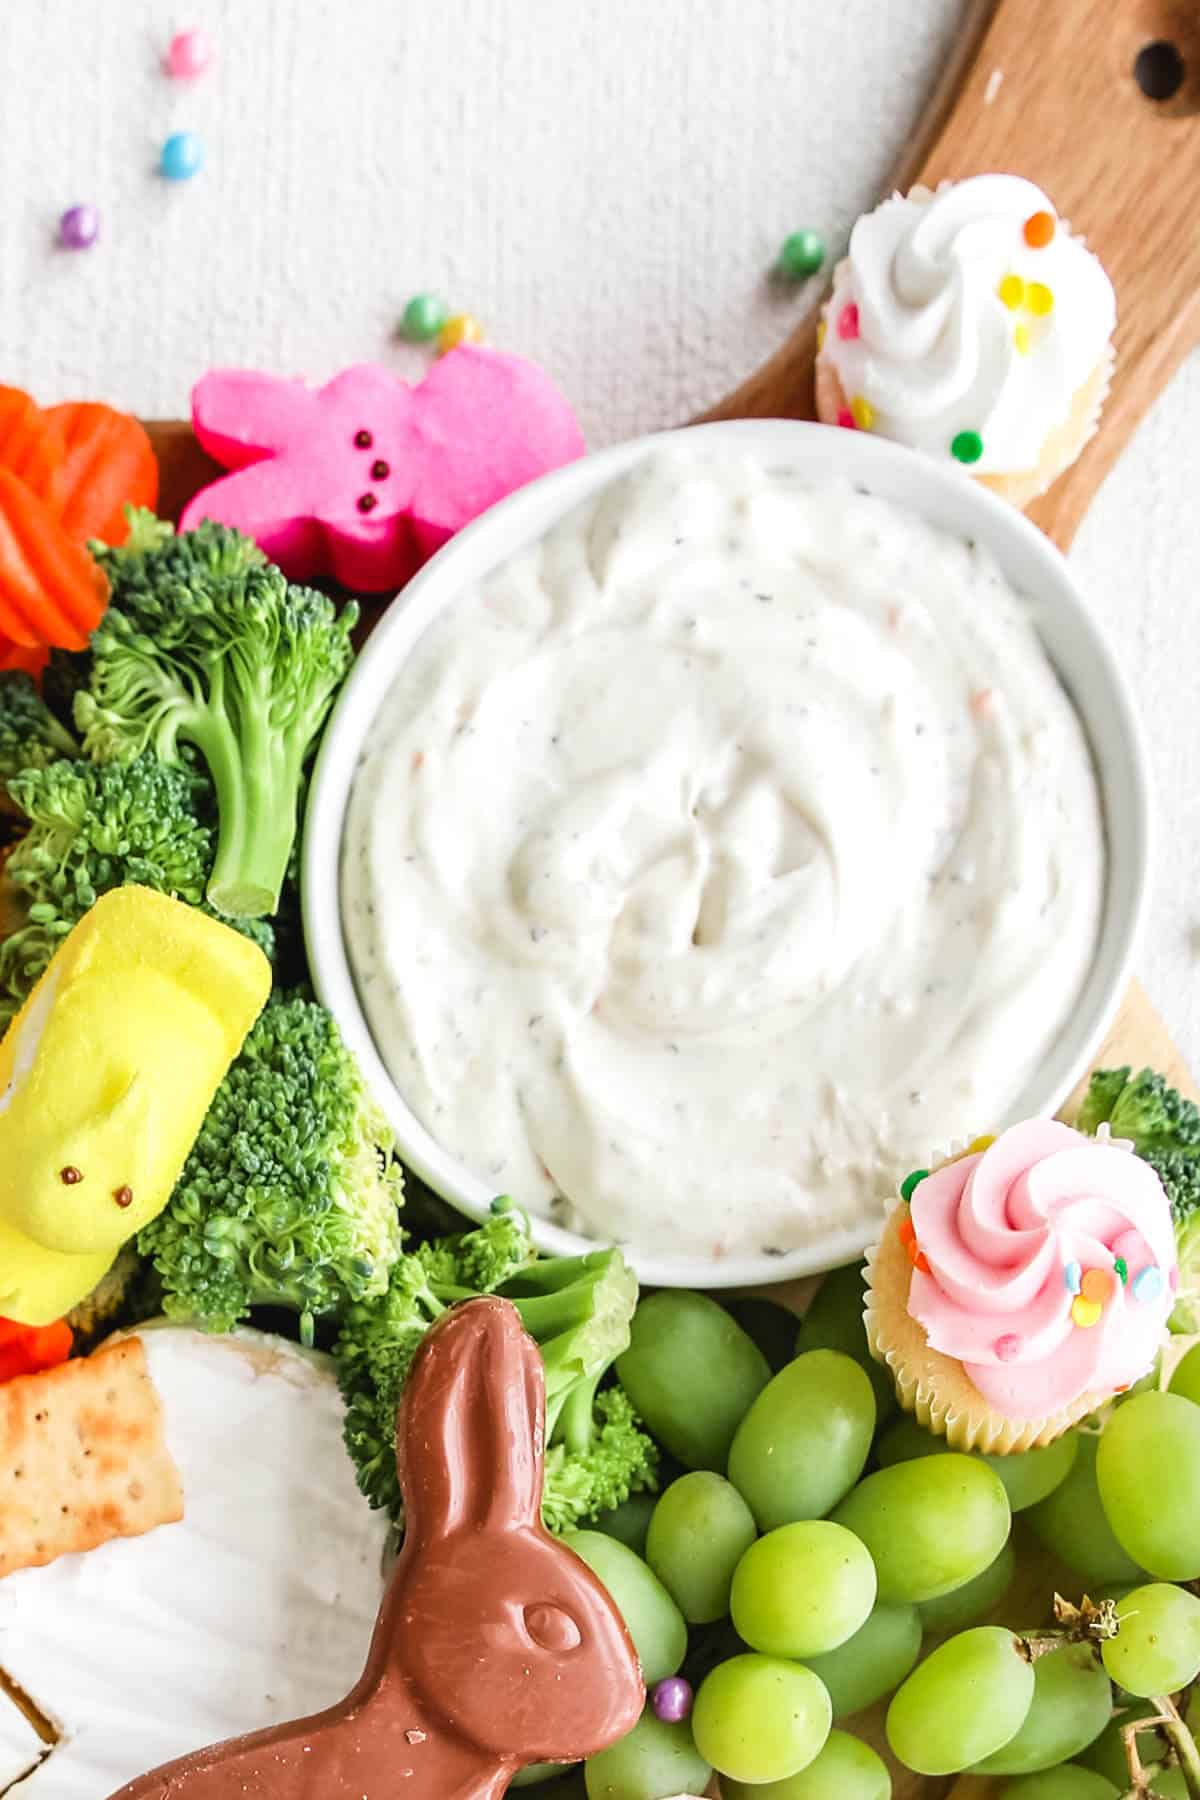
I love making charcuterie boards because they are so versatile and can be built to meet your specific style. Also, I love building my boards based on the season. So with this adorable Easter Charcuterie Board, I wanted to buy ingredients that would represent the spring season. If you are not a fan of some of the items on this specific board, feel free to sub your favorites.
Suggested Ingredients
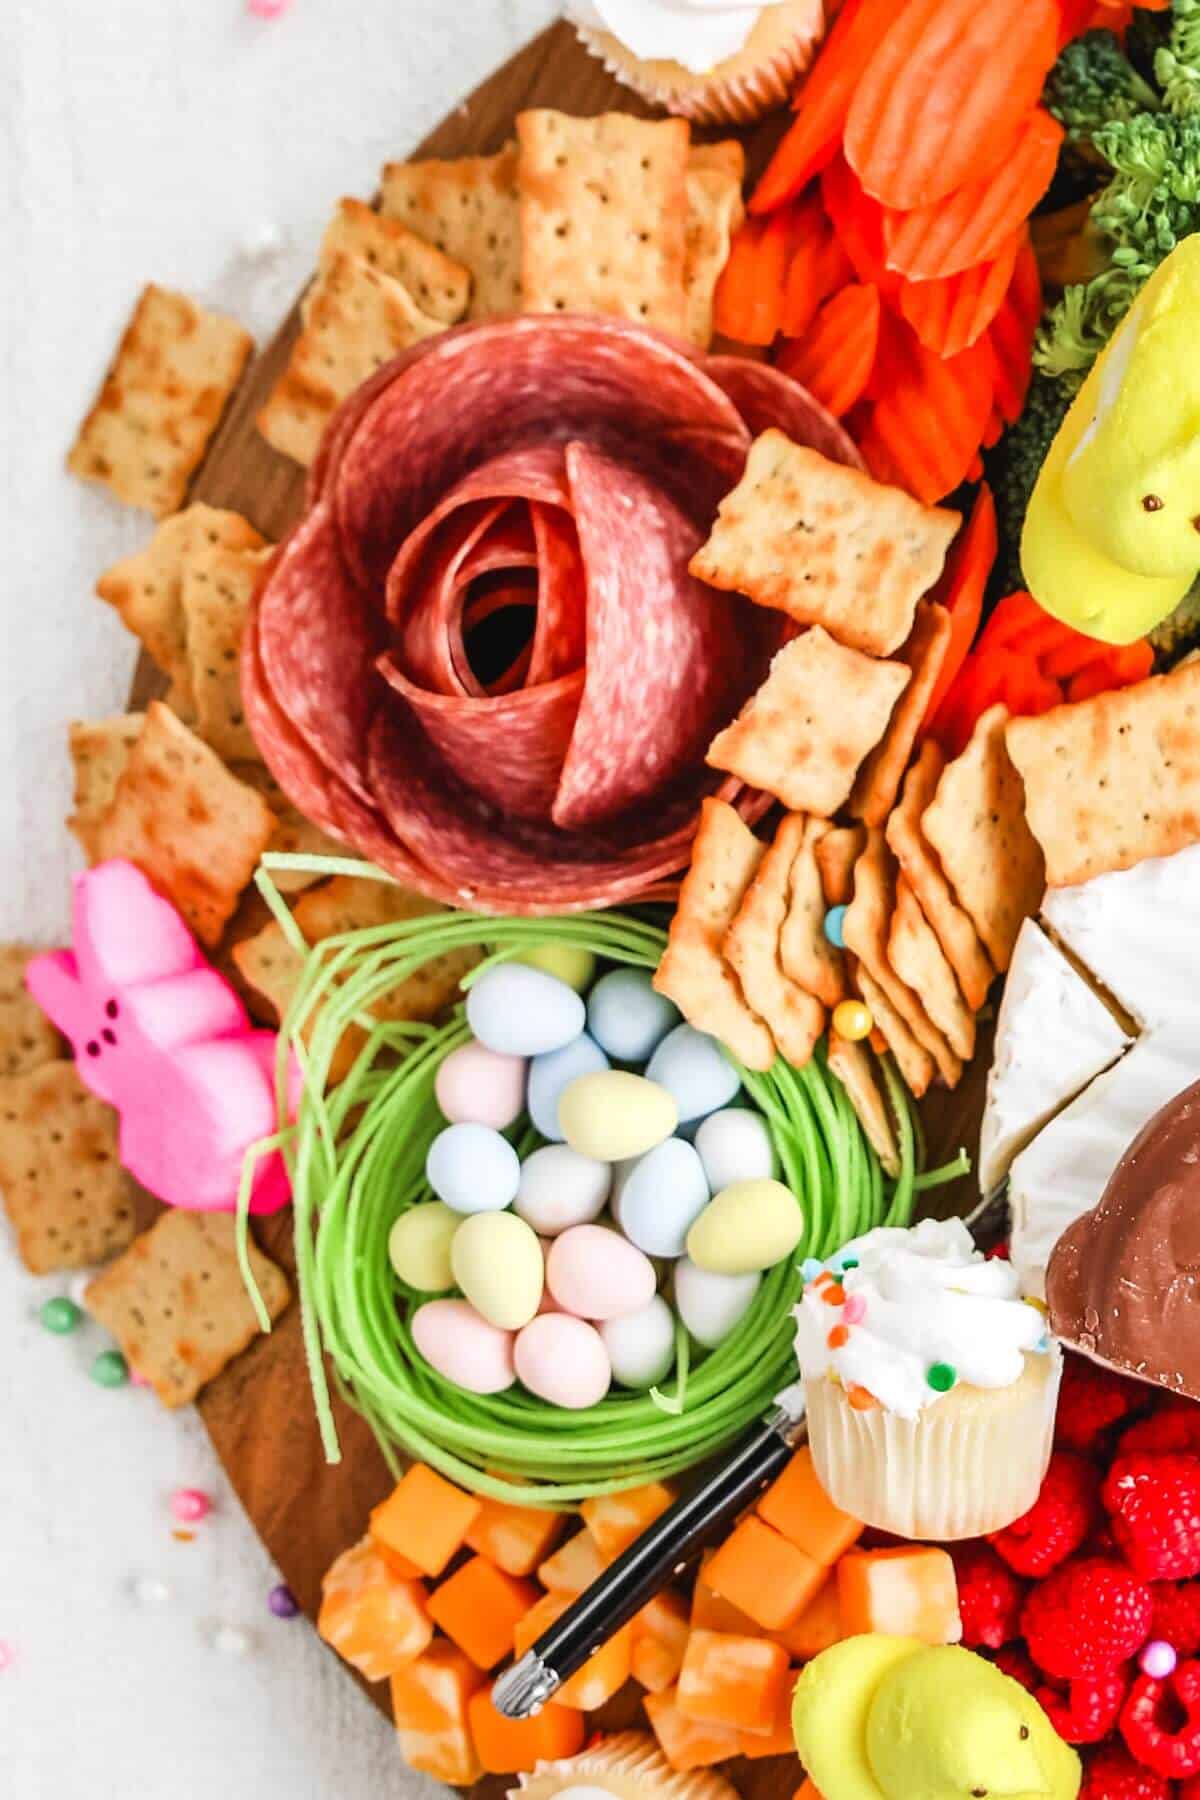
- Variety of Meats: Use savory meats like salami, chorizo, pepperoni, prosciutto, or summer sausage slices.
- Cheese It Up: Add at least 2 to 3 types of cheese. Texture is everything when it comes to a charcuterie board so be sure to pick something creamy, soft, and hard. If you’re serving a larger crowd, you can do a larger variety of cheeses, soft cheeses, etc.
- Accouterments: For a bit of tart flavor add in pickles and different varieties of olives. These complement the meats and cheeses super well.
- Dips & Spreads: I love pairing savory and sweet when building a tray or board. Adding lots of seasonal spreads, dips, honey, and jams alongside the cheeses makes for a wonderful pairing.
- Favorite Easter Candy: I love adding sweet treats to my board like jelly beans, chocolate bunnies, chocolate eggs, Peeps/marshmallow bunnies, and candy in pastel colors. This way there’s some sweets for the kids and adults to enjoy with all of the savory items. Something for everybody!
- Crackers & Nuts: A good crunch makes everything complete. Be sure to add your favorite crackers, nuts, and bread slices alongside the cheese and jams. It is truly magical when adding all 3 of these together.
- Fresh Fruits & Veggies: Grapes, cucumbers, fresh berries like strawberries, blueberries, & blackberries, carrots, celery sticks, and tomatoes make great options for these boards. They’re finger food friendly and dippable! Plus, they add some beautiful color and freshness.
- Finishing Touches: For garnish, I love adding whatever is in season. For fall I like to use fresh herbs and fall fruit and for spring and summer, I will add all in-season fruits, herbs, and flowers. For this Easter version, you could also use hard-boiled eggs as a wonderful protein option as well as a pretty garnish.
Step-by-Step Instructions
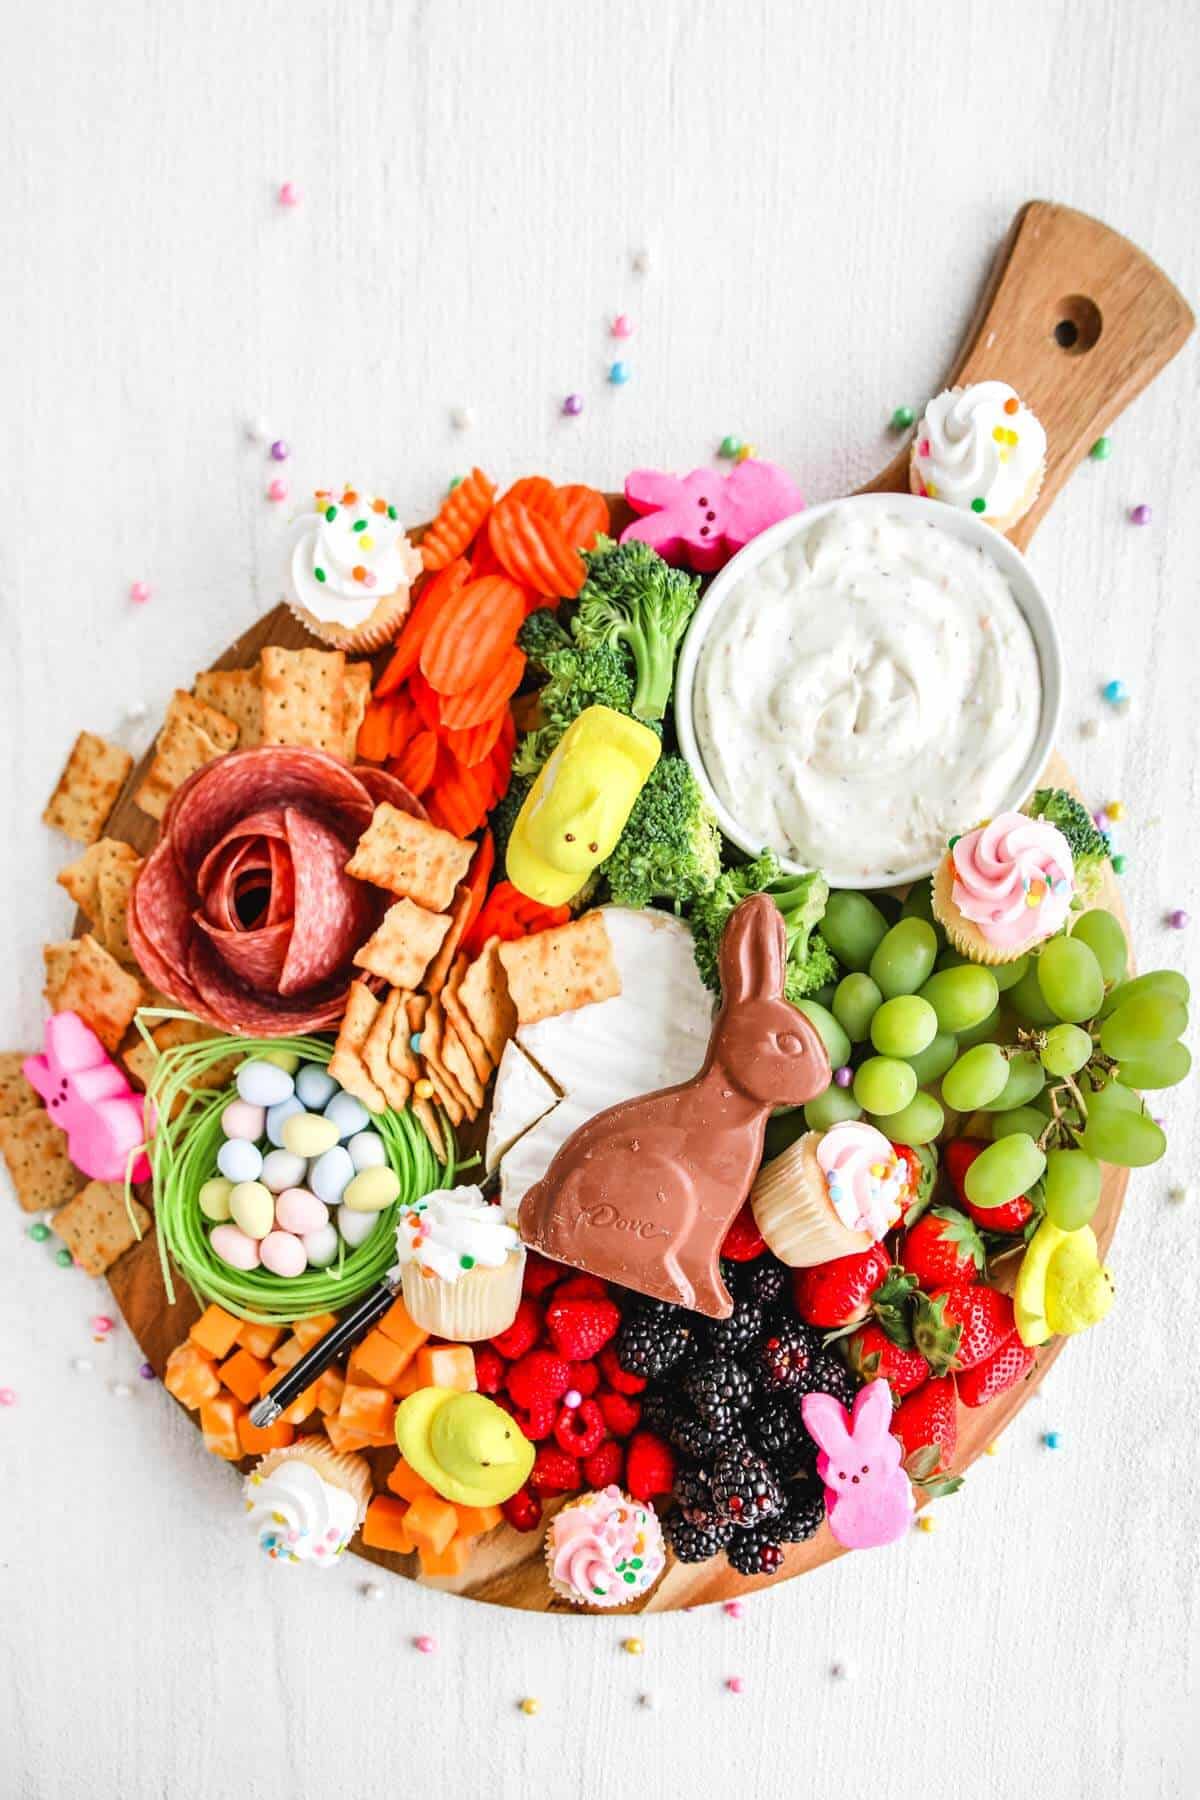
- On a large platter, wooden board, or cutting board, place the nest and chocolate eggs. In the middle add the cheese.
- Next, add the fruits and crackers, spacing them out around the tray/cutting board.
- Fill in the missing areas with the meats and cheeses.
- Finally finish with the Peeps, mini cupcakes, chocolate Easter eggs, and the large chocolate bunny.

Mac’s Pro TipS
Serving Tips
- Wait To Place The Meats: Store the meats in the fridge right before serving. If you put it out too early it can get warm and rubbery. Keeping it cool until right before eating makes it taste so much better.
- Don’t Forget Wine or Sparkling Cider: Wine and sparkling cider is the bow on the gift. It really ties this whole board together. The salty and savory flavors of the cheese will enhance the aroma of the wine.
- Use Small Bowls: If you find that you have a dip or spread or item that needs to be contained, feel free to use small glass bowls to add layering different heights to your board. This is both pretty and functional.
- Utensils: These boards are always fun to pick at and graze with your hands, but offer small knives for spreading and cutting, as well as spoons for scooping dips and jams. Toothpicks are also great for picking up items.
- Sourcing ingredients: You can go to your local grocery store or specialty market to get most of these items. If you’re looking for unique or themed products, try stores like Trader Joe’s, Aldi, and even Walmart!
- Customizing: Depending on your event, the crowd you’re serving, and the time you’re gathering, you can make this more of a traditional charcuterie board like I have here, or make it something different! You can make an Easter candy board, an Easter dessert board, an Easter brunch charcuterie board, and more. I’ve made a dessert board before and it’s really fun!
Storage Tips
You may have items left over that can be saved for a later time. Either wrap your board completely in plastic wrap and store it in the refrigerator or remove items individually and store them in separate airtight containers in the fridge.
Any items that can be left at room temperature, place in containers and store them in your pantry (crackers, candy, etc).
Video: How To Make Salami Roses
Recipe FAQs
A charcuterie board is an assortment of meats, cheeses, artisan bread, olives, fruit, and nuts, all artfully arranged on a serving board. For me, the main thing for a charcuterie board is the meats and cheeses. I also love making sure there is a variety so guests can get a little bit of everything.
You can find charcuterie boards anywhere. If you are having trouble finding a board you like, get creative and use a baking sheet pan, a long roll of brown parchment paper, or just a cutting board you have lying around your kitchen.
According to Webstraunt Store, charcuterie is pronounced: “shahr-ku-tuh-ree”.
I have a clean version of both ranch seasoning and ranch dressing. Click here for the seasoning and here for the dressing. Both are a huge hit around my house!
Shop My Spring Home Favorites
Want More Spring Recipes?
If you love this recipe, please give it a star rating and leave a comment below!

How to Make A Spring/Easter Charcuterie Board!
Ingredients
Fresh Fruit, Veggies & Crackers
- 2 cups carrot chips
- 2 cup broccoli florets
- 2 cups strawberries
- 1 cup blackberries
- 1 cup raspberries
- 16 oz grapes color of choice
- 12 oz crackers of choice
Meat, Cheese + Dip
- 10 oz. meats of choice I used dry salami
- 8 oz. block soft cheese
- cheddar cheese cubes
- ranch dressing
Sweets
- Large chocolate bunny
- Peeps
- Mini Cupcakes
- Cadbury Chocolate Eggs
Instructions
- To a large platter or cutting board, place the nest and chocolate eggs. In the middle add the cheese.
- Next, add the fruits and crackers, spacing them out around the tray/cutting board
- Fill in the missing areas with the meats and cheeses.
- Finally finish with the Peeps, mini cupcakes, and the large chocolate bunny.
Notes
Serving Tips
- Wait To Place The Meats: Store the meats in the fridge right before serving. If you put it out too early it can get warm and rubbery. Keeping it cool until right before eating makes it taste so much better.
- Don’t Forget Wine or Sparkling Cider: Wine and sparkling cider is the bow on the gift. It really ties this whole board together. The salty and savory flavors of the cheese will enhance the aroma of the wine.
- Use Small Bowls: If you find that you have a dip or spread or item that needs to be contained, feel free to use small glass bowls to add layering different heights to your board. This is both pretty and functional.
- Utensils: These boards are always fun to pick at and graze with your hands, but offer small knives for spreading and cutting, as well as spoons for scooping dips and jams. Toothpicks are also great for picking up items.
- Sourcing ingredients: You can go to your local grocery store or specialty market to get most of these items. If you’re looking for unique or themed products, try stores like Trader Joe’s, Aldi, and even Walmart!
- Customizing: Depending on your event, the crowd you’re serving, and the time you’re gathering, you can make this more of a traditional charcuterie board like I have here, or make it something different! You can make an Easter candy board, an Easter dessert board, an Easter brunch charcuterie board, and more. I’ve made a dessert board before and it’s really fun!
Storage Tips
You may have items left over that can be saved for a later time. Either wrap your board completely in plastic wrap and store it in the refrigerator or remove items individually and store them in separate airtight containers in the fridge. Any items that can be left at room temperature, place in containers and store them in your pantry (crackers, candy, etc).Equipment
Nutrition information is automatically calculated, so should only be used as an approximation.





So cute and festive for Easter