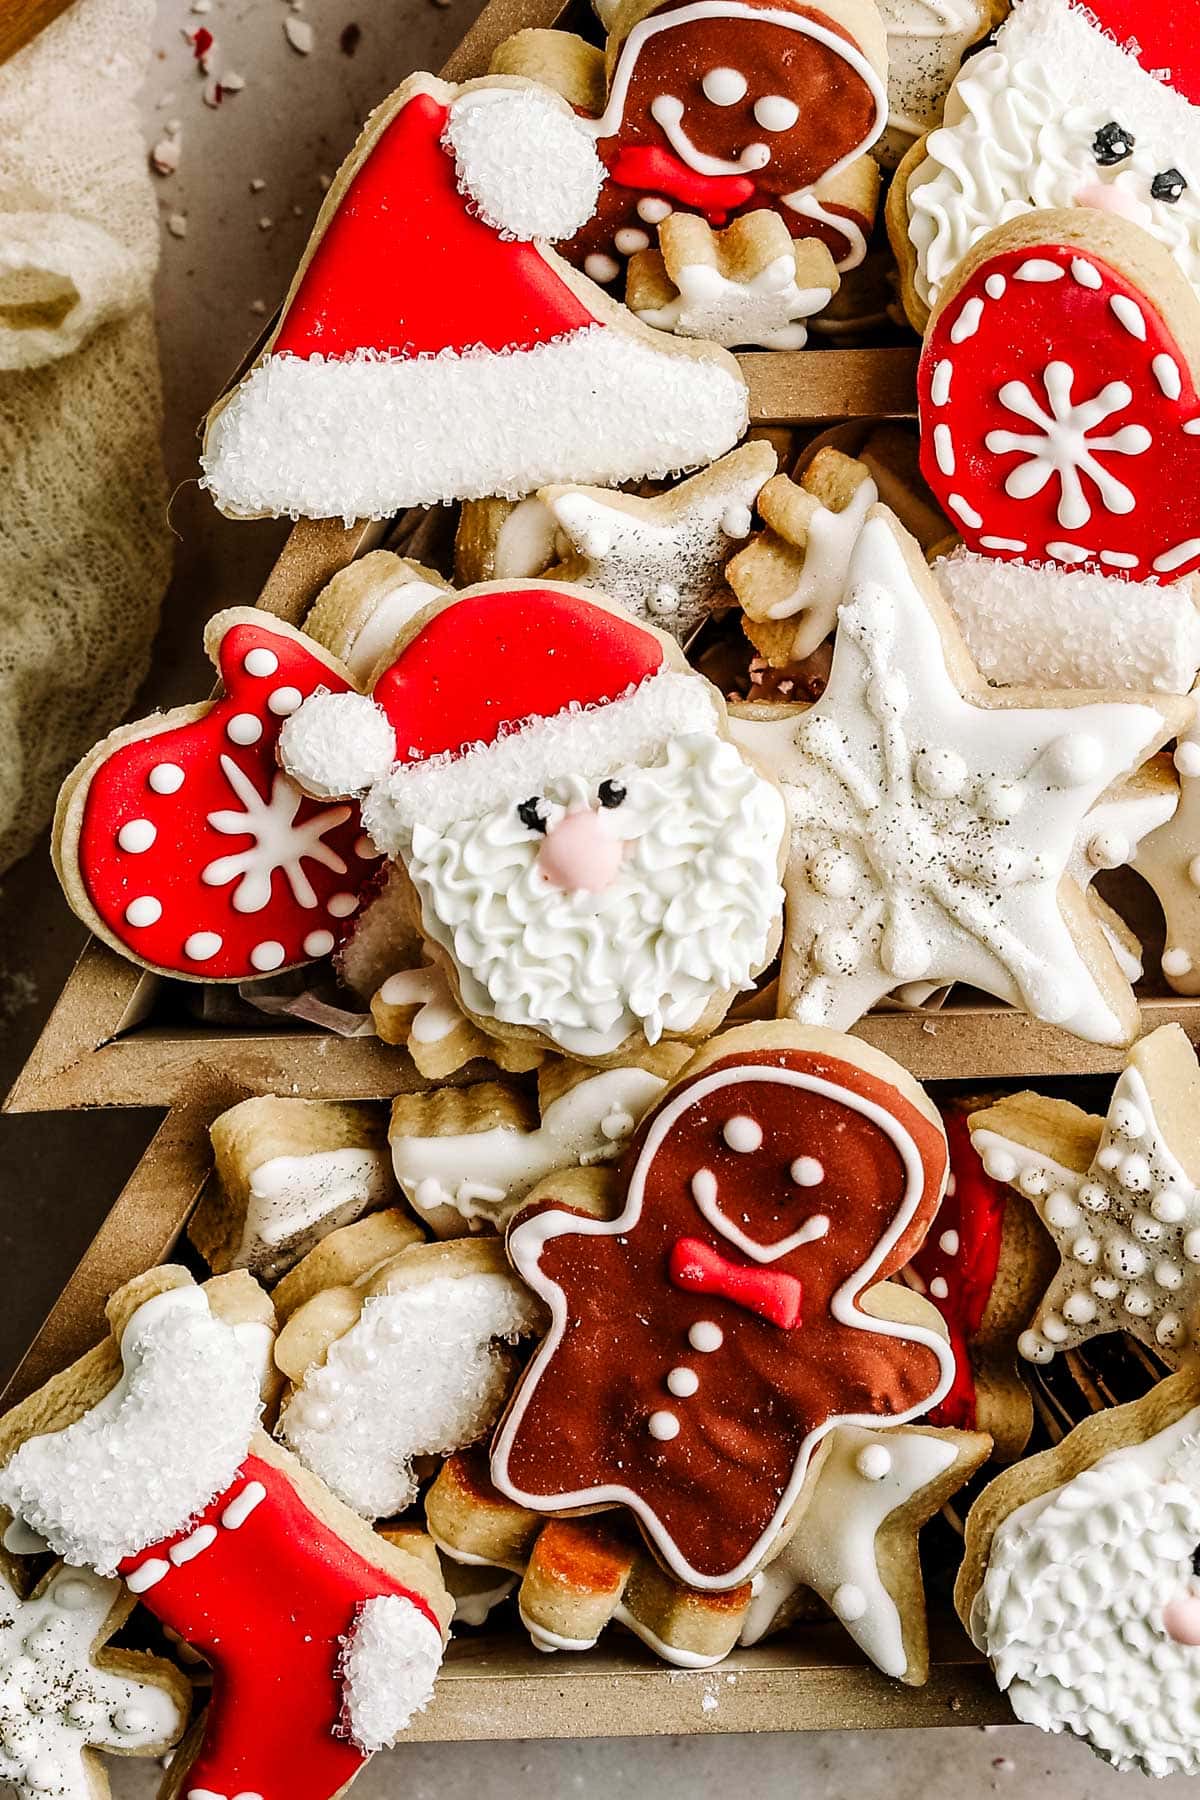
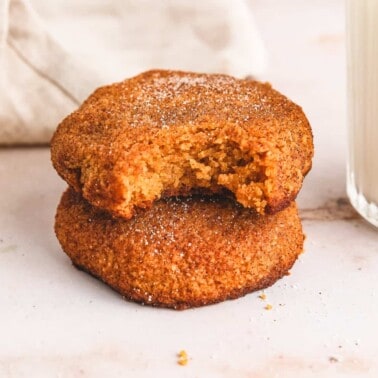
Holiday Sugar Cookies (Soft Cut-Outs That Hold Their Shape)
Published Dec 18, 2021 Updated Dec 04, 2025
This post may contain affiliate links. Please read our disclosure policy.
There’s nothing quite like baking a batch of holiday sugar cookies to bring the whole family together! The smell of vanilla and butter fills the kitchen, and everyone crowds around the counter with cookie cutters in hand, ready to create something special.
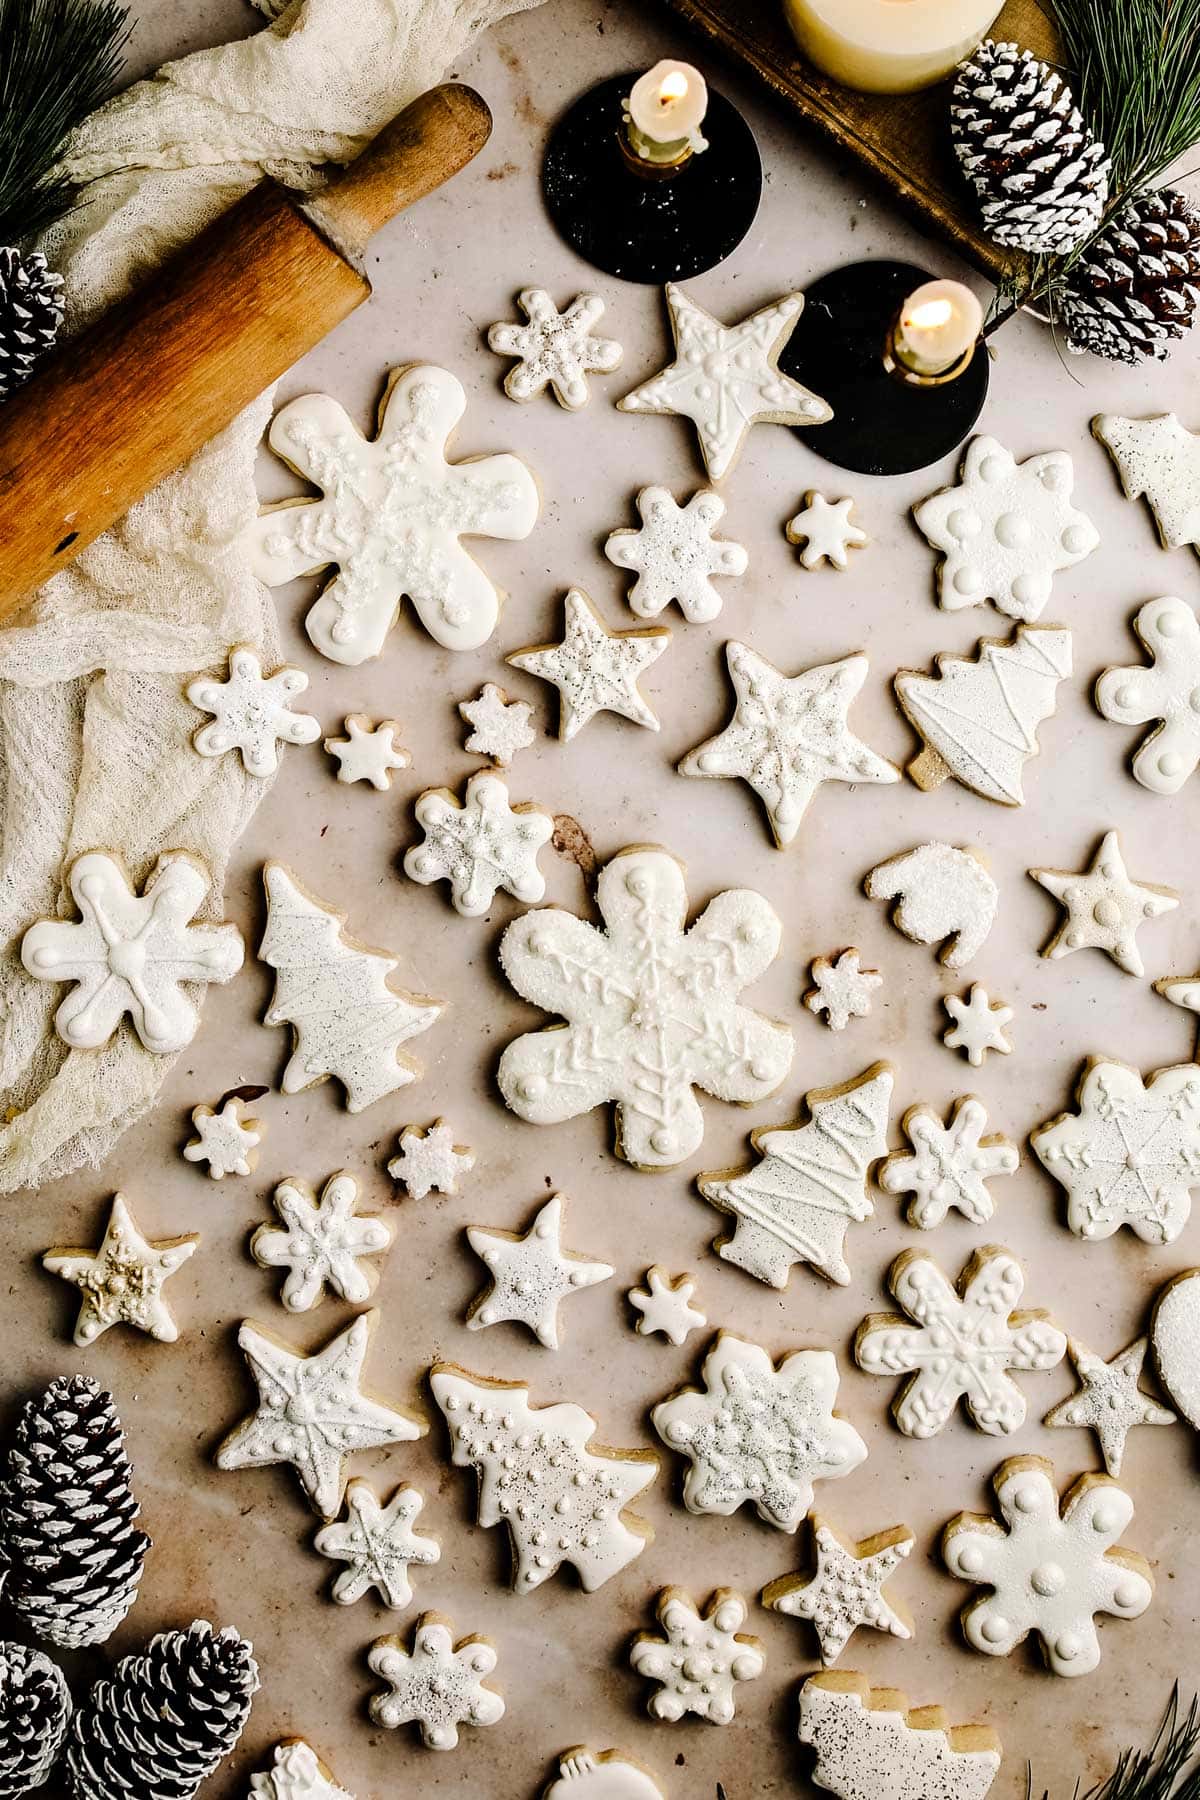
Table of Contents
- Why You’ll Love These Holiday Sugar Cookies
- Ingredients You’ll Need
- How to Make Holiday Sugar Cookies
- Tips for the Perfect Sugar Cookies
- Storage & Freezer Tips
- Recipe FAQs
- More Holiday Treats You’ll Love
- Holiday Sugar Cookies (Soft Cut-Outs That Hold Their Shape) Recipe
- Tips for the Perfect Sugar Cookies
- Storage & Freezer Tips
Why You’ll Love These Holiday Sugar Cookies
These no-spread sugar cookies bake up soft, buttery, and perfectly shaped every single time, making them ideal for decorating with my Royal Icing Recipe with Meringue Powder! Every family has a cookie recipe that feels like tradition, and this one is mine. I spent years testing and perfecting this classic sugar cookie recipe to make sure each bite is soft, flavorful, and perfectly sweet.
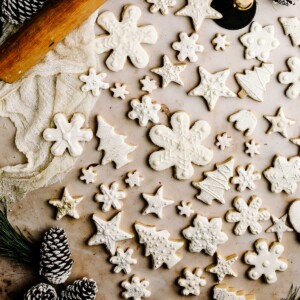
The dough rolls out easily, chills well, and cuts cleanly without sticking, making it perfect for cut-out cookies that hold their shape yet stay melt-in-your-mouth soft once baked. I love baking these with my girls each December; we make a mess, laugh too loud, and end up with the prettiest frosted Christmas cookies you’ve ever seen! Whether you decorate them with my glossy royal icing with meringue powder or leave them plain and buttery, these cookies are a guaranteed holiday hit.
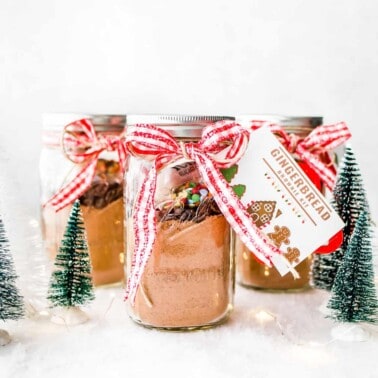
If you love festive baking, try my Gluten-Free Christmas Tree Cookies next! And for a festive breakfast while decorating, try my Gluten-Free Gingerbread Pancakes!
Ingredients You’ll Need

- All-Purpose Flour: Spoon and level your flour rather than packing it. This helps keep the cookies soft and prevents spreading.
- Salted Butter: Make sure your butter is softened to room temperature — not melted. This gives you that rich, bakery-style flavor and perfect texture.
- Granulated Sugar: Adds sweetness and helps create that signature soft, chewy center.
- Eggs: Bind everything together and give the dough a tender bite.
- Vanilla Extract: The flavor foundation. For an extra twist, try swapping in almond extract for vanilla almond sugar cookies.
- Baking Powder: Just enough to give a gentle lift. For flatter, crisper cookies, reduce it slightly.
That’s it! Simple pantry staples that create the most perfect soft rolled sugar cookies you’ll ever make.
How to Make Holiday Sugar Cookies
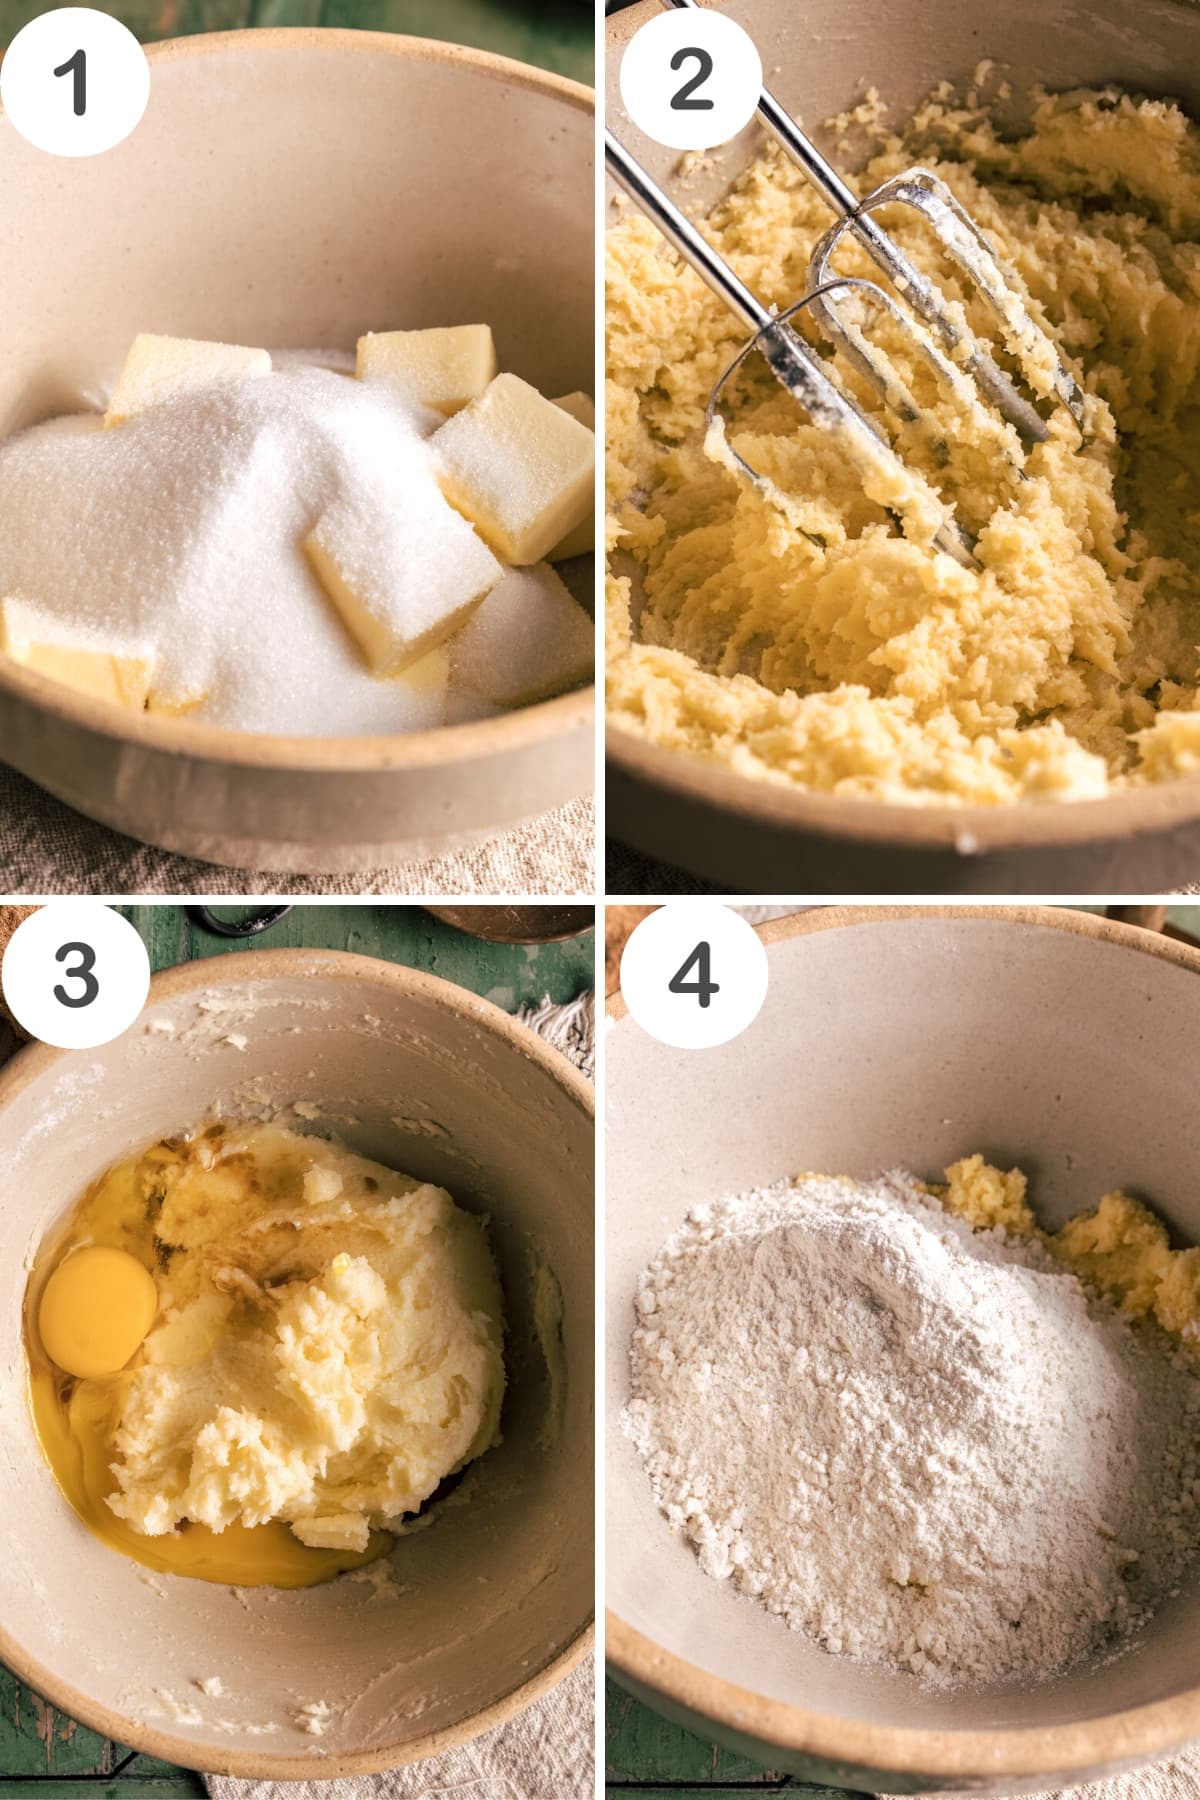
Step 1: Preheat your oven to 375°F and line your baking sheets with parchment paper. Add softened cubed butter and sugar to a large bowl.
Step 2: Beat softened butter and sugar together with a hand or stand mixer until pale and fluffy, about 3-4 minutes. Overmixing can cause spreading, so stop once the texture lightens.
Step 3: Add the eggs and vanilla extract to the butter and sugar mixture.
Step 4: In a large bowl, whisk together flour and baking powder. On low speed, slowly add the flour mixture until the dough forms. It should be soft but not sticky.
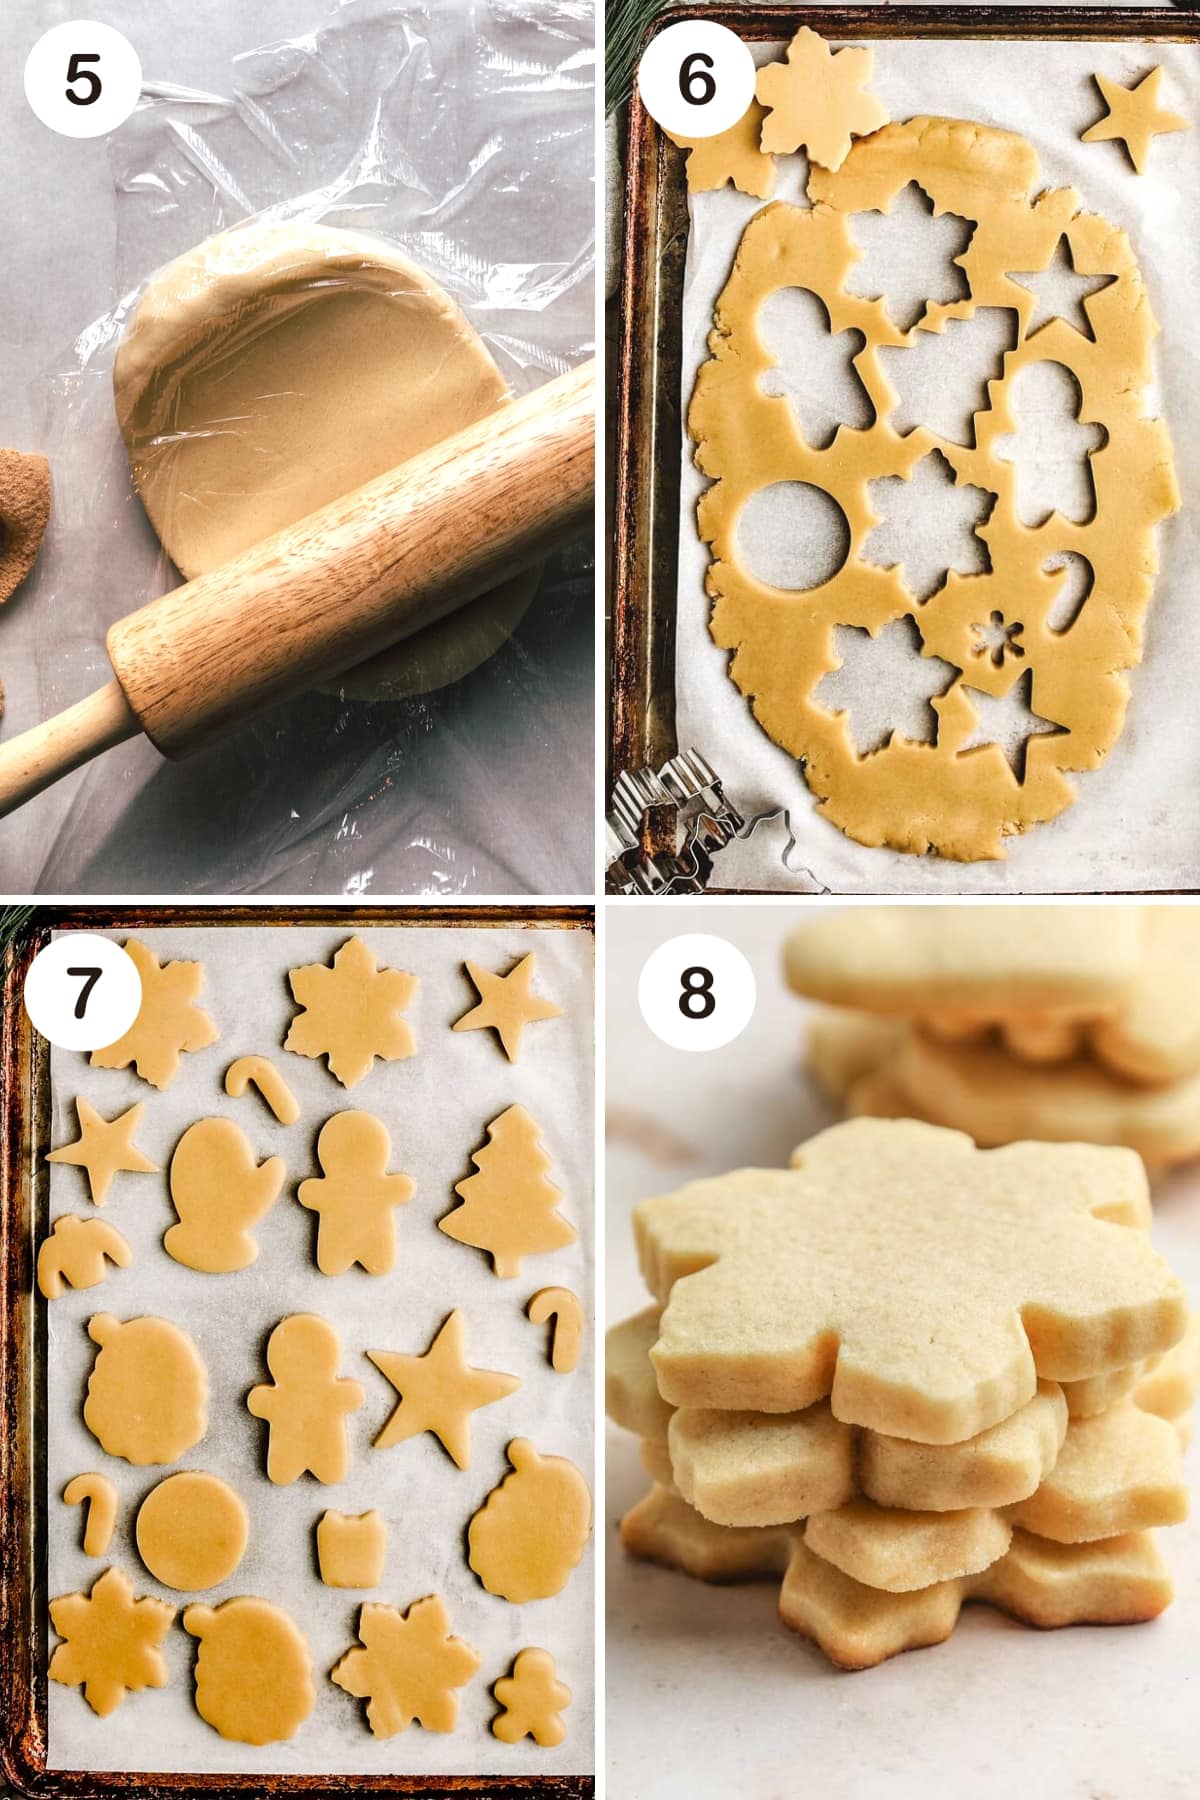
Step 5: Divide the dough in half and roll each portion between parchment sheets. Chill for 30 minutes to help the cookies hold their shape during baking.
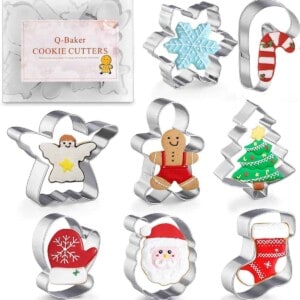
Step 6: Cut out shapes using your favorite cookie cutters.
Step 7: Transfer cookies to a lined baking sheet. Bake for 7-9 minutes, just until the edges begin to turn light golden. For softer cookies, pull them at 7 minutes.
Step 8: Let cookies cool on the pan for a minute, then move to a wire rack to cool completely before decorating. Have fun!
Mac’s Pro TipS
Tips for the Perfect Sugar Cookies
- Don’t overmix or over-knead — once the dough comes together, it’s ready.
- Chill before baking. This prevents spreading and keeps them looking crisp and clean.
- Use powdered sugar instead of flour on your rolling surface to avoid dryness.
- Roll evenly so cookies bake at the same rate.
- Dip cookie cutters in flour if skipping the chill step to prevent sticking.
- Pull early for softer cookies – 7 minutes is the sweet spot!
- Chill your dough for at least 20 minutes and roll it between parchment for no-spread sugar cookies that bake up soft, even, and perfectly shaped every time.
- If you’re craving something cozy to sip while baking, pair these cookies with my Dairy-Free Hot Chocolate.
Storage & Freezer Tips
These freezer-friendly holiday cookies are easy to make ahead. Store cooled cookies in an airtight container for up to a week at room temperature, or freeze undecorated cookies for up to 6 months.
If you’ve decorated your cookies with royal icing, place parchment paper between each layer before freezing. Thaw at room temperature on parchment before serving – they’ll look and taste freshly baked.
You can also freeze make-ahead cookie dough for up to 5 months. Wrap tightly in plastic wrap and label it with the date. When you’re ready to bake, let it thaw overnight in the fridge. Serve them with my Hot Chocolate Dip for a fun holiday dessert board.
Recipe FAQs
About ¼ to ½ inch. Thicker cookies will be softer and slightly cake-like, while thinner cookies bake crisper.
Yes! Freeze in layers separated by parchment paper. Thaw on the counter for perfect results every time.
Yes, chilling helps your cookies keep their shape and prevents spreading in the oven.
Absolutely. Try almond, lemon, or peppermint for fun seasonal variations.
More Holiday Treats You’ll Love
If you love these holiday sugar cookies, please give it a star rating and leave a comment below! Follow me on Pinterest, Facebook, and Instagram for more!

Holiday Sugar Cookies (Soft Cut-Outs That Hold Their Shape)
Ingredients
Sugar Cookies
- 3 cups all-purpose flour 385 grams
- 1 1/4 cups granulated sugar 250 grams
- 2 1/2 4 oz sticks salted butter* room temperature
- 2 teaspoons vanilla extract
- 2 large eggs
- 1/2 teaspoon baking powder for flatter cookies, only use 1/4 teaspoon
Royal Icing
- 1/4 cup meringue powder
- 1/2 cup warm water
- 4 cups powdered sugar
- 1 teaspoon vanilla extract
Instructions
Sugar Cookies
- Preheat and Measure Flour: Heat the oven to 375F. Mix the flour and baking powder in a big bowl. Don't press the flour when measuring. It's better to use a scale for accuracy. Wrong measurements can make cookies spread too much.
- Cream The Butter: Put the soft butter and sugar in a big bowl. Use a mixer (standing or handheld) to beat until it's light in color, about 3-4 minutes. Be careful not to beat too much because it can make the butter too soft.
- Make The Dough: Add eggs and vanilla extract. Mix well. Turn the mixer to low and slowly add the flour mixture. Mix until it turns into dough.
- Roll The Dough: Knead the dough. If it's sticky, use a bit of powdered sugar on the surface. Cut the dough in half. Put each half on parchment paper. Roll it out with a rolling pin. This prevents sticking. Remember, the more you roll, the warmer and softer the dough gets. To avoid this, you can sprinkle powdered sugar on the surface.
- Chill The Dough: Transfer the rolled dough to the fridge for 30 minutes. You can transfer the dough on parchment paper to a baking sheet. It makes cutting easier after chilling.
- Cut & Bake: Take the chilled dough out. Use cookie cutters to make shapes. Put the cookies on a baking sheet, leaving space. Bake for 7 to 9 minutes until the edges start turning brown. If you want softer cookies, take them out at 7 minutes.
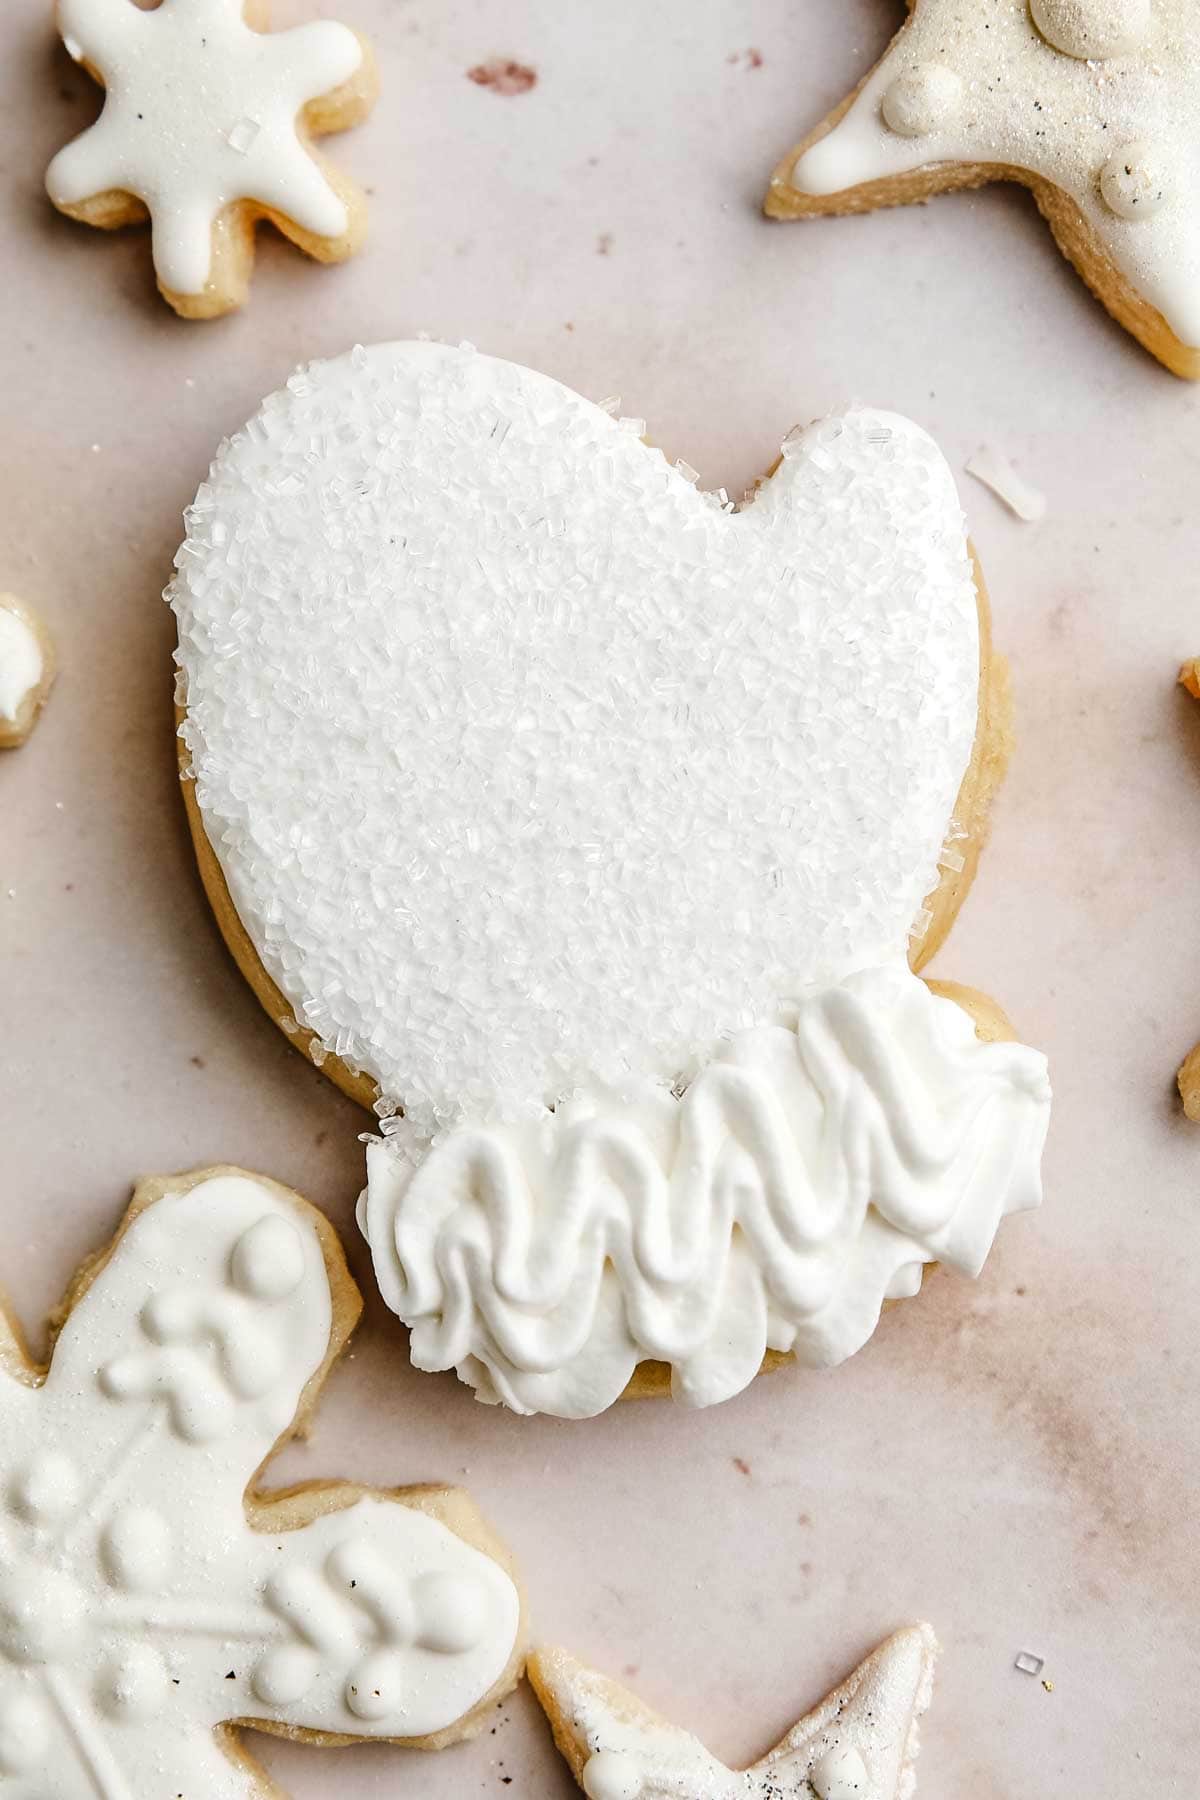
- Ice The Cookies: Let the cookies sit on the baking sheet for 1 minute after baking, then move them to a wire rack to cool completely. Ice cookies as desired. Keep them in an airtight container for up to 1 week.
Royal Icing
- Beat The Meringue: In the bowl of a stand mixer with the whisk attachment or a large mixing bowl, beat meringue powder and warm water until frothy on medium-low speed for about 1 minute.
- Add Powder Sugar: With the mixer on low, gradually add confectioners' sugar and vanilla. Once fully combined, increase the speed to medium and whip with the whisk attachment until a glue-like consistency forms. Whip on medium-high for an additional 1 to 2 minutes to achieve stiff peaks for a thicker icing.
- Add Water For Desired Consistency: This is now the base icing, and it's naturally stiff. If it's too rigid, add water gradually (start with 1 teaspoon at a time) until the desired consistency is achieved. Alternatively, you can use a spray bottle for a more controlled thinning process. If the icing is too thin, incorporate powdered sugar in small increments until the desired consistency is restored.
- Add To Piping Bag: Once desired consistencies are reached, add the white icing to a piping bag or place it in bowls and color using gel food coloring.
Consistency Types
- Stiff Consistency: This type of consistency is comparable to buttercream icing. It is used for leaves, detail designs, flowers, and much more. This consistency will hold its shape.
- Piping Consistency: This type of consistency is comparable to toothpaste. It is used for outlining and lettering. This icing count is 25 seconds.
- Flood Consistency: This type of consistency is comparable to honey or shampoo. It is used for filling large areas. This icing count is 8-10 seconds.
Notes
Tips for the Perfect Sugar Cookies
- Don’t overmix or over-knead — once the dough comes together, it’s ready.
- Chill before baking. This prevents spreading and keeps them looking crisp and clean.
- Use powdered sugar instead of flour on your rolling surface to avoid dryness.
- Roll evenly so cookies bake at the same rate.
- Dip cookie cutters in flour if skipping the chill step to prevent sticking.
- Pull early for softer cookies – 7 minutes is the sweet spot!
- Chill your dough for at least 20 minutes and roll it between parchment for no-spread sugar cookies that bake up soft, even, and perfectly shaped every time.
Storage & Freezer Tips
- These freezer-friendly holiday cookies are easy to make ahead. Store cooled cookies in an airtight container for up to a week at room temperature, or freeze undecorated cookies for up to 6 months.
- If you’ve decorated your cookies with royal icing, place parchment paper between each layer before freezing. Thaw at room temperature on parchment before serving – they’ll look and taste freshly baked.
- You can also freeze make-ahead cookie dough for up to 5 months. Wrap tightly in plastic wrap and label it with the date. When you’re ready to bake, let it thaw overnight in the fridge
Equipment
Nutrition
Nutrition information is automatically calculated, so should only be used as an approximation.


These cookies are so tasty! Love them. They spread so much though. I left them in the fridge until cooking and baked at the temperature recommended. Would eliminating the baking powder correct this?
Hi Stacey,
So happy they were yummy. However, these cookies are spread-proof. They absolutely will not spread if you measure and follow the recipe to a tee. This recipe has been tested over 15 times so we stand by the recipe. If they did spread, I would recommend going back and checking your measurements. If you pack the flour your cookies will not turn out. Make sure you add the flour with a spoon to a measuring cup also.
I love know what meringue is that you use for the icing recipe!!!
This recipe worked great for me. Although, I did alter it a bit. Instead of using 2 tsp. Of Vanilla extract, I used 1 TBSP of Vanilla extract and 1 TBSP of Vanilla Bean Paste. Depending on how much you love Vanilla and want the flavor to pop. I did take out 1/4 of the 1/2 stick of butter the recipe calls for because I used the extra liquid. So I used 2 sticks plus 1/4 of Kerry Gold salted butter. Also, if anyone is having issues with the recipe spreading, may need to switch the brand of flour you use. King Arthur unbleached all purpose flour is the brand I use and I never have issues with it. I use to use Gold medal but I did have issues with spreading with it. Some people can use the Godm medal and it works great for them. In these cases I think it cam be how well your oven heats. I also only used 1/2 tsp. Of baking powder per the 3 cups of flour. Hope this helps someone with their spreading issues. 😊
Is the dough supposed to be super sticky? Because mine is always so sticky! Other than that LOVE the taste!
It was my first time using this recipe, and I was a little anxious about making the royal icing and the cookies. But I love to bake and this recipe is A 10+ !!! Thank you for sharing your recipe it was yummy.
Wow! This is such a compliment! Thank you for taking time to leave your review. Glad you enjoyed…Happy Holidays!
Hands down the BEST 🙌thank you so much for sharing your recipe with us
Thank you so much Linda! I am glad you enjoyed them.
Trillious
Thank you so much!
I’m sure this recipe is great but I am from Canada and we don’t use sticks of butter and I was trying to double this recipe and screwed up the calculations from ounces to cups. It’s honestly confusing and super sucky I screwed up such a huge amount of ingredients. I think in the future you should always put cups because everyone can go by that measurement.
Thank you for your comment. As a recipe developer, I put a lot of time and effort into creating and testing recipes to ensure they turn out well when followed as written. I noticed that your rating was based on a version of the recipe that wasn’t followed exactly, which can be discouraging. I understand there might have been some confusion with the butter measurement. Since I’m based in the U.S., I list butter measurements in sticks (2 1/2 sticks, or 4 oz each). Measuring systems can vary internationally, so I’ll consider clarifying this further in future recipes. But do make sure to follow the recipe as written next time for best results.
How much light corn syrup should I add? I had made this recipe before and it turned out great! I’m just not seeing how much of the corn syrup to add an I’m pretty sure I added some last time. Thanks!
I’ve had this recipe saved for weeks. I’m finally able to set time aside to bake them and now I’m strung up on a conversion. The recipe calls for 1 1/2 cups of butter (2 1/2 sticks) but 1 1/2 cups of butter is 3 sticks? I’m trying to decide which one to go with LOL
The correct amount of butter is the 2 1/2 4 oz sticks.