The BEST Sugar Cookies Recipe (with Royal Icing)
Published Dec 18, 2021 Updated Mar 19, 2024
This post may contain affiliate links. Please read our disclosure policy.
These homemade sugar cookies with royal icing are perfect for decorating any time of year! Whether you’re making sugar cookies to frost for Valentine’s Day or Christmas, this will be your go-to recipe. Complete with foolproof tips, these soft frosted sugar cookies truly are the BEST!
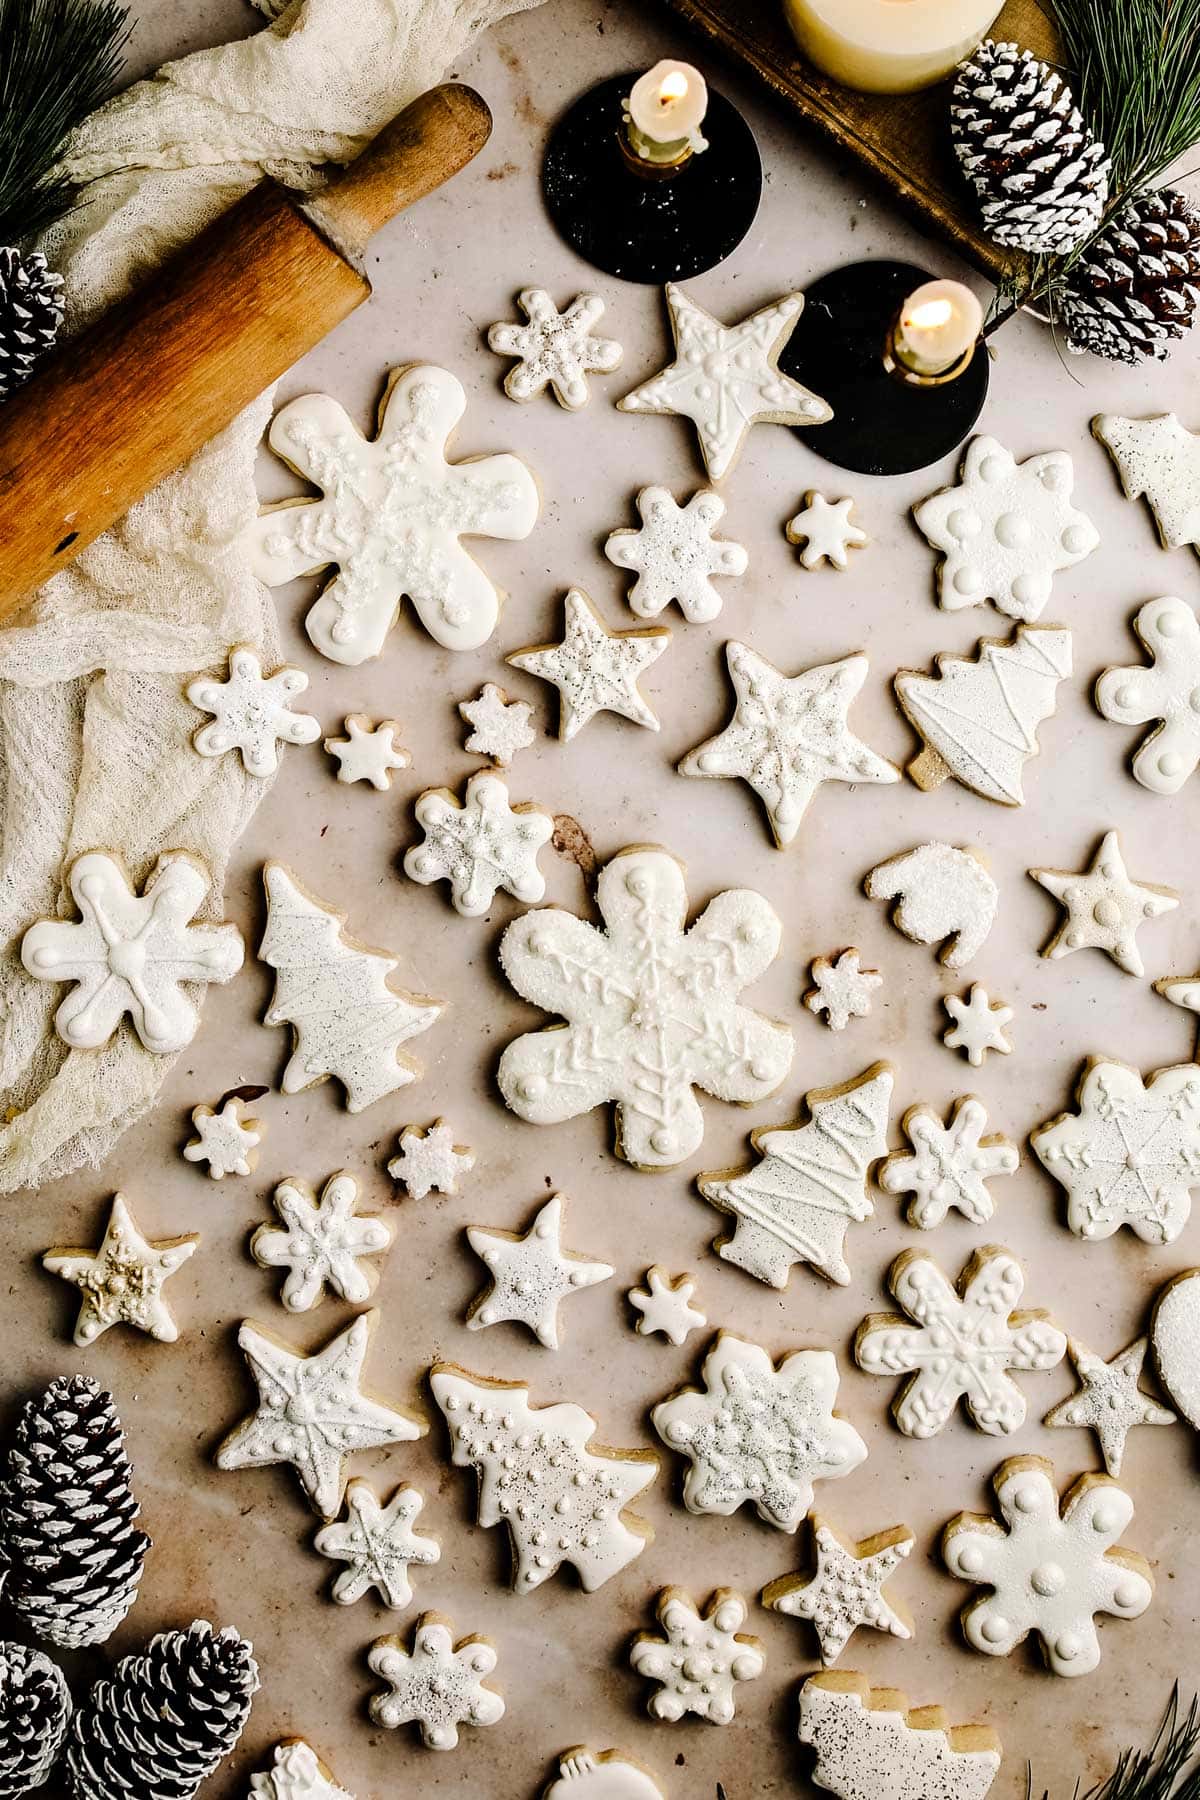
Table of Contents
- What Makes This Recipe Great
- How to Make Sugar Cookies with Royal Icing
- Ingredient Notes
- Easy Sugar Cookies Step-by-Step Guide
- Tips for the Perfect Sugar Cookies
- How to Make Royal Icing
- Royal Icing vs. Other Sugar Cookie Icing
- Storage Tips
- Recipe FAQs
- More Cookie & Frosting Recipes
- The BEST Sugar Cookies Recipe (with Royal Icing) Recipe

What Makes This Recipe Great
Regardless of the season, baking and decorating sugar cookies is an unforgettable pastime. Bringing families together for decades, the perfect cookie is a reason to celebrate! I have truly achieved the Best Sugar Cookie Recipe!
I have labored over this recipe, testing, and re-testing to make sure that the fond memories I hope you create are enjoyed with delicious, scrumptious cookies. Decorate your holiday cookies to the nines with my famous royal icing– the most perfect sugar cookie frosting!
My family has been enjoying these recipes for years, and I am so thrilled to share them with all of you! Decorating cookies with royal icing is just so fun and creative, and perfect for big kids, little kids, and adults too!
Now pick up your favorite holiday cookie cutters, and get your camera ready- it’s time for cookie making!
How to Make Sugar Cookies with Royal Icing
The best sugar cookies don’t actually have a ton of ingredients. In fact, while the ingredients matter a ton, it’s the process that really counts this time. These chewy sugar cookies are easy to make with a few pro tips to help you out!
I have thought of every last detail to help you re-create this recipe like a pro in your kitchen! I can’t wait to see your sugar cookies with royal icing decorations in such cute holiday cookie-cutter shapes!
You don’t have to frost your sugar cookies. But if you want to, my recipe for royal icing is in the printable recipe below. For more tips & tricks and an awesome how-to video, click here for the full royal icing recipe!
Ingredient Notes
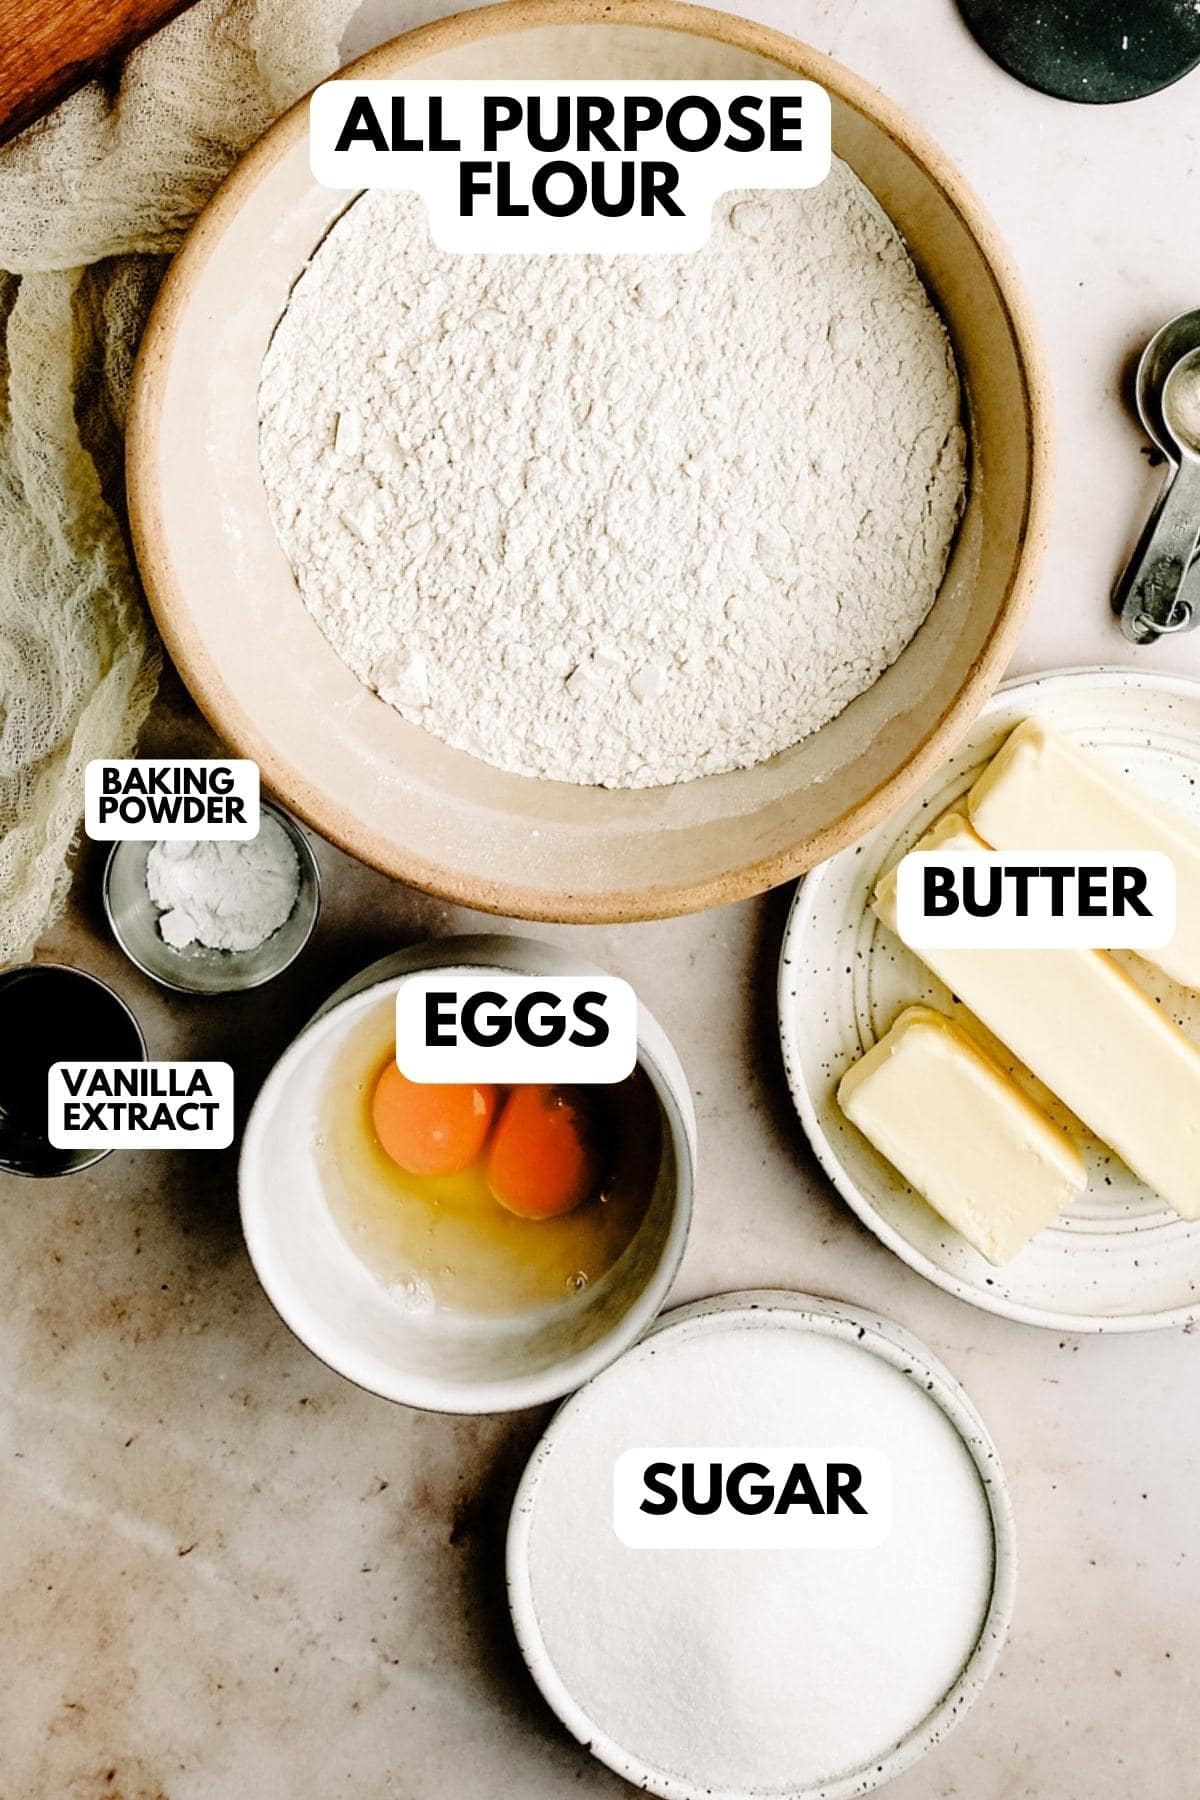
Sugar Cookies
- All-Purpose Flour: Measure the flour exactly. Do not pack the flour into the measuring cups. Instead, spoon the flour into the cup for more accurate measuring. When you pack it in, you can get a ton of extra flour that will dry out the cookies.
- Salted Butter: Use real butter, as this recipe will not work with margarine. Make sure the butter is softened to room temperature. The butter should sit out at room temp for 45 minutes to an hour before you’re ready to use it. Give it the fingertip test by pressing down on the butter. If it leaves an indention, you are good to go. If the butter comes off onto your fingers, that means it’s too soft. Don’t soften your butter in the microwave, as this can ruin the dough.
- Egg: Let your egg come to room temperature before using it in the recipe. This will ensure that the ingredients combine easily in the dough.
- Vanilla Extract
- Granulated Sugar
- Baking Powder
Royal Icing
- Meringue Powder: You can find this at your local craft store or grocery store.
- Warm Water
- Powdered Sugar (also called icing sugar)
- Vanilla Extract
- Light Corn Syrup (Optional)
Easy Sugar Cookies Step-by-Step Guide
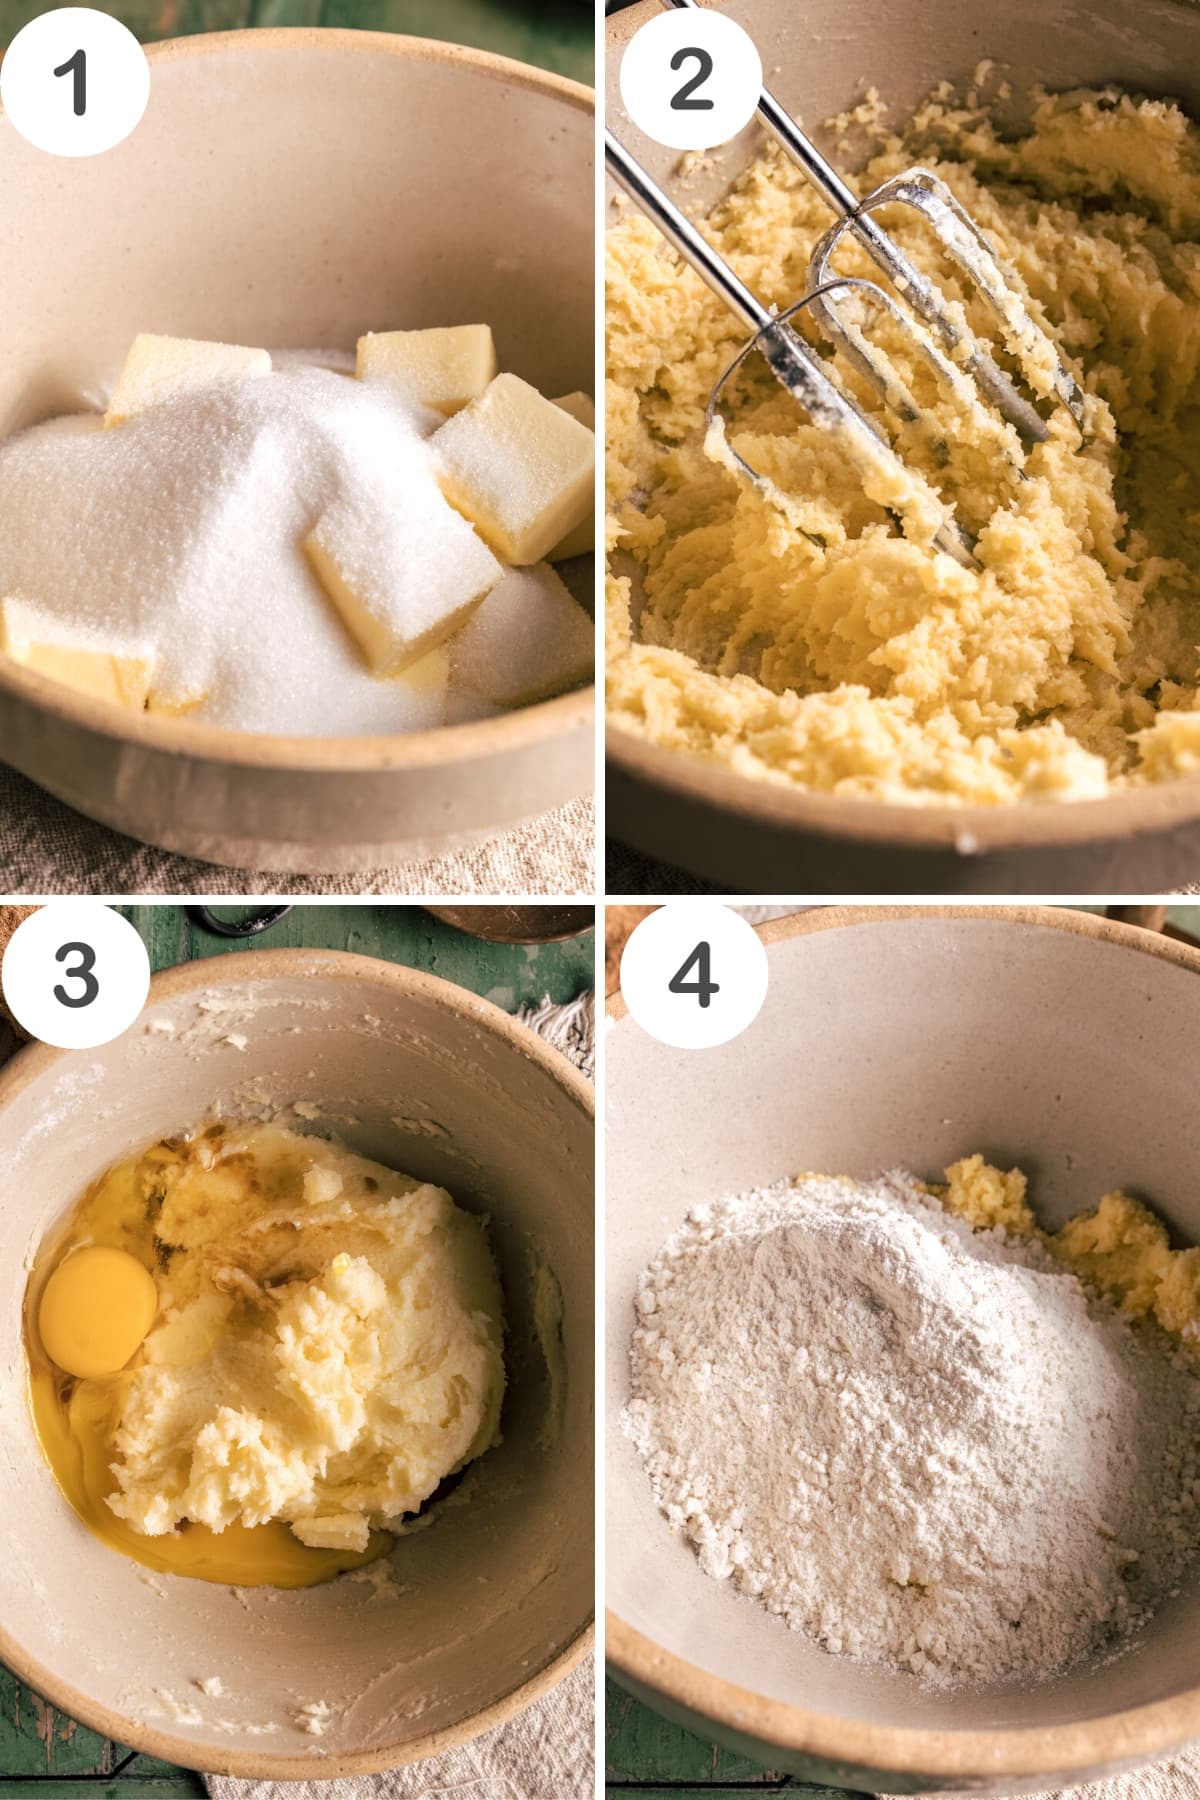
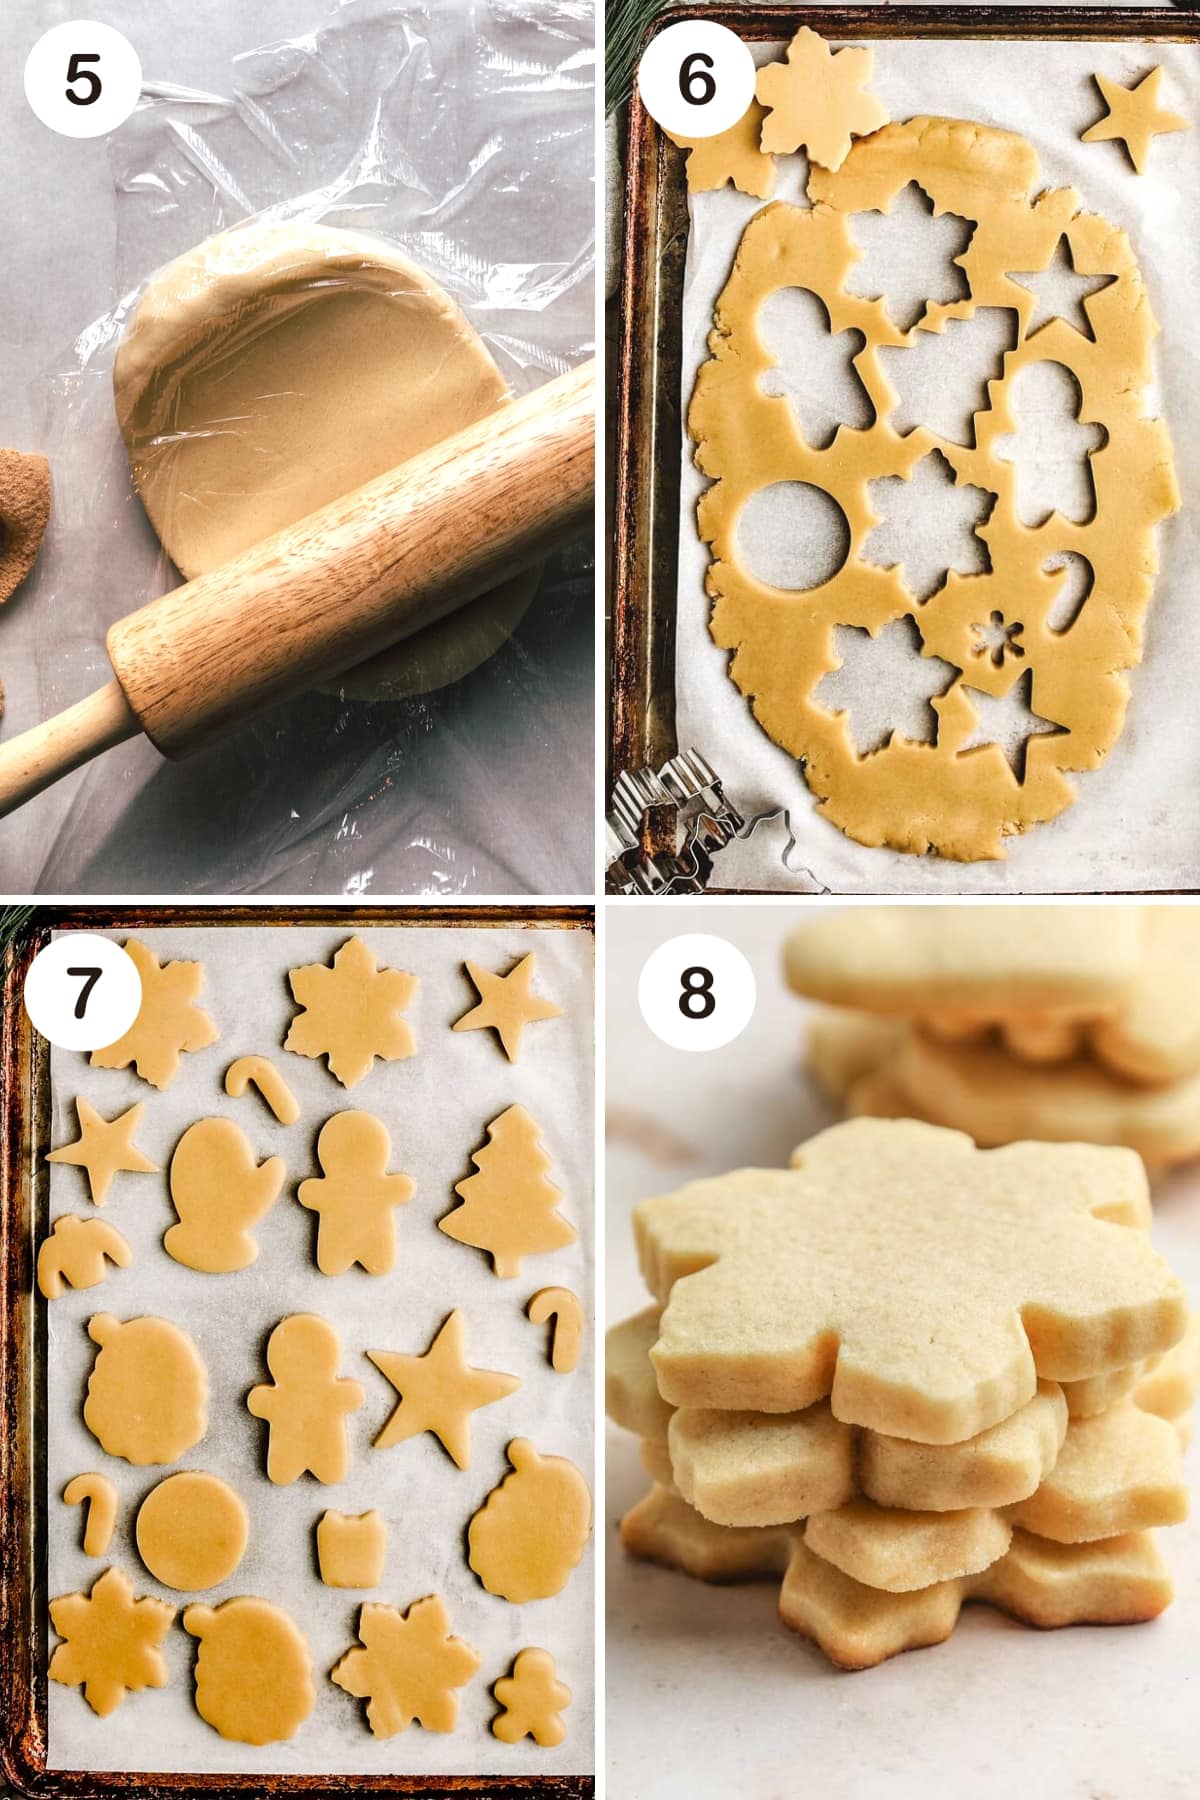
As always, more detailed instructions are in the printable recipe below, but here’s a quick overview of the steps to make these sugar cookies!
- Preheat and Measure Flour: Heat the oven to 375F. Mix the flour and baking powder in a big bowl. Don’t press the flour when measuring. It’s better to use a scale for accuracy. Wrong measurements can make cookies spread too much.
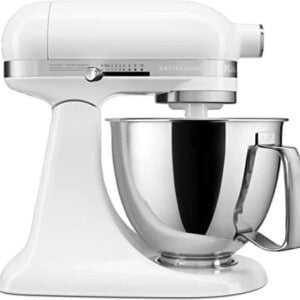
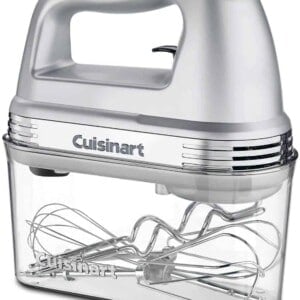
- Cream The Butter: Put the soft butter and sugar in a big bowl. Use a mixer (standing or handheld) to beat until it’s light in color, about 3-4 minutes. Be careful not to beat too much because it can make the butter too soft.
- Make The Dough: Add eggs and vanilla extract. Mix well. Turn the mixer to low and slowly add the flour mixture. Mix until it turns into dough.
- Roll The Dough: Knead the dough. If it’s sticky, use a bit of powdered sugar on the surface. Cut the dough in half. Put each half on parchment paper. Roll it out with a rolling pin. This prevents sticking. Remember, the more you roll, the warmer and softer the dough gets. To avoid this, you can sprinkle powdered sugar on the surface.
- Chill The Dough: Transfer the rolled dough to the fridge for 30 minutes. You can transfer the dough on parchment paper to a baking sheet. It makes cutting easier after chilling.
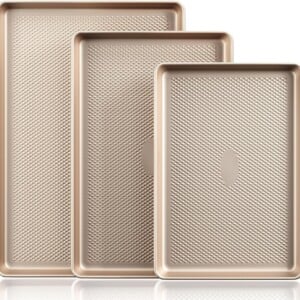
- Cut & Bake: Take the chilled dough out. Use cookie cutters to make shapes. Put the cookies on a baking sheet, leaving space. Bake for 7 to 9 minutes until the edges start turning brown. If you want softer cookies, take them out at 7 minutes.
- Ice The Cookies: Let the cookies sit on the baking sheet for 1 minute after baking, then move them to a wire rack to cool completely. Ice cookies as desired. Keep them in an airtight container for up to 1 week.
Mac’s Pro TipS
Tips for the Perfect Sugar Cookies
- Don’t overmix. As soon as it begins to clump together into a dough, it is ready.
- Don’t over-knead. This will make the cookies spread and not hold their shape. If you over-knead, you will melt the butter, and the dough will become too soft when baking.
- Use parchment paper when rolling out. This will help with sticking. Additionally, add a piece of plastic wrap over the top of the dough to ensure no sticking to the rolling pin.
- Re-roll the dough only once. As you roll, it will begin to warm up and become too soft to work with.
- Roll the dough evenly so you get the same-sized cookies throughout.
- Chill the dough for 20 minutes in the fridge or 10 minutes in the freezer before cutting.
- Dip the cookie cutters into flour so they won’t stick and make a mess if you choose not to chill the dough before cutting.
- Don’t Overbake. I always pull my cookies out of the oven at around 7 minutes. I watch the edges and take them out before they start turning golden brown because I like my cookies to be a little softer and cake-like.
- For a flatter cookie: only use 1/2 teaspoon of baking powder. I always like mine to have a little puff to them so I add 1 1/2 teaspoons of baking powder.
- Butter: I use salted butter. However, if you are not a fan you can use unsalted butter and add 1/4 tsp salt to the ingredient list.
- Don’t Pack Flour: When measuring, make sure you are not packing the flour. Spoon the flour into a measuring cup and use the back of a knife to scrape the flour level.
- Powder Sugar: Use powdered sugar instead of flour on a surface when rolling to prevent the cookies from spreading in the oven
How to Make Royal Icing
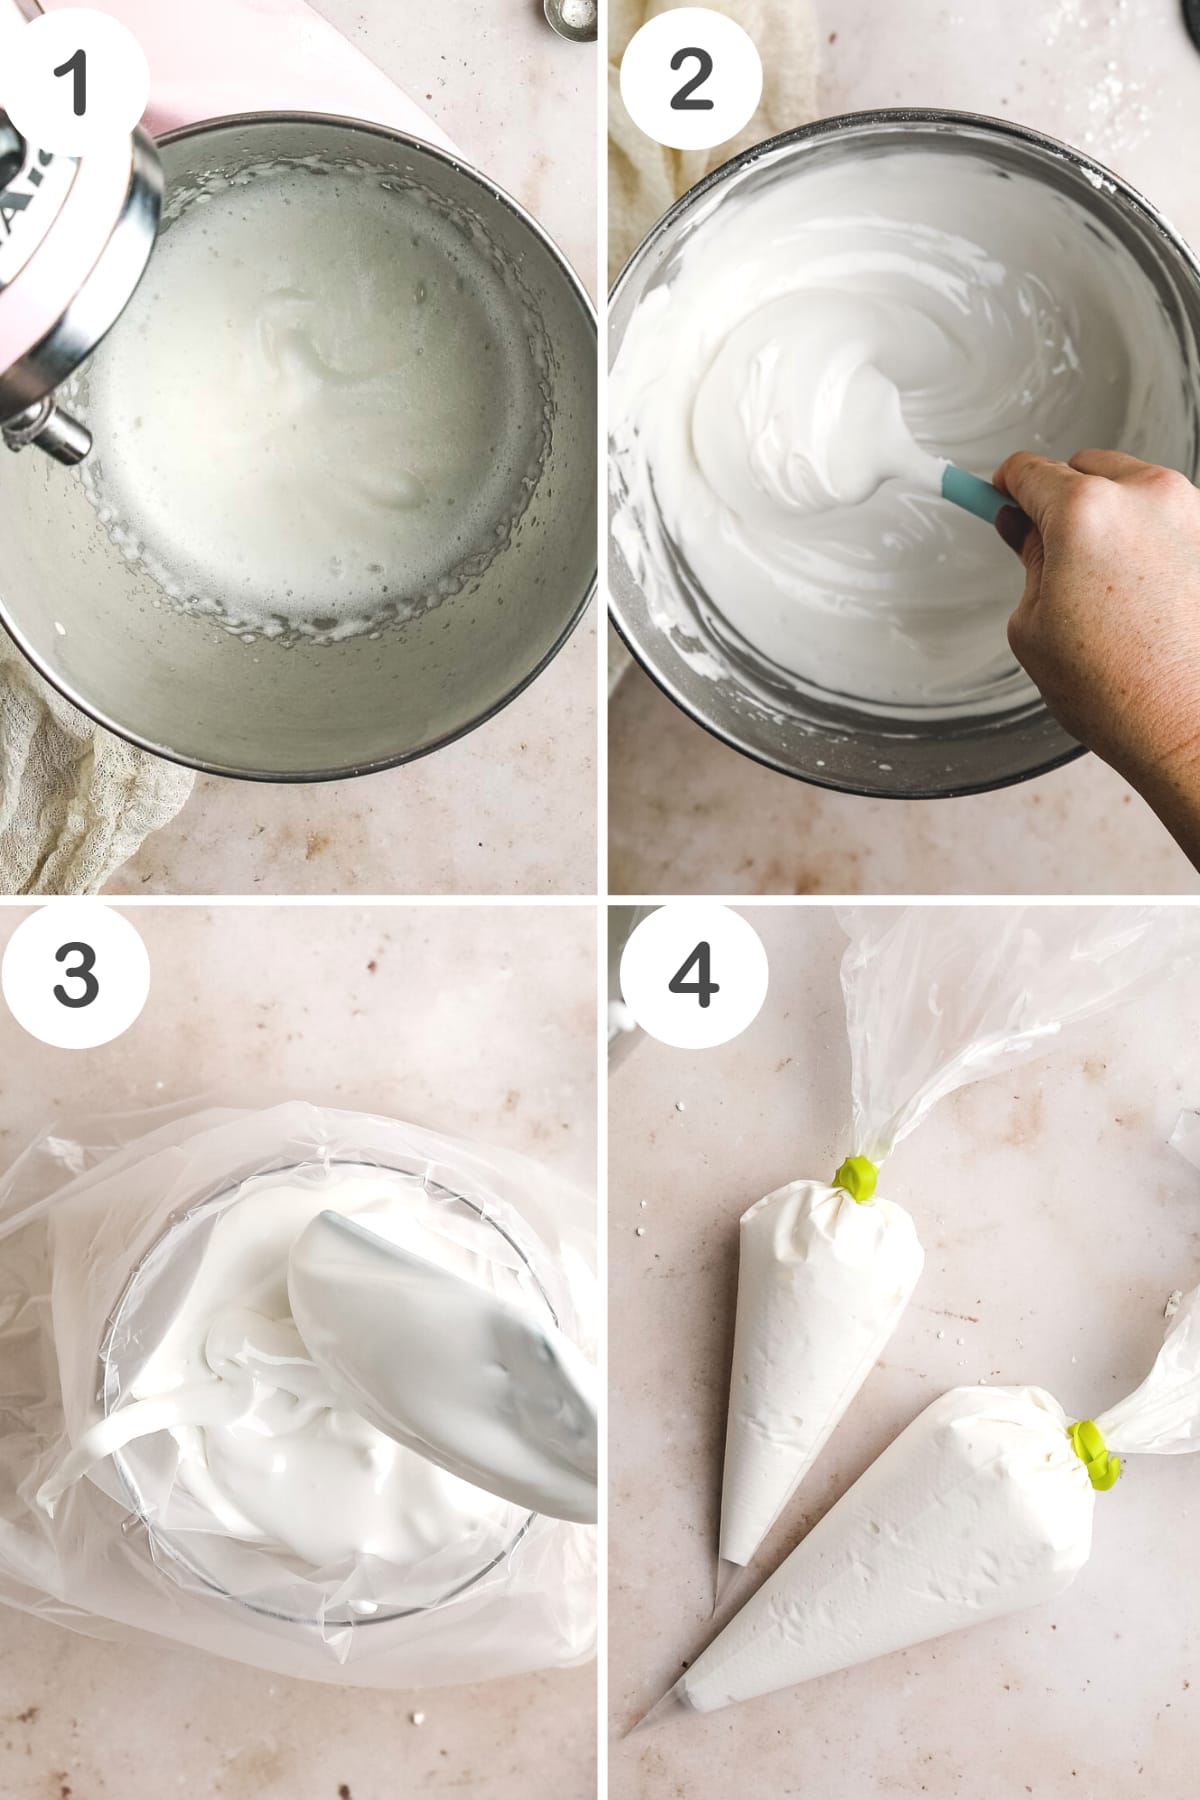
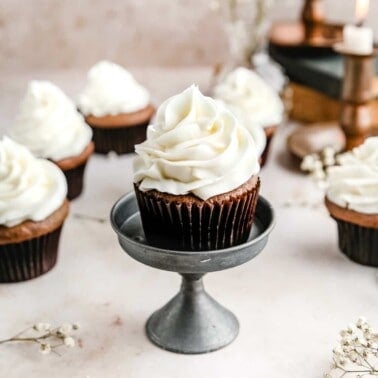
In just a few steps, you will have the most delicious Royal icing for sugar cookies, cakes, muffins, decorations, etc! Please note that the pictures below show a basic overview. For more detailed, printable instructions, scroll down to the recipe card below or click here for my royal icing how-to video!
- Gather all the ingredients together.
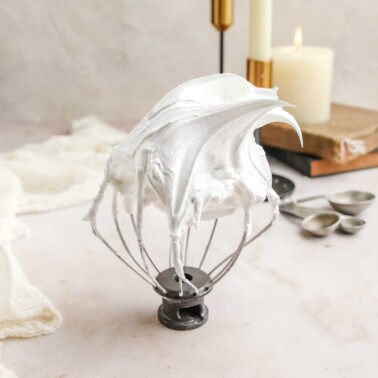
- Beat together the meringue powder and warm water until frothy.
- Add in confectioners’ sugar and vanilla and whip using the whisk until a glue-like consistency forms.
- If the icing is too stiff, add more water until the desired consistency is reached. If the icing is too thin, add powdered sugar until the desired consistency has been reached.
- Once the desired consistency is reached, add the white icing to a piping bag or place it in bowls and color using gel food coloring.
- Pipe away!
Royal Icing vs. Other Sugar Cookie Icing
It’s all about the drips! Other icing recipes for sugar cookies are often made thinner and softer than royal icing and don’t set as hard or take at least 24 hours to set, sometimes leaving you with drippy, messy frosting.
While royal icing does take a bit more patience, it holds up much better and dries in just 1-2 hours! Ingredients like meringue powder help the royal icing harden to make your beautiful decorating stay put, which helps with the mess!
Because it hardens on the cookie, Royal icing is much easier to travel with, too. So keep a small batch of sugar cookies for yourself, and put together a few tins for your neighbors and friends without worrying about any mess or drips! Remember, you don’t have to frost your sugar cookies– they are just as delicious and beautiful without any icing.

Storage Tips
- Sugar cookies will last up to two weeks if stored in an airtight container on the kitchen counter or pantry. You can also freeze in an airtight container for 6 months.
- You can freeze sugar cookies decorated with royal icing. Simply place parchment paper between each layer of cookies in an airtight container or freezer-safe ziplock bag. Thaw on the counter on top of parchment paper until room temperature.
- Sugar cookie dough will last up to 3-5 days in the fridge before cooking. You can wrap the dough in plastic wrap and freeze it for 5-6 months. Be sure to write the date on the wrap. You will know the cookie dough has gone bad by observing the edges. If they are darker than the interior, it’s gone bad. It may also have a bad smell.

Recipe FAQs
Make sure to incorporate the butter at room temperature and have accurate measurements for the other ingredients. Also, cooking the cookies at a higher temp, such as 375F will allow them to set quicker. Also, no opening the oven and peeking. When you open the oven door, it will lose heat and affect the shape of the cookies.
Most people say 1/4-3/8 of an inch. I like my cookies a little thicker, so I usually go with 1/2 inch or 3/4. I find that they have a more of a cake-like consistency when thicker.
Yes, you can use almond extract, lemon extract, or any of the flavors you would like. I would suggest less is more in this case, as you don’t want the extract to overpower your batter!
If the cookie dough becomes sticky or crumbly when mixing, there is an easy fix. Simply add in a little cornstarch. Start slowly by adding a teaspoon at a time and then combining. You only want to add this in if the dough is a little sticky, not a hot mess sticky.
I recommend using powdered sugar on the surface when rolling dough. If you add a lot of flour, it changes the ratio of the dough, and the cookies will spread.
Yes! On top of a large sheet of parchment paper, add the dough. Additionally, place a piece of plastic wrap over the top of the dough and begin to roll it out using a rolling pin. This will ensure there is no sticking to the rolling pin.
More Cookie & Frosting Recipes
If you love this recipe, please give it a star rating and leave a comment below!

The BEST Sugar Cookies Recipe (with Royal Icing)
Ingredients
Sugar Cookies
- 3 cups all-purpose flour 385 grams
- 1 1/4 cups granulated sugar 250 grams
- 2 1/2 4 oz sticks salted butter* room temperature
- 2 teaspoons vanilla extract
- 2 large eggs
- 1/2 teaspoon baking powder for flatter cookies, only use 1/4 teaspoon
Royal Icing
- 1/4 cup meringue powder
- 1/2 cup warm water
- 4 cups powdered sugar
- 1 teaspoon vanilla extract
Instructions
Sugar Cookies
- Preheat and Measure Flour: Heat the oven to 375F. Mix the flour and baking powder in a big bowl. Don't press the flour when measuring. It's better to use a scale for accuracy. Wrong measurements can make cookies spread too much.
- Cream The Butter: Put the soft butter and sugar in a big bowl. Use a mixer (standing or handheld) to beat until it's light in color, about 3-4 minutes. Be careful not to beat too much because it can make the butter too soft.
- Make The Dough: Add eggs and vanilla extract. Mix well. Turn the mixer to low and slowly add the flour mixture. Mix until it turns into dough.
- Roll The Dough: Knead the dough. If it's sticky, use a bit of powdered sugar on the surface. Cut the dough in half. Put each half on parchment paper. Roll it out with a rolling pin. This prevents sticking. Remember, the more you roll, the warmer and softer the dough gets. To avoid this, you can sprinkle powdered sugar on the surface.
- Chill The Dough: Transfer the rolled dough to the fridge for 30 minutes. You can transfer the dough on parchment paper to a baking sheet. It makes cutting easier after chilling.
- Cut & Bake: Take the chilled dough out. Use cookie cutters to make shapes. Put the cookies on a baking sheet, leaving space. Bake for 7 to 9 minutes until the edges start turning brown. If you want softer cookies, take them out at 7 minutes.
- Ice The Cookies: Let the cookies sit on the baking sheet for 1 minute after baking, then move them to a wire rack to cool completely. Ice cookies as desired. Keep them in an airtight container for up to 1 week.
Royal Icing
- Beat The Meringue: In the bowl of a stand mixer with the whisk attachment or a large mixing bowl, beat meringue powder and warm water until frothy on medium-low speed for about 1 minute.
- Add Powder Sugar: With the mixer on low, gradually add confectioners' sugar and vanilla. Once fully combined, increase the speed to medium and whip with the whisk attachment until a glue-like consistency forms. Whip on medium-high for an additional 1 to 2 minutes to achieve stiff peaks for a thicker icing.
- Add Water For Desired Consistency: This is now the base icing, and it's naturally stiff. If it's too rigid, add water gradually (start with 1 teaspoon at a time) until the desired consistency is achieved. Alternatively, you can use a spray bottle for a more controlled thinning process. If the icing is too thin, incorporate powdered sugar in small increments until the desired consistency is restored.
- Add To Piping Bag: Once desired consistencies are reached, add the white icing to a piping bag or place it in bowls and color using gel food coloring.
Consistency Types
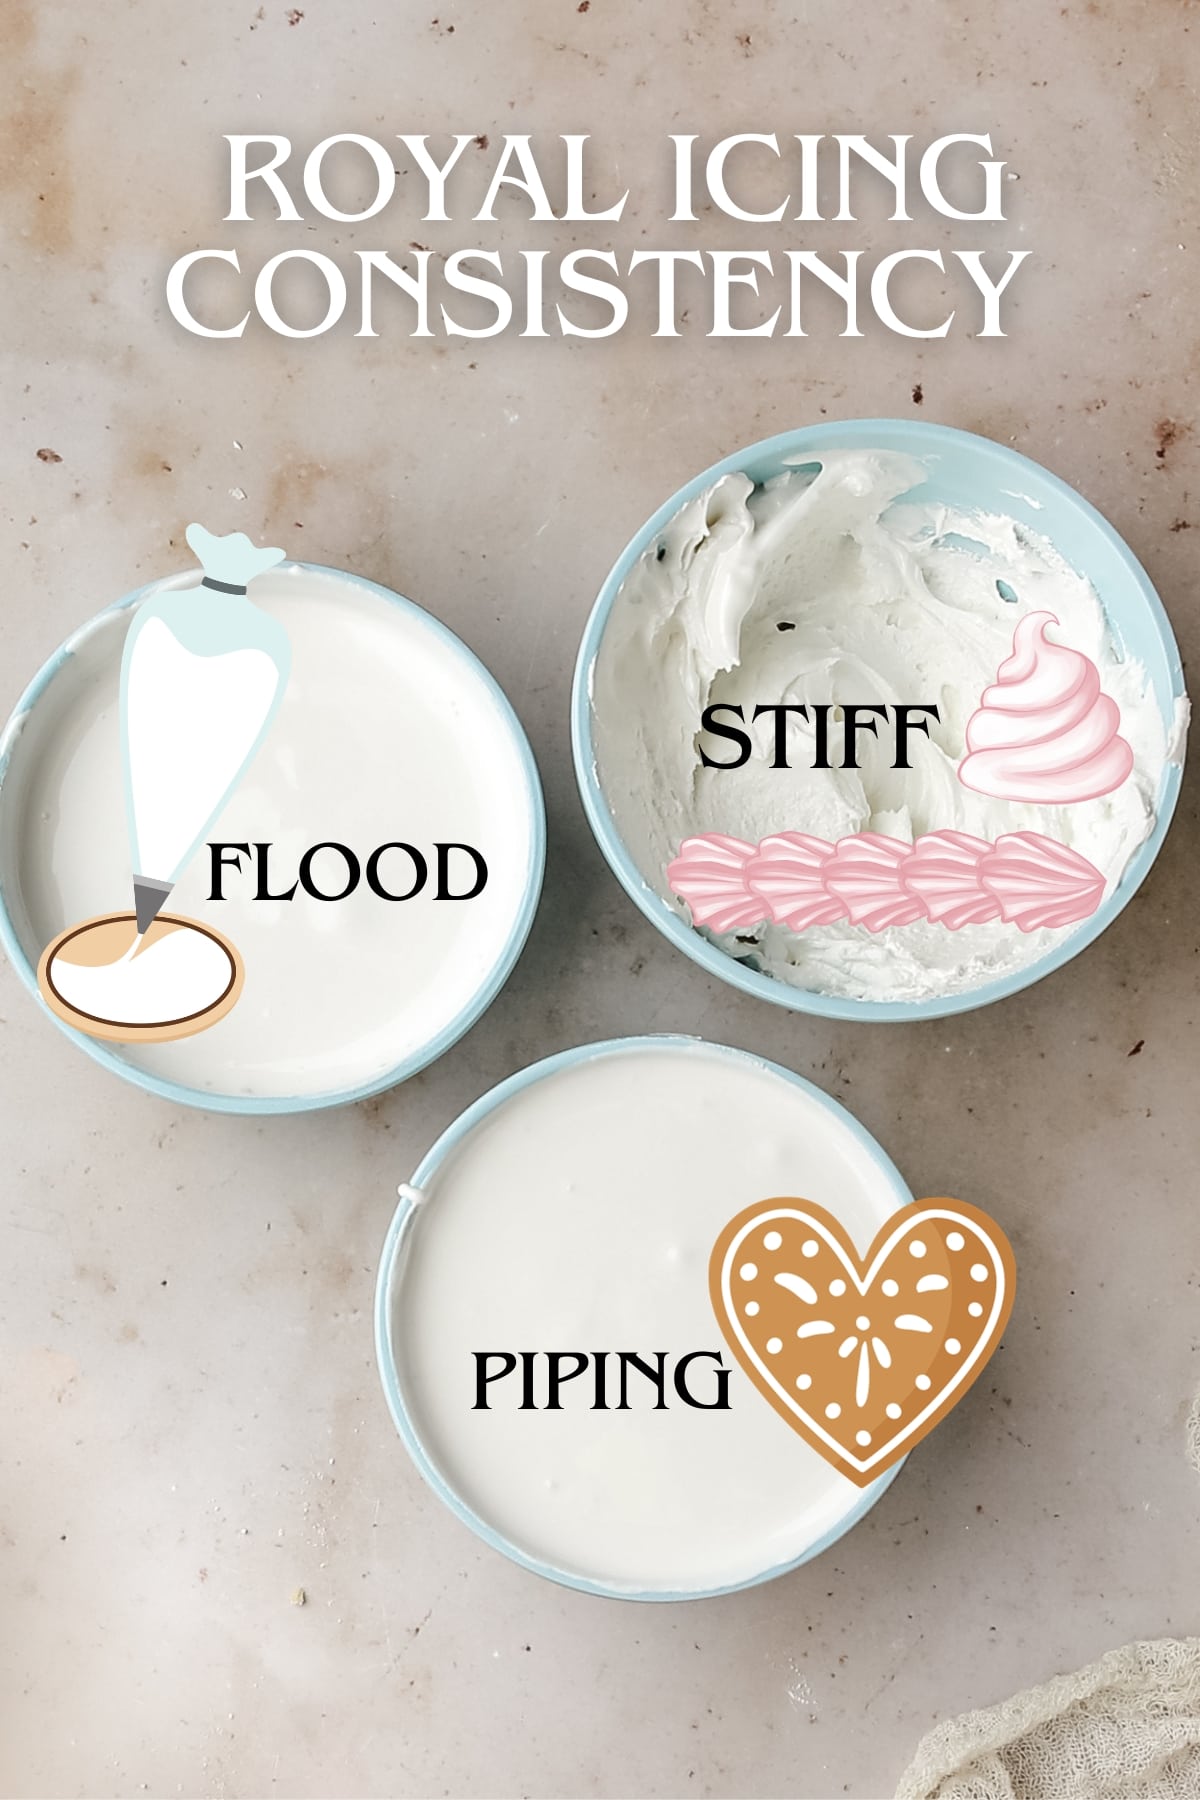
- Stiff Consistency: This type of consistency is comparable to buttercream icing. It is used for leaves, detail designs, flowers, and much more. This consistency will hold its shape.
- Piping Consistency: This type of consistency is comparable to toothpaste. It is used for outlining and lettering. This icing count is 25 seconds.
- Flood Consistency: This type of consistency is comparable to honey or shampoo. It is used for filling large areas. This icing count is 8-10 seconds.
Video
Notes
Expert Tips
-
- Don’t overmix. As soon as it begins to clump together into a dough, it is ready.
-
- Don’t over-knead. This will make the cookies spread and not hold their shape. If you over-knead, you will melt the butter, and the dough will become too soft when baking.
-
- Use parchment paper when rolling out. This will help with sticking. Additionally, add a piece of plastic wrap over the top of the dough to ensure no sticking to the rolling pin.
-
- Re-roll the dough only once. As you roll, it will begin to warm up and become too soft to work with.
-
- Roll the dough evenly so you get the same-sized cookies throughout.
-
- Chill the dough for 20 minutes in the fridge or 10 minutes in the freezer before cutting.
-
- Dip the cookie cutters into flour so they won’t stick and make a mess if you choose not to chill the dough before cutting.
-
- Don’t Overbake. I always pull my cookies out of the oven at around 7 minutes. I watch the edges and take them out before they start turning golden brown because I like my cookies to be a little softer and cake-like.
- For a flatter cookie: only use 1/4 teaspoon of baking powder. I always like mine to have a little puff to them so I add 1/2 teaspoons of baking powder.
- Butter: I use salted butter. However, if you are not a fan you can use unsalted butter and add 1/4 tsp salt to the ingredient list.
- Don’t Pack Flour: When measuring, make sure you are not packing the flour. Spoon the flour into a measuring cup and use the back of a knife to scrape the flour level.
- Powder Sugar: Use powdered sugar instead of flour on a surface when rolling to prevent the cookies from spreading in the oven.
- Frosting: Remember, you don’t have to frost your sugar cookies! They are delicious as is!
- Nutrition Facts: The nutritional facts below only account for the sugar cookie, not the icing.
Storage Tips
Sugar cookies will last up to two weeks if stored in an airtight container on the kitchen counter or pantry. You can also freeze in an airtight container for 6 months. You can freeze sugar cookies decorated with royal icing. Simply place parchment paper between each layer of cookies in an airtight container or freezer-safe ziplock bag. Thaw on the counter on top of parchment paper until room temperature. Sugar cookie dough will last up to 3-5 days in the fridge before cooking. You can wrap the dough in plastic wrap and freeze it for 5-6 months. Be sure to write the date on the wrap. You will know the cookie dough has gone bad by observing the edges. If they are darker than the interior, it’s gone bad. It may also have a bad smell.Equipment
Nutrition
Nutrition information is automatically calculated, so should only be used as an approximation.






Just one egg, right? The instructions say, “eggs” and I got nervous!
These were perfect! My kids and I had the best time making memories! All the tips were so helpful and help create the perfect cookies! Will use this recipe every Christmas!
First time making homemade sugar cookies, it wouldn’t have been a success without this recipe! Thank you for sharing with us! Soft cookies and never burned
Yay. So happy they were great. Thank you
We made the cookies but couldn’t find all the ingredients for the royal icing.
They were very easy and tasted great. Easy to make shapes with the cookie cutters. Only downfall was they could have been a little sweeter, but I imagine with the icing they’d be perfect!
Well done Ashley! Masterful blog post and scrumptious cookies 🙂
Thank you
You were not lying when you titled this the BEST sugar cookies! These were so easy to make and your little video on IG helped make this even easier. I always would buy plain sugar cookies and bring them home to decorate but this year I thought I’d give yours a try and I’m so glad I did. On top of how easy there were to make they taste AMAZING! I really do love these cookies. Thank you for sharing this recipe!!
This is so awesome to hear. Thank you and happy they were a hit
Love! Just making round two!
Cookies came out lovely, but needed about a cup more flour for the recommended recipe? Also, about three minutes to cream the butter and sugar? Once I got the stickiness out and chilled, it all went smoothly.
So glad you were able to tweak the recipe. However, a cup of flour is quite a bit more from the recipe. Super happy they turned out
I followed this recipe exactly as written (including the way I measured the flour). For my first few batches, the taste was great, but the cookies did not hold their shape as much as I would have liked (didn’t hold crisp linea/shape). For my last few batches, I added more flour to take some of the stickiness out of the dough, and they held their shape great! The recipe made it sound like more flour would make it spread more. I’m leaving this comment so that others know that is not the case. It did make the cookie a little denser than the ones with less flour. Next time I will make them with more flour again but bake less time (as she has suggested). Thanks for sharing your recipe!
Thanks so much Tricia! Glad you found what works for you.
Arguably, THEE best sugar cookie recipe I have ever made!
They are deliciously buttery and light. I had no distortion in shape once baked–even with very detailed cookie cutters.
Thank you for sharing!
Thank you Sarah! This is such an amazing compliment.
Thank you for the rolling tip with plastic wrap and chilling before cutting! I already had my family recipe made but remembered your recipe and looked it up because I was having trouble with my first run. The plastic wrap tip was a life saver! Going to use it with pies next week for Thanksgiving too!
Can’t wait to try your recipe next time!