Easy Royal Icing Recipe (with Meringue Powder)
Published Dec 18, 2021 Updated Nov 26, 2023
This post may contain affiliate links. Please read our disclosure policy.
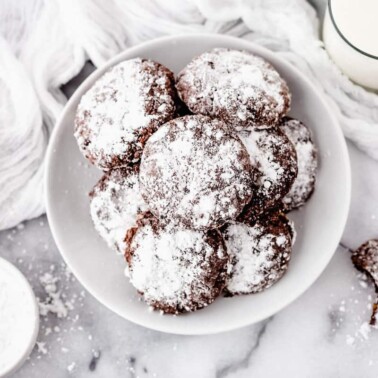
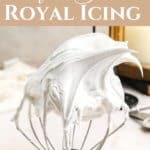
Make the perfect royal icing every time with this foolproof royal icing with meringue powder recipe! This glossy, firm icing is ideal for sugar cookies, gingerbread houses, and all your favorite holiday bakes – no raw eggs required.
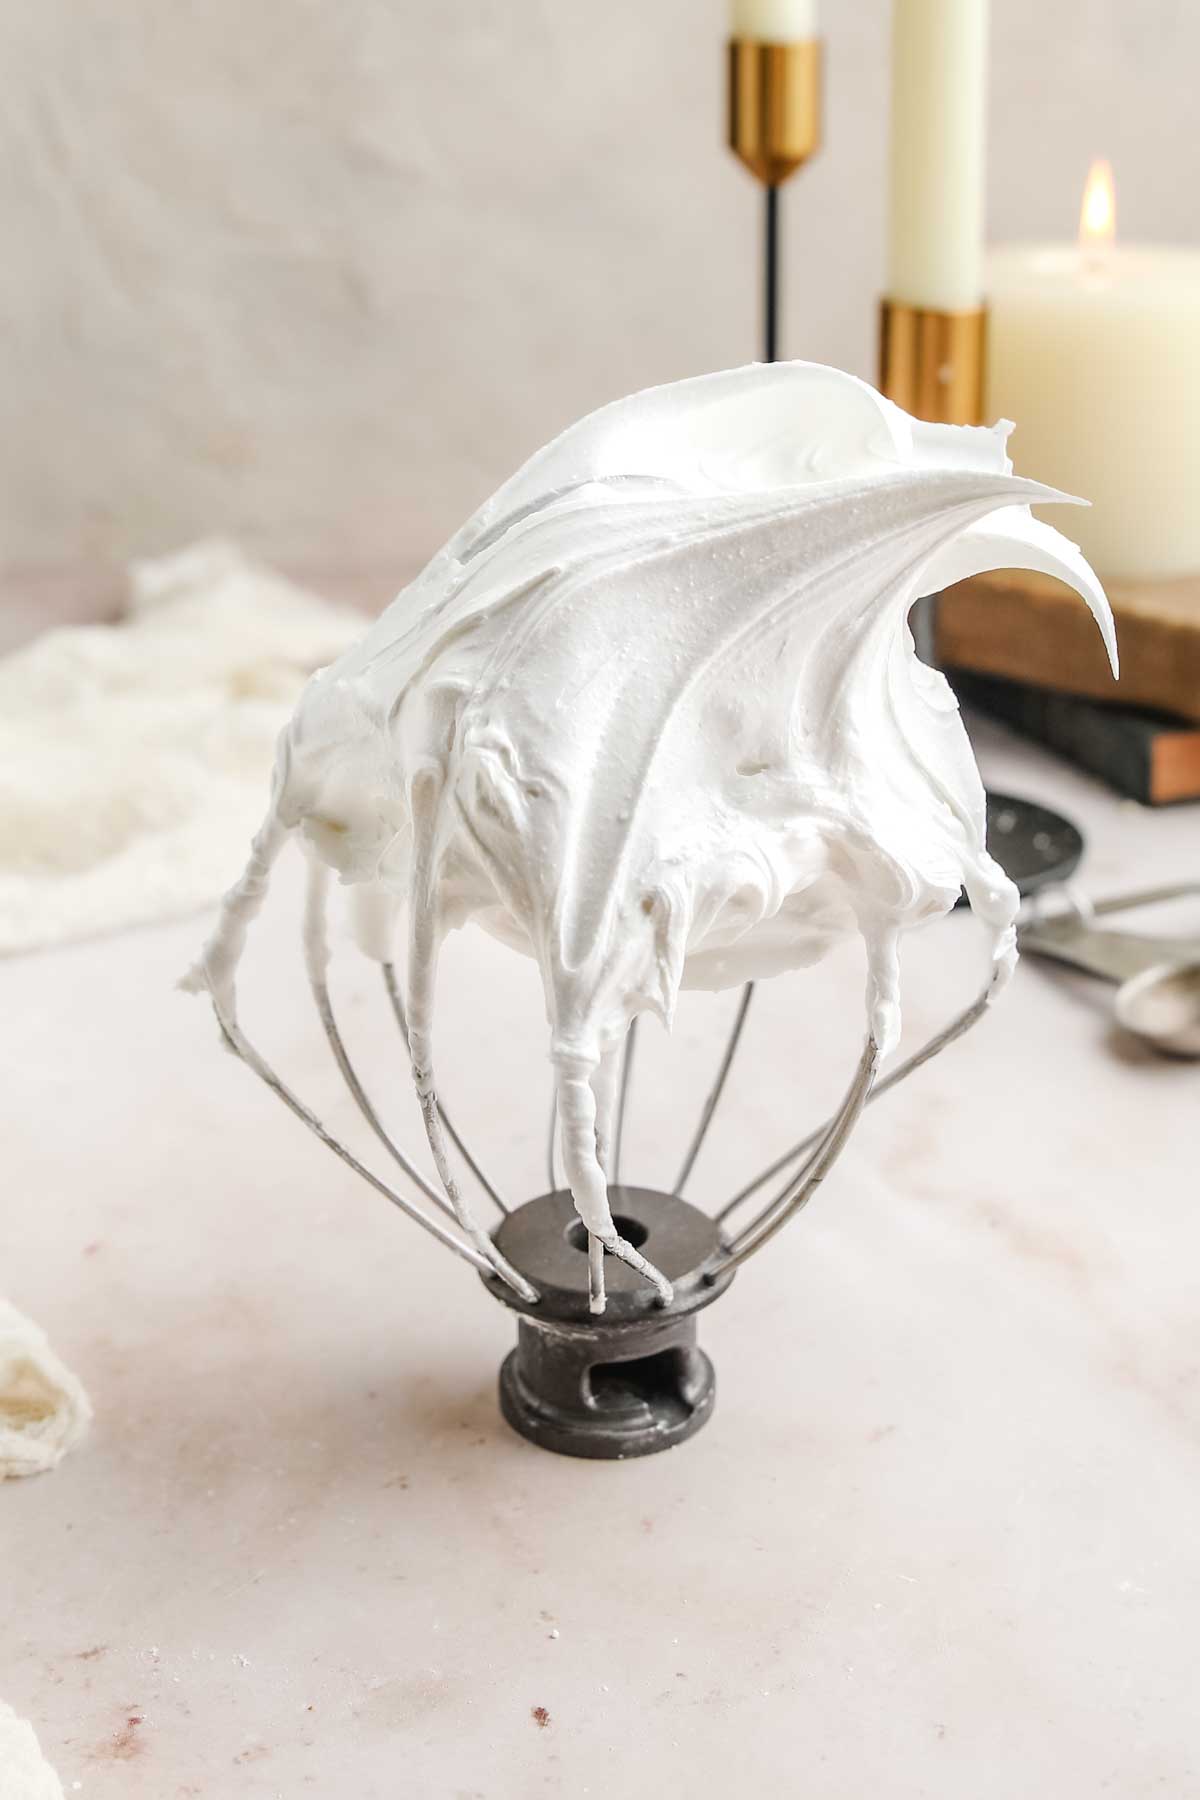
Table of Contents
- Why You’ll Love This Royal Icing for Sugar Cookies (& more!)
- Ingredients You’ll Need
- How to Make Royal Icing with Meringue Powder
- Consistency Guide: Stiff, Piping, and Flood Icing
- Decorating Tips & Coloring Tricks
- Storage and Make-Ahead Tips
- Royal Icing FAQs
- More Baked Treats To Try
- Easy Royal Icing Recipe (with Meringue Powder) Recipe
Why You’ll Love This Royal Icing for Sugar Cookies (& more!)
If you’ve ever searched for an icing that actually sets up the way it should, this is it, y’all. This royal icing with meringue powder is my go-to every holiday season for decorating all of the holiday sweets and treats.
It’s made with just four simple ingredients and whips up into the perfect glossy icing that hardens beautifully without losing its shine. No raw egg whites or tricky steps, just a classic, reliable icing that works every single time! Once you try this version, you’ll never go back.
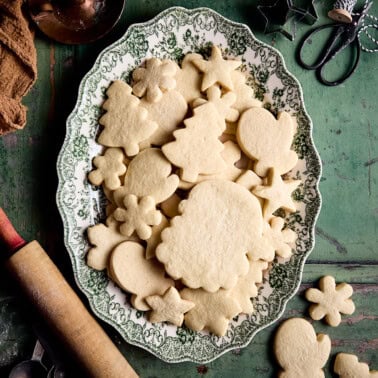
If you’re planning a big baking day, pair this with The Best Holiday Sugar Cookies and make it a family decorating tradition.
Ingredients You’ll Need
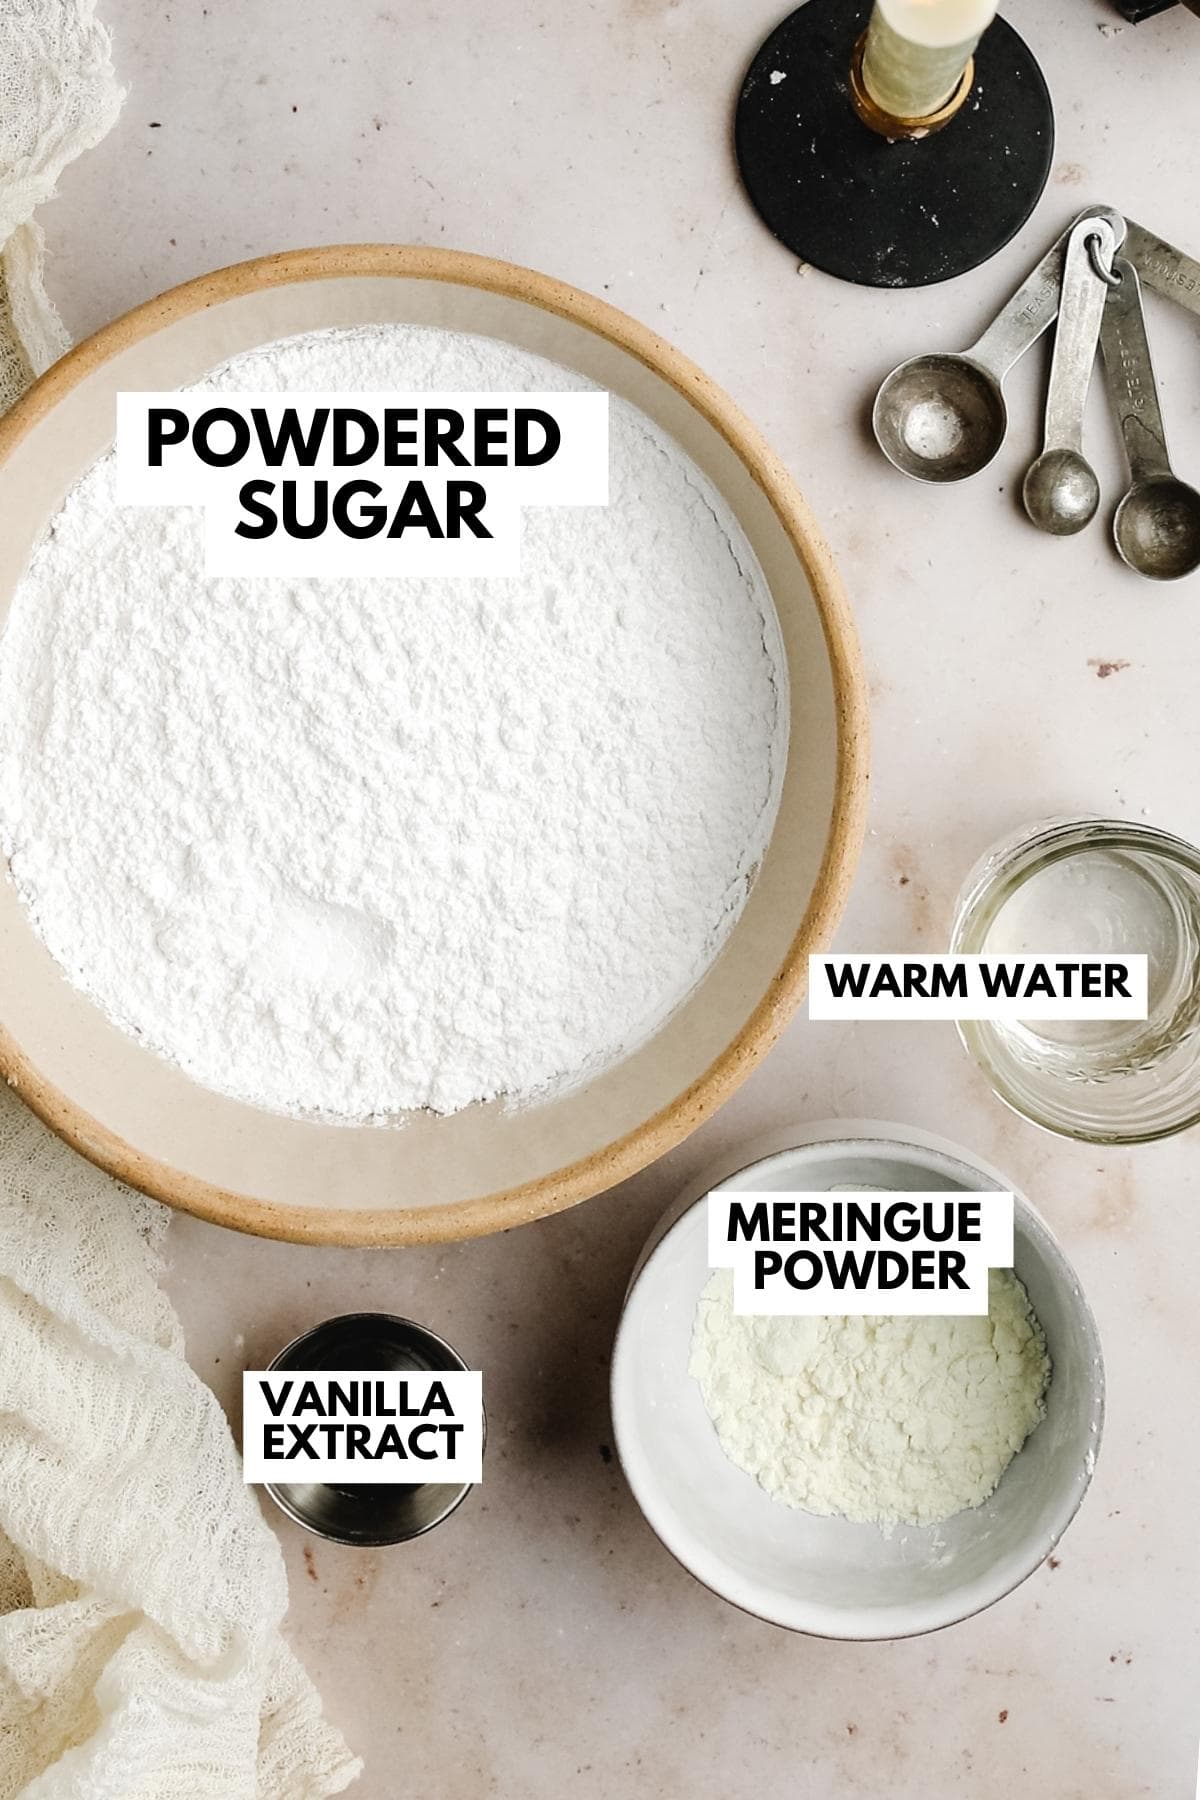
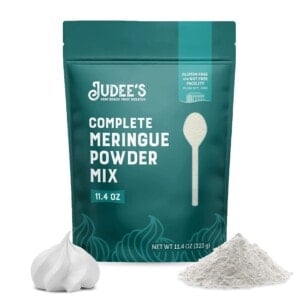
- Meringue Powder: The star of the show! Gives structure and shine without the mess or safety concerns of raw eggs.
- Powdered Sugar: Creates that smooth, silky sweetness we all love.
- Warm Water: Activates the meringue powder and brings everything together.
- Vanilla Extract: Adds warmth and flavor.
- Corn Syrup (optional): Keeps the icing glossy and softens the finish just slightly.
Note: Only use gel food coloring when tinting icing. Liquid drops can thin the consistency too much and change the finish.
How to Make Royal Icing with Meringue Powder
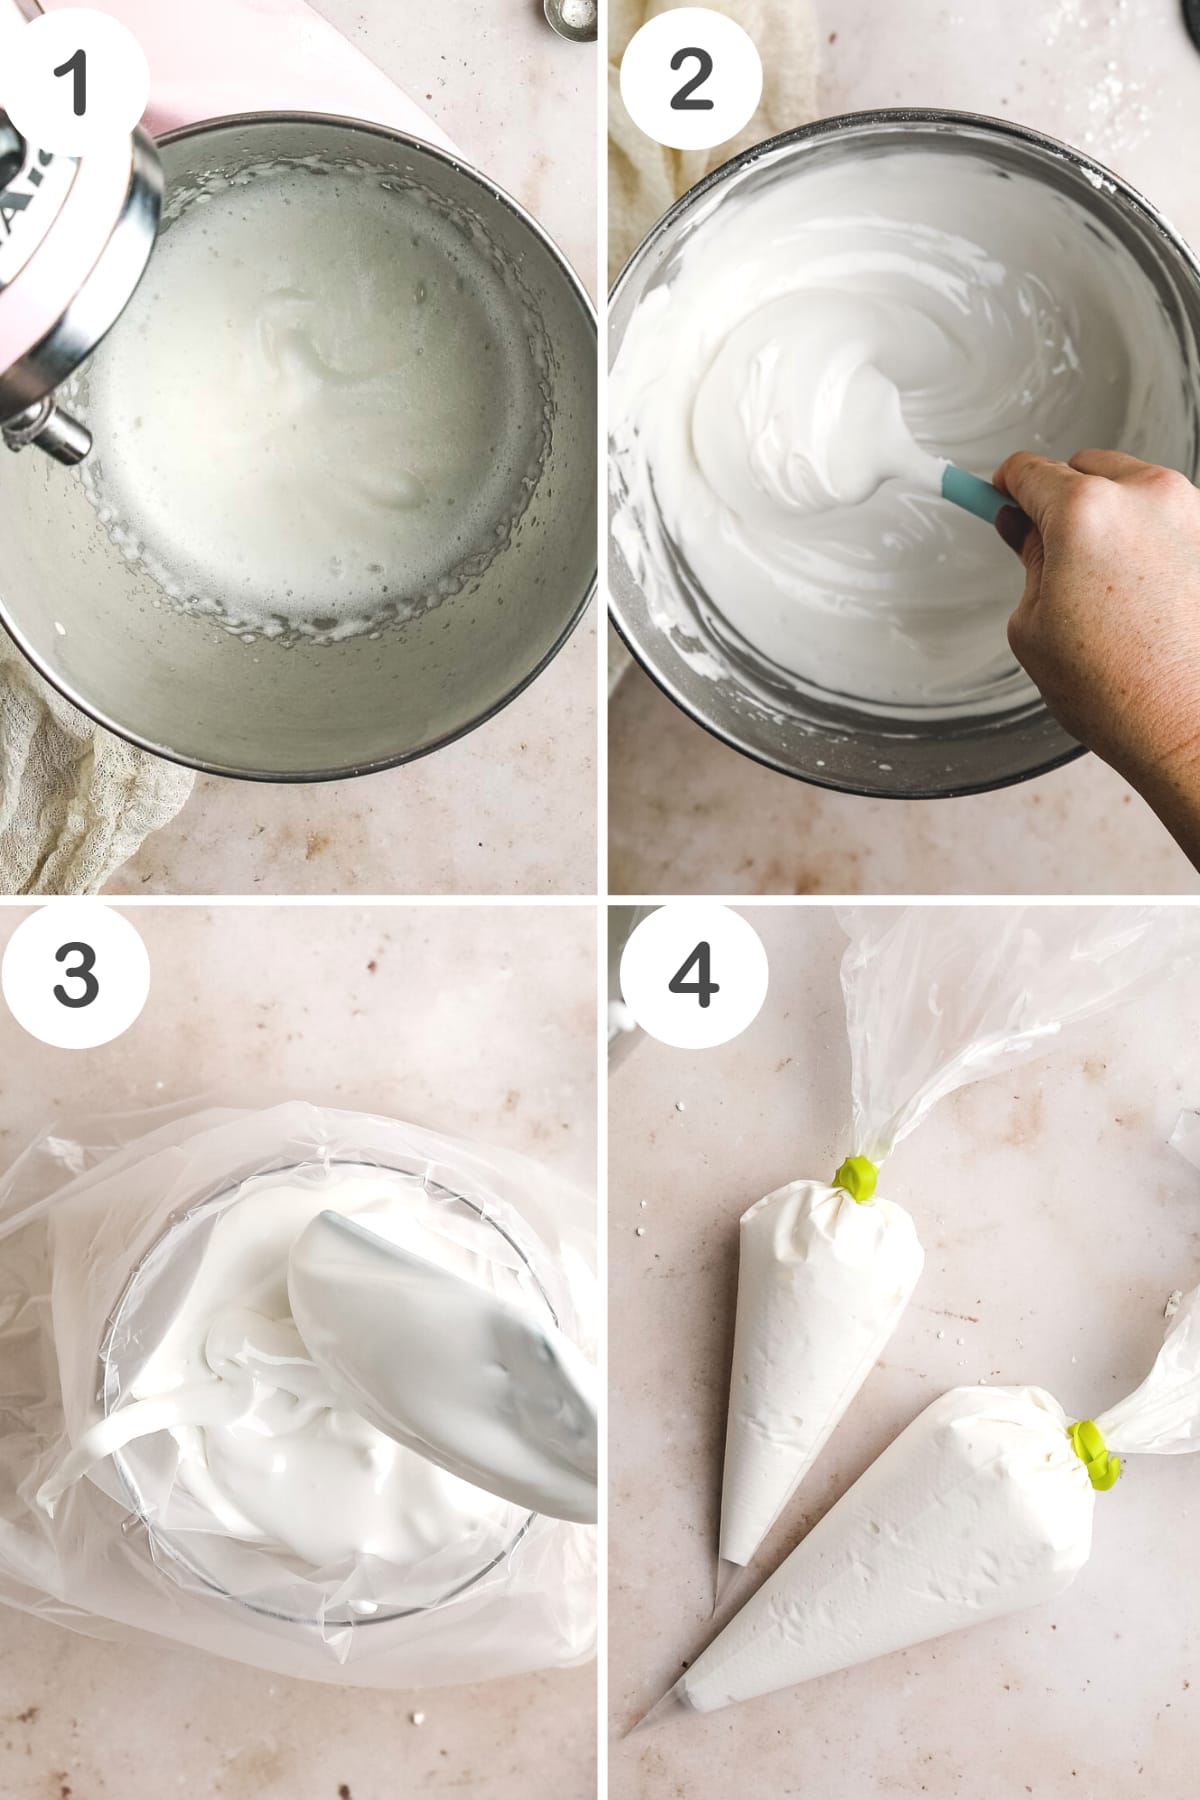
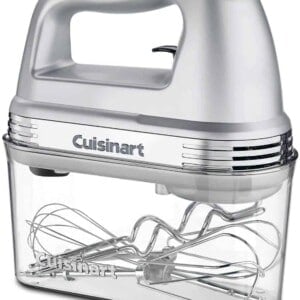
Step 1: In a stand mixer fitted with the whisk attachment (or a large bowl with a hand mixer), beat together the meringue powder and warm water on medium-low speed until frothy, about 1 minute.
Step 2: With the mixer on low, slowly add the powdered sugar and vanilla. Once combined, increase to medium speed and whip until the icing reaches a glue-like consistency.
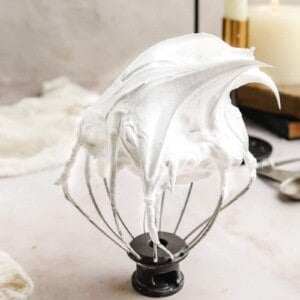
Step 3: Continue beating on medium-high for 1-2 minutes until stiff peaks form. This is your base icing. It’s thick, glossy, and perfect for detailed decorating.
Step 4: To adjust consistency, add water a teaspoon at a time (or spritz with a spray bottle) until you reach the texture you need. If it’s too thin, add more powdered sugar.
Mac’s Pro Tip
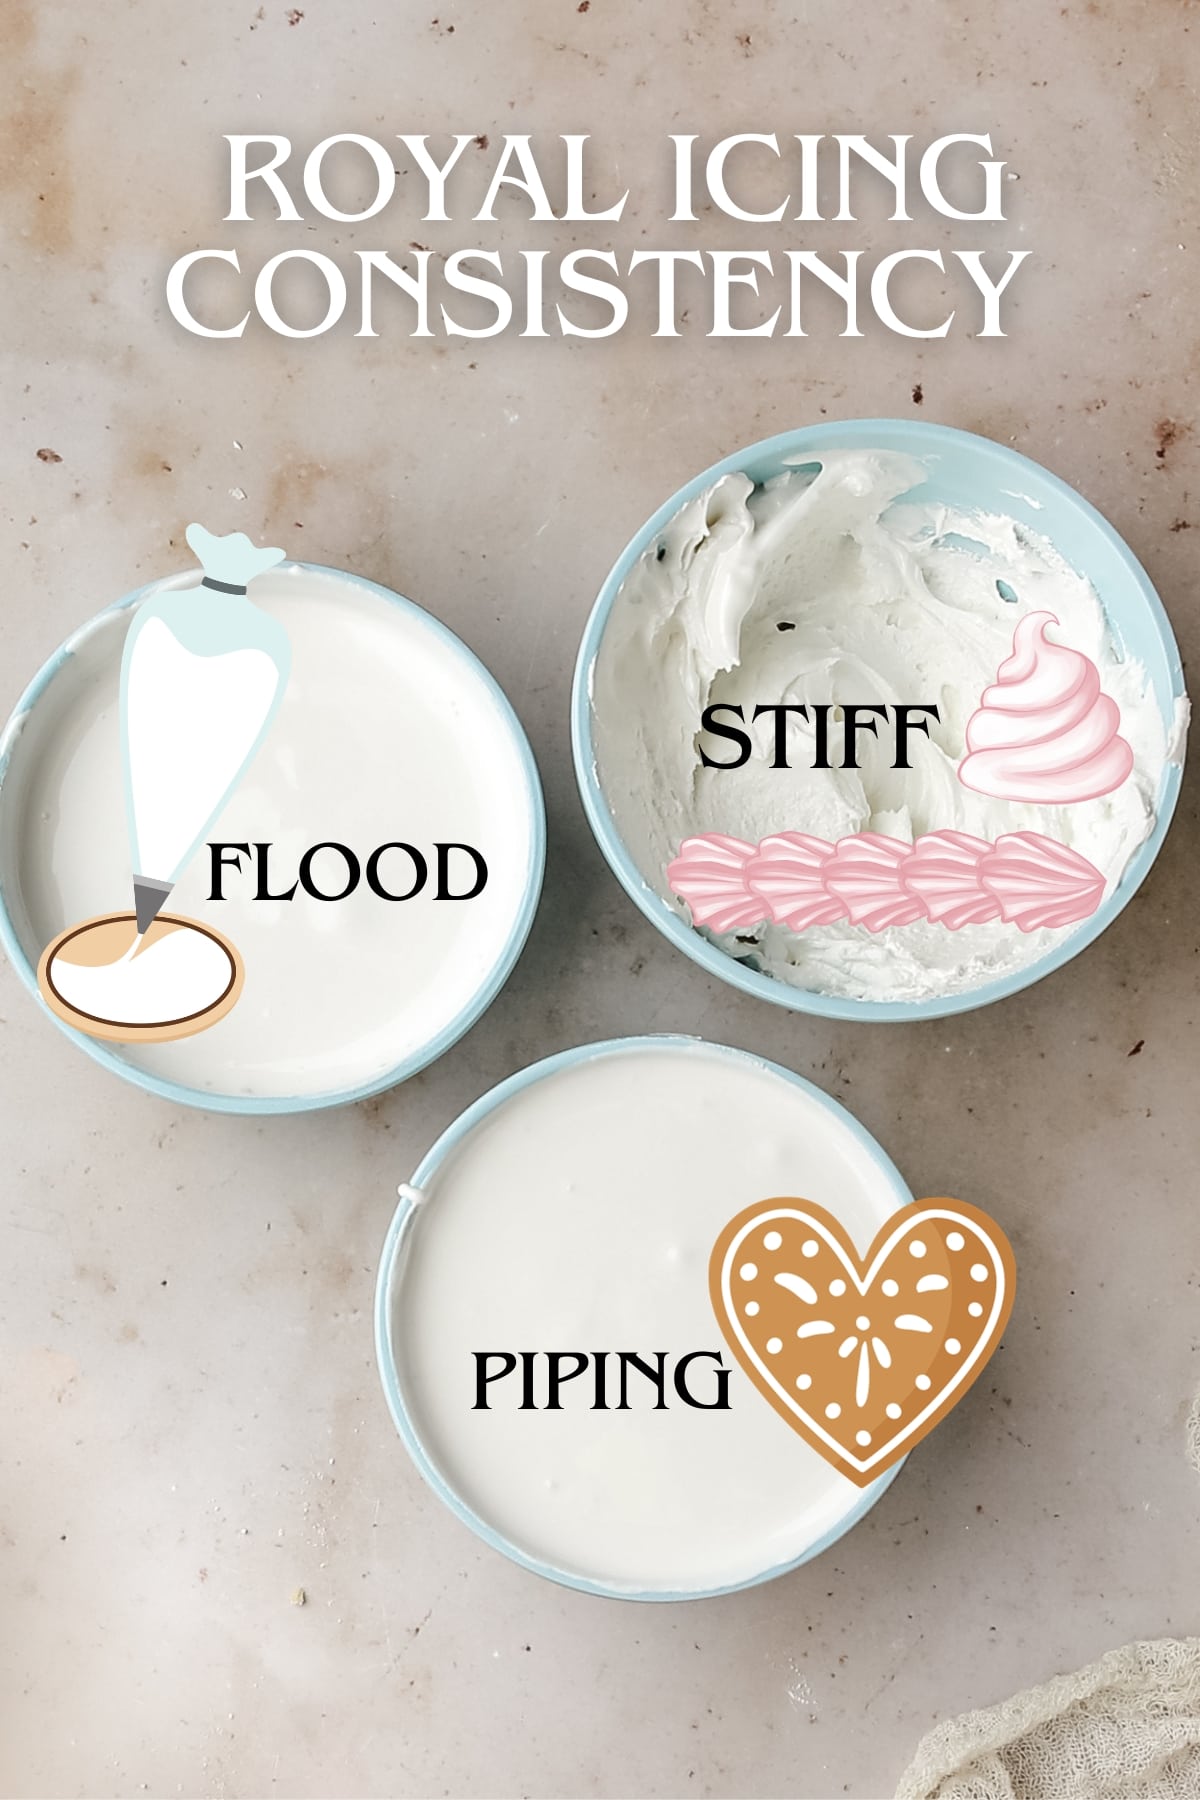
Consistency Guide: Stiff, Piping, and Flood Icing
Every cookie decorator has a favorite consistency – here’s how to get it just right.
- Stiff Consistency: Think buttercream texture. Perfect for flowers, leaves, and detailed piping. It holds its shape beautifully.
- Piping Consistency: Similar to toothpaste. Great for outlining cookies and lettering. Aim for a 25-second icing count (the time it takes for a line drawn through the icing to disappear).
- Flood Consistency: Flows like honey or shampoo. Ideal for filling in large areas of cookies. To test the texture, run a knife through the icing and start counting. If the line disappears in about 8-10 seconds, you’ve got the perfect flood consistency – thin enough to flow smoothly over cookies, but thick enough to stay put without running off the edges.
- Pro Tip: If you’re new to cookie decorating, mix up one bowl of each consistency so you’re ready for outlining and flooding at once.
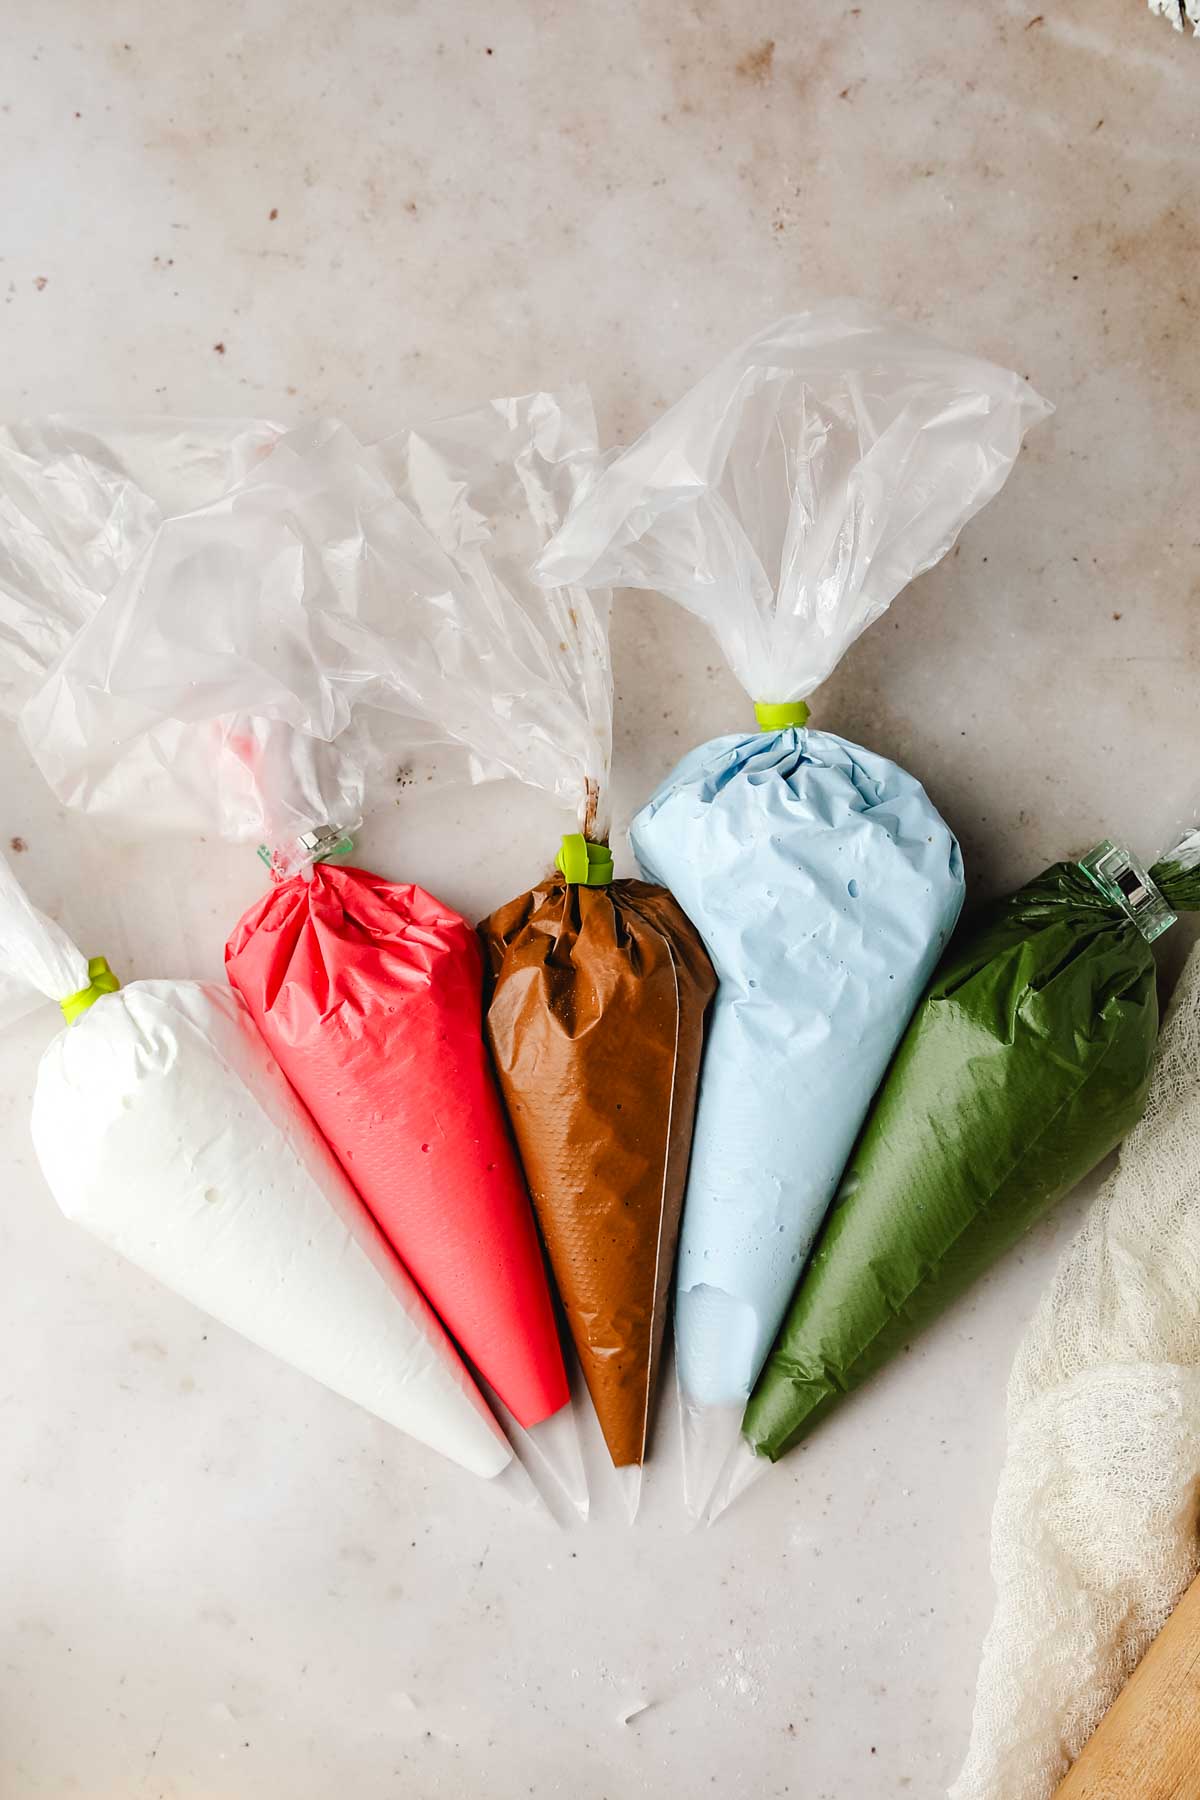
Decorating Tips & Coloring Tricks
- Use Gel Coloring Only: Gel color is more concentrated and won’t thin the icing. Start small, icing darkens as it dries!
- Skip the Whisk When Thinning: Stir gently with a spatula in a figure-8 motion to reduce air bubbles. Let the icing rest for 30 minutes, then stir again before using.
- Keep Piping Tips Covered: Use a warm, damp towel to prevent the icing from crusting over.
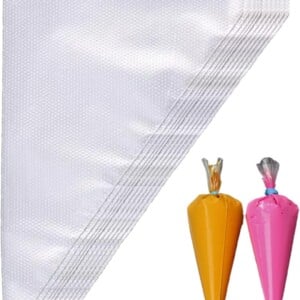
- For Flooding: Use tip #2 or snip a small hole in a piping bag.
- For Piping: Use tip #1 or #1.5, or a smaller cut in the piping bag.
- Drying Shortcut: Place iced cookies in front of a fan to dry in 3-4 hours.
Want to explore another frosting option? Try my Buttercream Frosting for soft, creamy cakes and cupcakes.
Mac’s Pro Tip
Storage and Make-Ahead Tips
Store leftover royal icing in an airtight container at room temperature for up to 2 weeks. Before using again, re-whip on low speed with a paddle attachment until it’s back to your desired consistency.
Be sure to label each color and store it separately to prevent bleeding.
For longer storage, refrigerate for up to a month and let it come to room temperature before mixing.

Royal Icing FAQs
Corn syrup adds a light sheen and keeps the icing from drying too brittle. It’s optional but gives a bakery-style finish.
Brands like Wilton or King Arthur work beautifully! Just make sure it’s fresh for the best volume.
Yes! It stores perfectly for up to 2 weeks. Just re-whip before using.
Absolutely! Use this icing to decorate any and all of your festive holiday treats!
For more fall dessert ideas, check out my 25 Fall Dessert Recipes!
More Baked Treats To Try
If you love this royal icing recipe with meringue powder, please give it a star rating and leave a comment below! Follow me on Pinterest, Facebook, and Instagram for more!

Easy Royal Icing Recipe (with Meringue Powder)
Ingredients
- 1/4 cup meringue powder
- 1/2 cup warm water
- 4 cups powdered sugar
- 1 teaspoon vanilla extract
- 1-2 tbsp corn syrup OPTIONAL (helps with shine)
Instructions
- In the bowl of a stand mixer (using the whisk attachment) or large mixing bowl, beat together the meringue powder and warm water on medium-low speed until frothy, about 1 minute.
- with the mixer on low speed, slowly add in the confectioners’ sugar and vanilla. Once fully incorporated, increase speed to medium speed and whip using the whisk until a glue-like consistency forms. Whip on medium-high speed for an additional 1 to 2 minutes to make stiff peaks for a thicker icing.
- At this point, this is the base icing and will be stiff. If the icing is too stiff, add more water, I recommend starting with 1 teaspoon at a time until desired consistency is reached. I also love using a spay bottle to thin the icing down. If icing is too thin, add powdered sugar, just a little at a time, until desired consistency has been reached.
- Once desired consistencies are reached, add the white icing to a piping bag or place it in bowls and color using ONLY gel food coloring. If you use drops it will thin out your icing and change the consistency of the icing.
Consistency Types
- Stiff Consistency: This type of consistency is comparable to buttercream icing. It is used for leaves, detail designs, flowers and much more. This consistency will hold its shape.
- Piping Consistency: This type of consistency is comparable to toothpaste. It is used outlining and lettering. This icing count is 25 seconds.
- Flood Consistency: This type of consistency is comparable to honey or shampoo. It is used for filling large areas. This icing count is 8-10 seconds.
Notes
-
- When you first make a batch of royal icing, it will start at a stiff consistency. This will be your base, and you will add water to get the consistency you are looking for.
-
- If you don’t have a stand mixer and whisk attachment, feel free to use a handheld mixer.
-
- Using a spray bottle to add a little water to the icing allows you to better control the amount of water added at a time to the icing. This was first introduced to the baking world by Gail of One Tough Cookie NYC.
Consistency
There are 3 main types of royal icing consistencies. To test consistency, take a knife and run a line down the middle. Once the line is drawn, count how many seconds it takes for the line to disappear. This is what I call the “icing count.”-
- Stiff Consistency: This type of consistency is comparable to buttercream icing. It is used for leaves, detailed designs, flowers, and much more. This consistency will hold its shape.
-
- Piping Consistency: This type of consistency is comparable to toothpaste. It is used for outlining and lettering. This icing count is 25 seconds.
-
- Flood Consistency: This type of consistency is comparable to honey or shampoo. It is used for filling large areas. This icing count is 8-10 seconds. (this consistency is an excellent icing recipe for sugar cookies!).
Decorating
Gel Food Coloring: Only use gel food coloring when mixing new colors. If you use liquid drops, it will thin down the icing and give you a different consistency. Piping Tips: Be sure to fully cover the decorating tips with a warm, damp towel to prevent the icing from getting crusty and drying out. Thinner Icing: Make sure when thinning the icing to mix using a spatula. Be sure not to whisk vigorously. Mix icing in a figure-8 motion. Also, allow the icing to sit for 30 minutes or so, and remove any bubbles that form by stirring the icing one more time. Alternative Decorating Methods: You can use tips or just cut a small slit in the bag to decorate. I recommend doing the following:-
- For flooding consistency, use a tip 2 or no tip at all. If you don’t use a metal tip, simply snip the tip off disposable plastic cones. Start small and cut more if needed, and don’t cut at an angle.
-
- For piping consistency, use a metal tip 1-1.5 or, again, no tip at all. Just snip a smaller amount of plastic off the piping bag. As for stiff icing, you can use really fun decorative tips such as star shapes, flowers, or ruffle shapes.
Storage Tips
Store leftover royal icing in an airtight container at room temperature for up to two weeks. Be sure to re-whip before using. Use a paddle attachment at low speed to whip until it’s back to the correct consistency.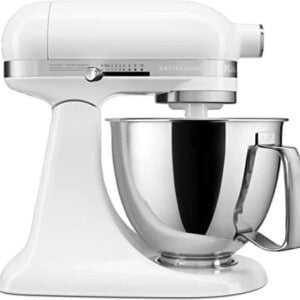

Nutrition
Nutrition information is automatically calculated, so should only be used as an approximation.


It turned out, but I was stressed in the middle of the recipe because the instructions don’t indicate where to add the corn syrup if you choose to use it. So I was winging it at the end and was concerned about ruining the double batch I made.
Thank you so much for pointing that out. The corn syrup is completely optional and it should be added in with the other ingredients.
This has to be the BEST royal icing recipe EVER!! I cannot believe that I actually made edible cookies with beautiful icing! My friends were so impressed!! Thank you! PS. I don’t have corn syrup and it still turned out wonderful!!
This makes me so happy to read. I’m so glad you had success with the icing and that your cookies turned out both beautiful and delicious. That is such a huge win.