Oreo Mummy Cookies
Published Sep 05, 2023
This post may contain affiliate links. Please read our disclosure policy.
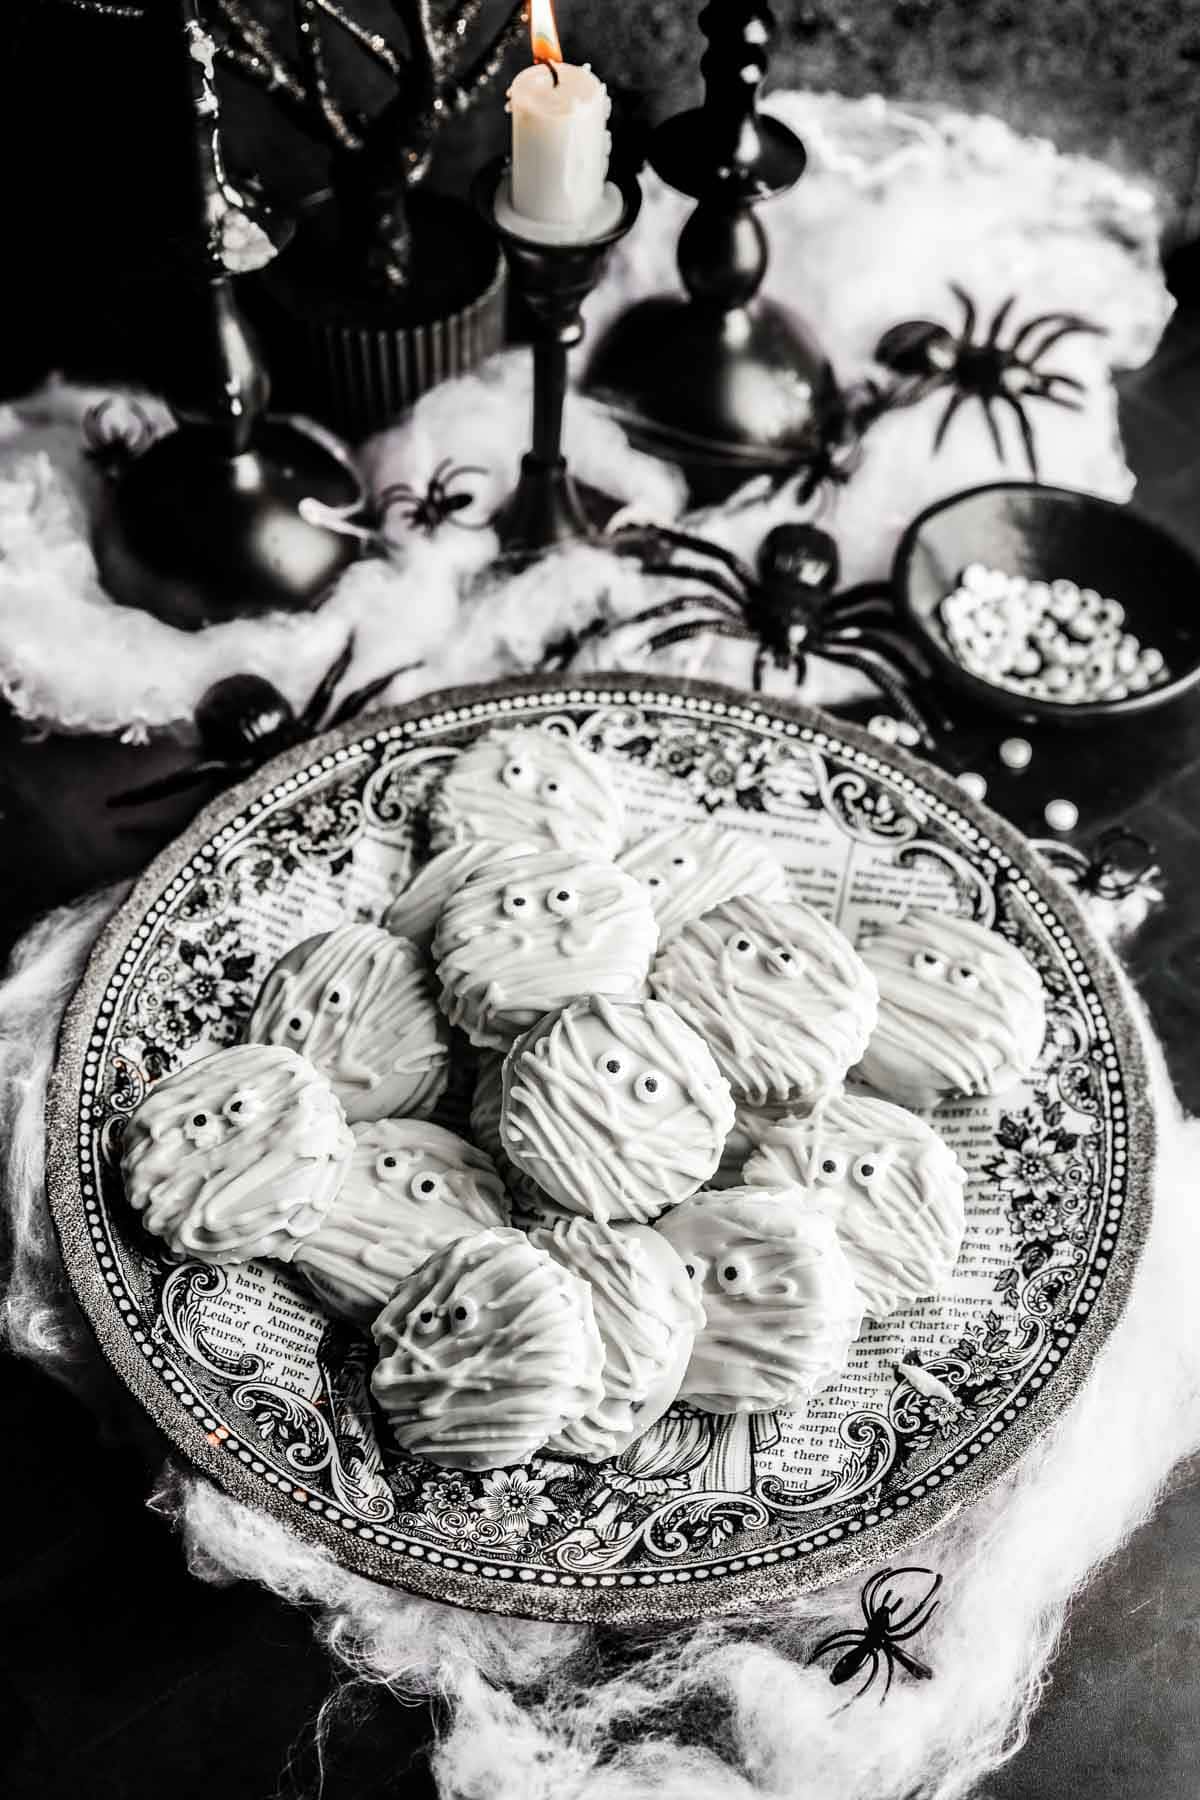
Oreo Mummy Cookies are the perfect spooky Halloween treat for parties, school events, or simply to enjoy at home with family and friends. These are made by coating Oreo cookies in white chocolate, then adding candy eyeballs and drizzling more white chocolate to create a mummy’s bandage-like appearance.

Table of Contents
What Makes This Recipe Great?
These Halloween Mummy Cookies are a great recipe because they are not only adorable, but super easy to make. They add a festive touch to Halloween celebrations and are a fun project for both kids and adults. This recipe only requires a few simple ingredients that are available at most grocery stores, and you don’t need any special baking skills. And if you love this recipe, you will love my Chocolate Turtle Apple Slices.
Ingredient Notes
- Oreos regular or gluten-free
- White chocolate chips or white candy melts
- Coconut Oil: This is added to the chocolate to make it super smooth.
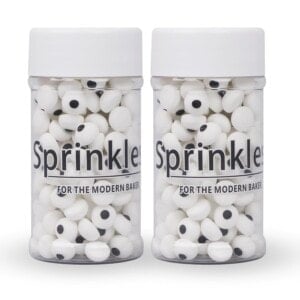
- Candy eyeballs: these are available at most grocery stores, but if you can’t find them, grab them here on Amazon.
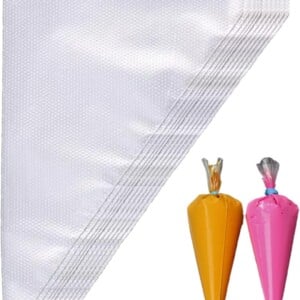
- Piping bag: You can also use a zip top bag if you don’t have a pipping bag. Snip a tiny corner off the sealed end of the baggie using scissors. Start with a small cut, as you can always make it bigger if needed. The size of the cut will determine the thickness of the chocolate stream.

Step By Step
How to Make Mummy Cookies?
- Melt the White Chocolate: Place the white chocolate chips or candy melts in a microwave-safe bowl with coconut oil. The oil will help it get nice and smooth. Microwave in 20-second intervals, stirring until the chocolate is completely melted and smooth. Be careful not to overheat the chocolate.
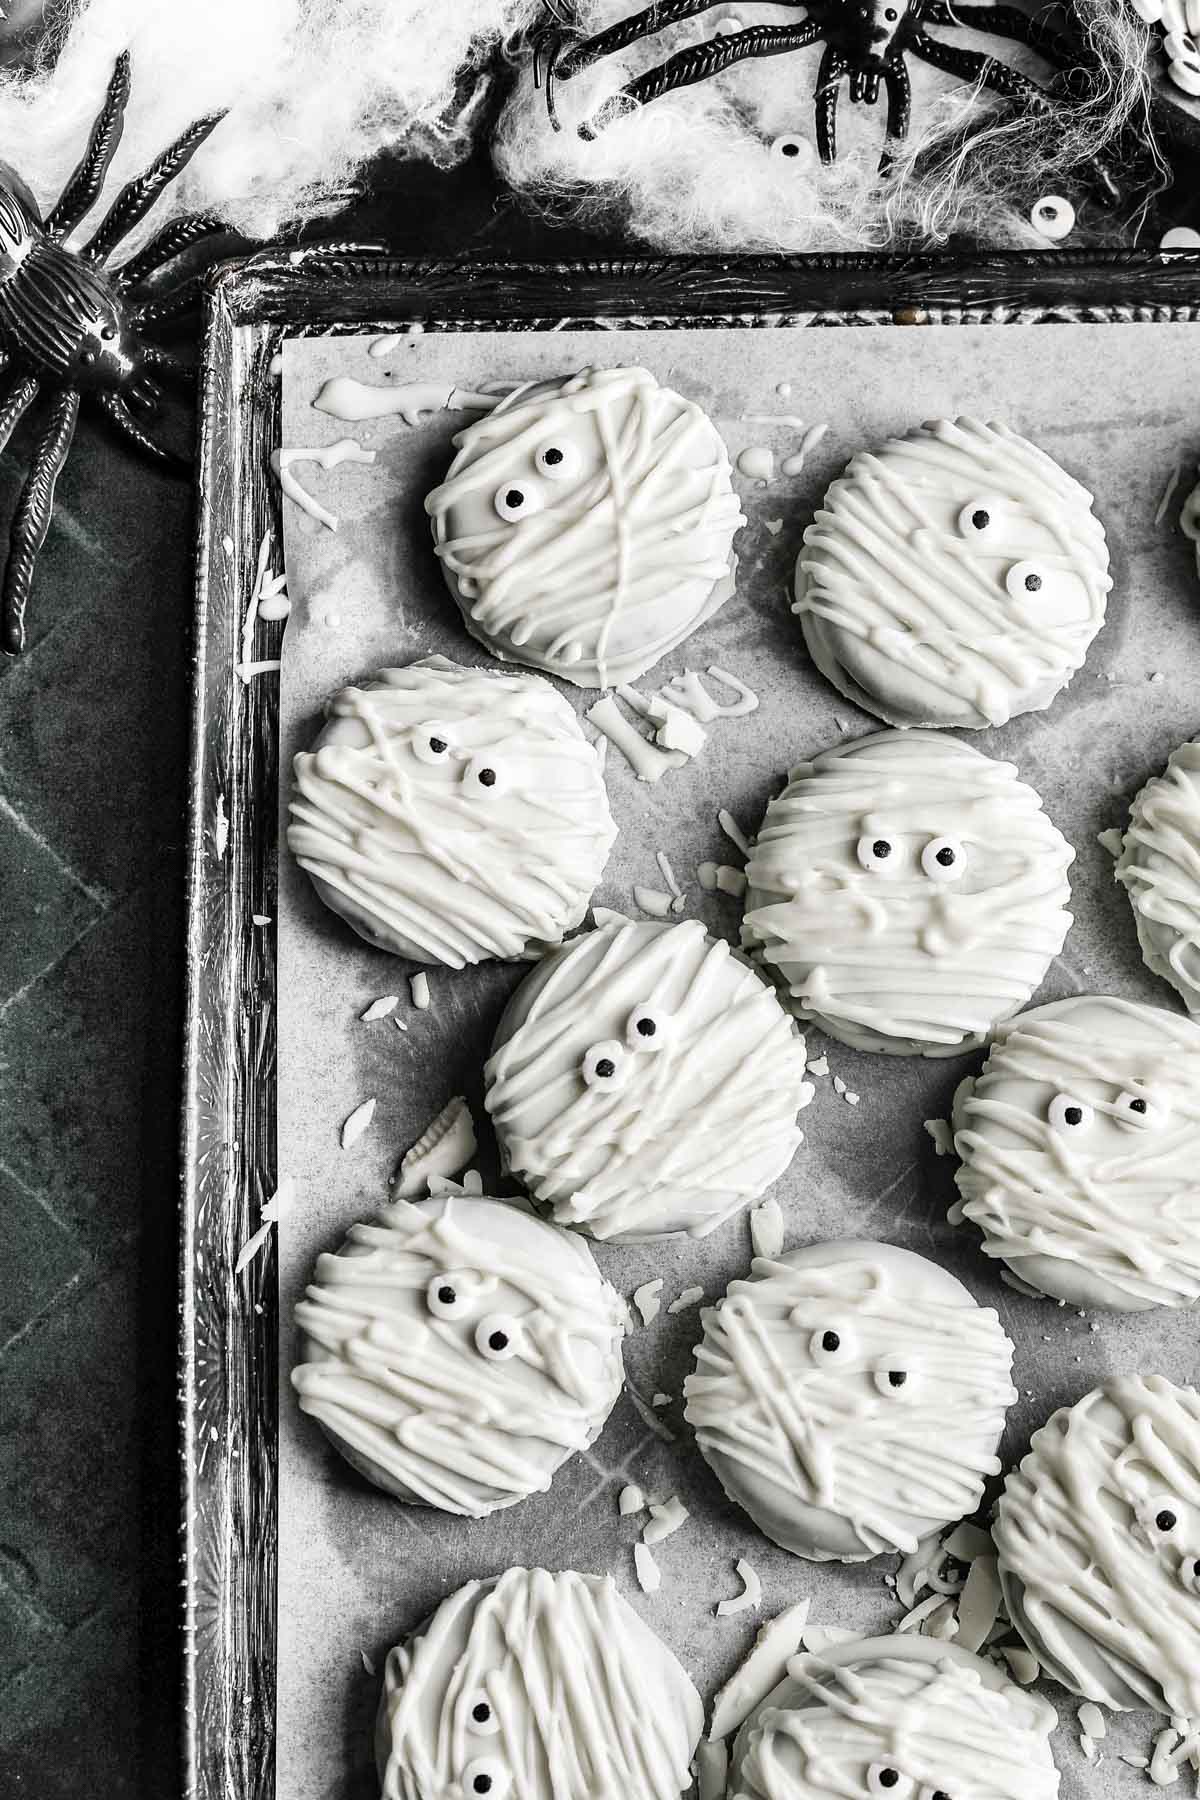
- Dip the Oreos: Dip an Oreo into the melted white chocolate with a fork, making sure to coat both sides completely. Allow any excess to drip back into the bowl.
- Create the Mummy Wrappings: Place the chocolate-coated Oreo on a parchment paper-lined baking sheet or a wire rack. While the chocolate is still wet, add two candy eyeballs to the top half of the Oreo to create the mummy’s eyes. You can also use a dab of melted chocolate to “glue” the eyes in place.
- Let It Set: Allow the chocolate to cool and harden for a few minutes, but not completely.
- Add Mummy Stripes: Using a piping bag filled with white chocolate, drizzle more of the melted white chocolate over the top of the Oreo in a zigzag pattern to create the mummy’s bandages. Make sure to go around the eyes and not cover them completely.
- Let Them Cool: Allow the mummy Oreos to cool and harden completely. You can speed up the process by placing them in the refrigerator for about 15-20 minutes.
Mac’s Pro Tip
Expert Tips
- Melt Chocolate and Caramel Properly: Melt the chocolate and caramel over low heat, stirring constantly to prevent burning. Use a double boiler or microwave in short intervals to avoid overheating.
Storage
- To maintain freshness and prevent the cookies from becoming too soft or too hard, store them in an airtight container at room temperature. You can place parchment paper between layers to prevent sticking.
FAQs
For sure! Store the prepared cookies in an airtight container at room temperature, and they should remain fresh for several days. Avoid stacking them if the icing or chocolate is still soft. Make sure the chocolate is completely dry. I always like to use parchment paper in between each layer of cookies. This will prevent them from sticking together.
While you can store Mummy Oreo Cookies in the refrigerator, it’s not necessary unless your kitchen is very warm. Room temperature storage in an airtight container is usually sufficient.
Absolutely! Use a dairy-free chocolate cookie as the base and a vegan white chocolate.
Follow on Instagram
More Fall Recipes
Gluten Free
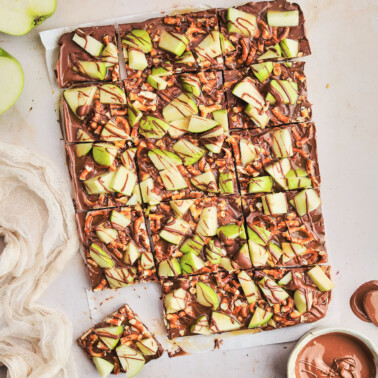
Caramel Apple Bark With Pretzels

Fall/Thanksgiving
Chocolate Turtle Apple Slices

Desserts
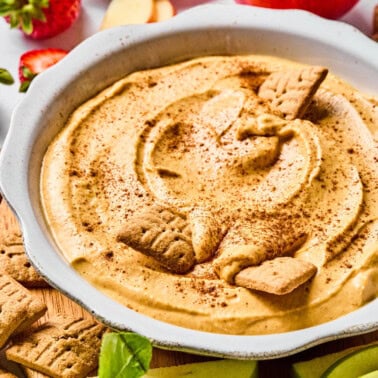
Pumpkin Pie Low Carb Yogurt Bark


Oreo Mummy Cookies
Ingredients
- 12 Oreos regular or gluten-free
- 1 cup white chocolate chips or white candy melts
- 1 tbsp coconut oil
- 24 candy eyeballs
- piping bag
Instructions
- Melt the White Chocolate: Place the white chocolate chips or candy melts in a microwave-safe bowl with coconut oil. The oil will help it get nice and smooth. Microwave in 20-second intervals, stirring until the chocolate is completely melted and smooth. Be careful not to overheat the chocolate.
- Dip the Oreos: Dip an Oreo into the melted white chocolate with a fork, making sure to coat both sides completely. Allow any excess to drip back into the bowl.
- Create the Mummy Wrappings: Place the chocolate-coated Oreo on a parchment paper-lined baking sheet or a wire rack. While the chocolate is still wet, add two candy eyeballs to the top half of the Oreo to create the mummy's eyes. You can also use a dab of melted chocolate to "glue" the eyes in place.
- Let It Set: Allow the chocolate to cool and harden for a few minutes, but not completely.
- Add Mummy Stripes: Using a piping bag filled with white chocolate, drizzle more of the melted white chocolate over the top of the Oreo in a zigzag pattern to create the mummy's bandages. Make sure to go around the eyes and not cover them completely.
- Let Them Cool: Allow the mummy Oreos to cool and harden completely. You can speed up the process by placing them in the refrigerator for about 15-20 minutes.

Nutrition
Nutrition information is automatically calculated, so should only be used as an approximation.


These are so perfect for a sweet Halloween treat! My kids loved them.
These were so much fun to make! My family loved them. Thank you for the recipe.
You are most welcome!