Chocolate Turtle Apple Slices
Published Oct 30, 2019 Updated Nov 19, 2023
This post may contain affiliate links. Please read our disclosure policy.
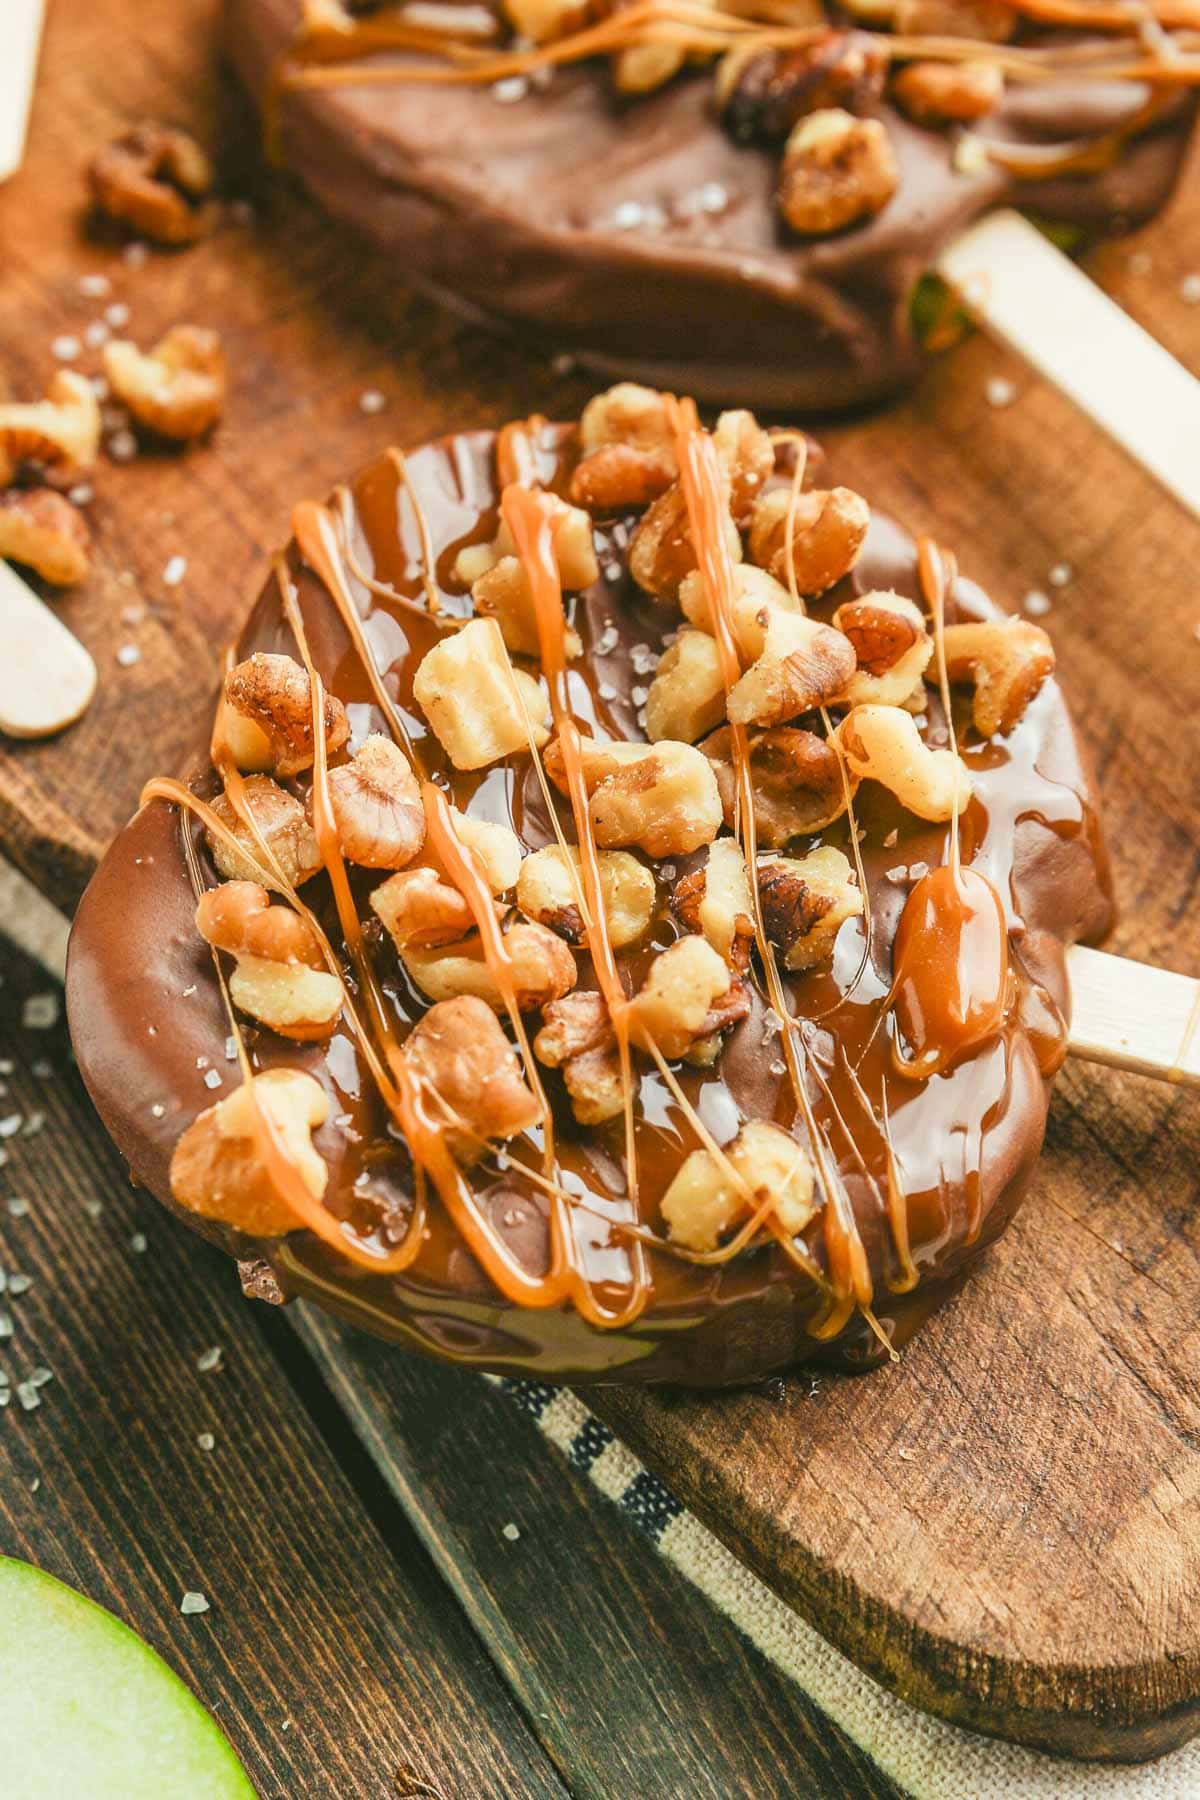
Chocolate Turtle Apple Slices are a delicious treat that combines the classic flavors of caramel apples with the decadence of turtle candies. These are the perfect fall treat for parties, school events, or simply to enjoy at home with family and friends.
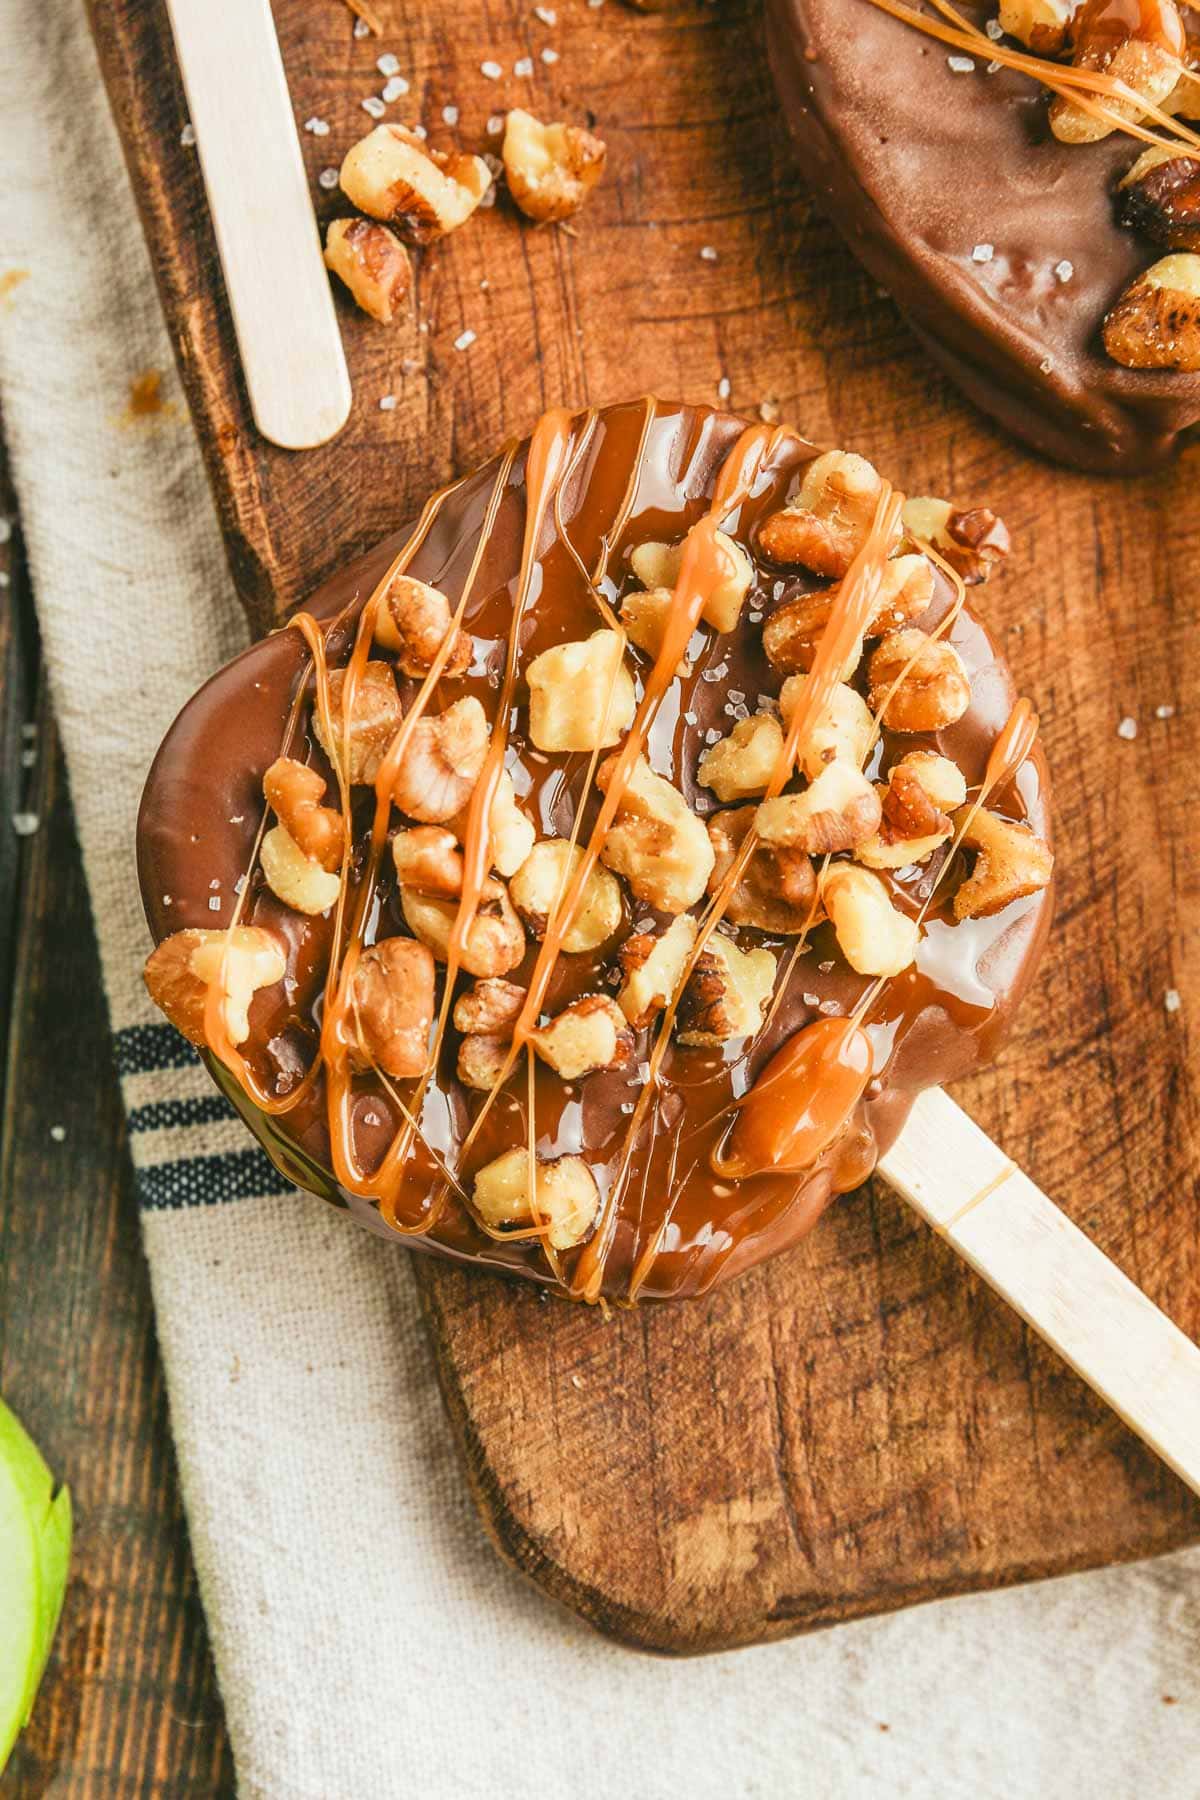
Table of Contents
What Makes This Recipe Great
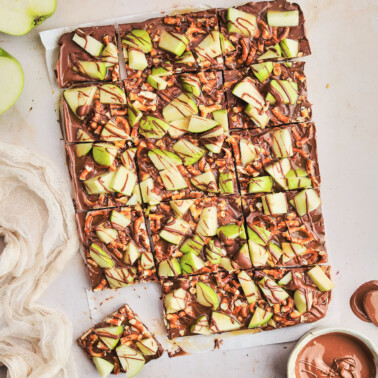
Fall is my favorite time of the year, especially because of the food! These Chocolate Turtle Apple Slices are always a recipe my family looks forward to. Not only do they evoke a nostalgia by reminding reminding people of the simple pleasures of childhood, but they are stunning and delicious. In addition, they are perfect for serving at parties, events, or as individual treats. Unlike whole caramel apples, these slices are pre-portioned on sticks, making them easier to handle and enjoy without creating a sticky mess. And if you love this fall favorite, you have to check out my Caramel Apple Bark with Pretzels.
Ingredient Notes
Chocolate Turtle Apple Slices
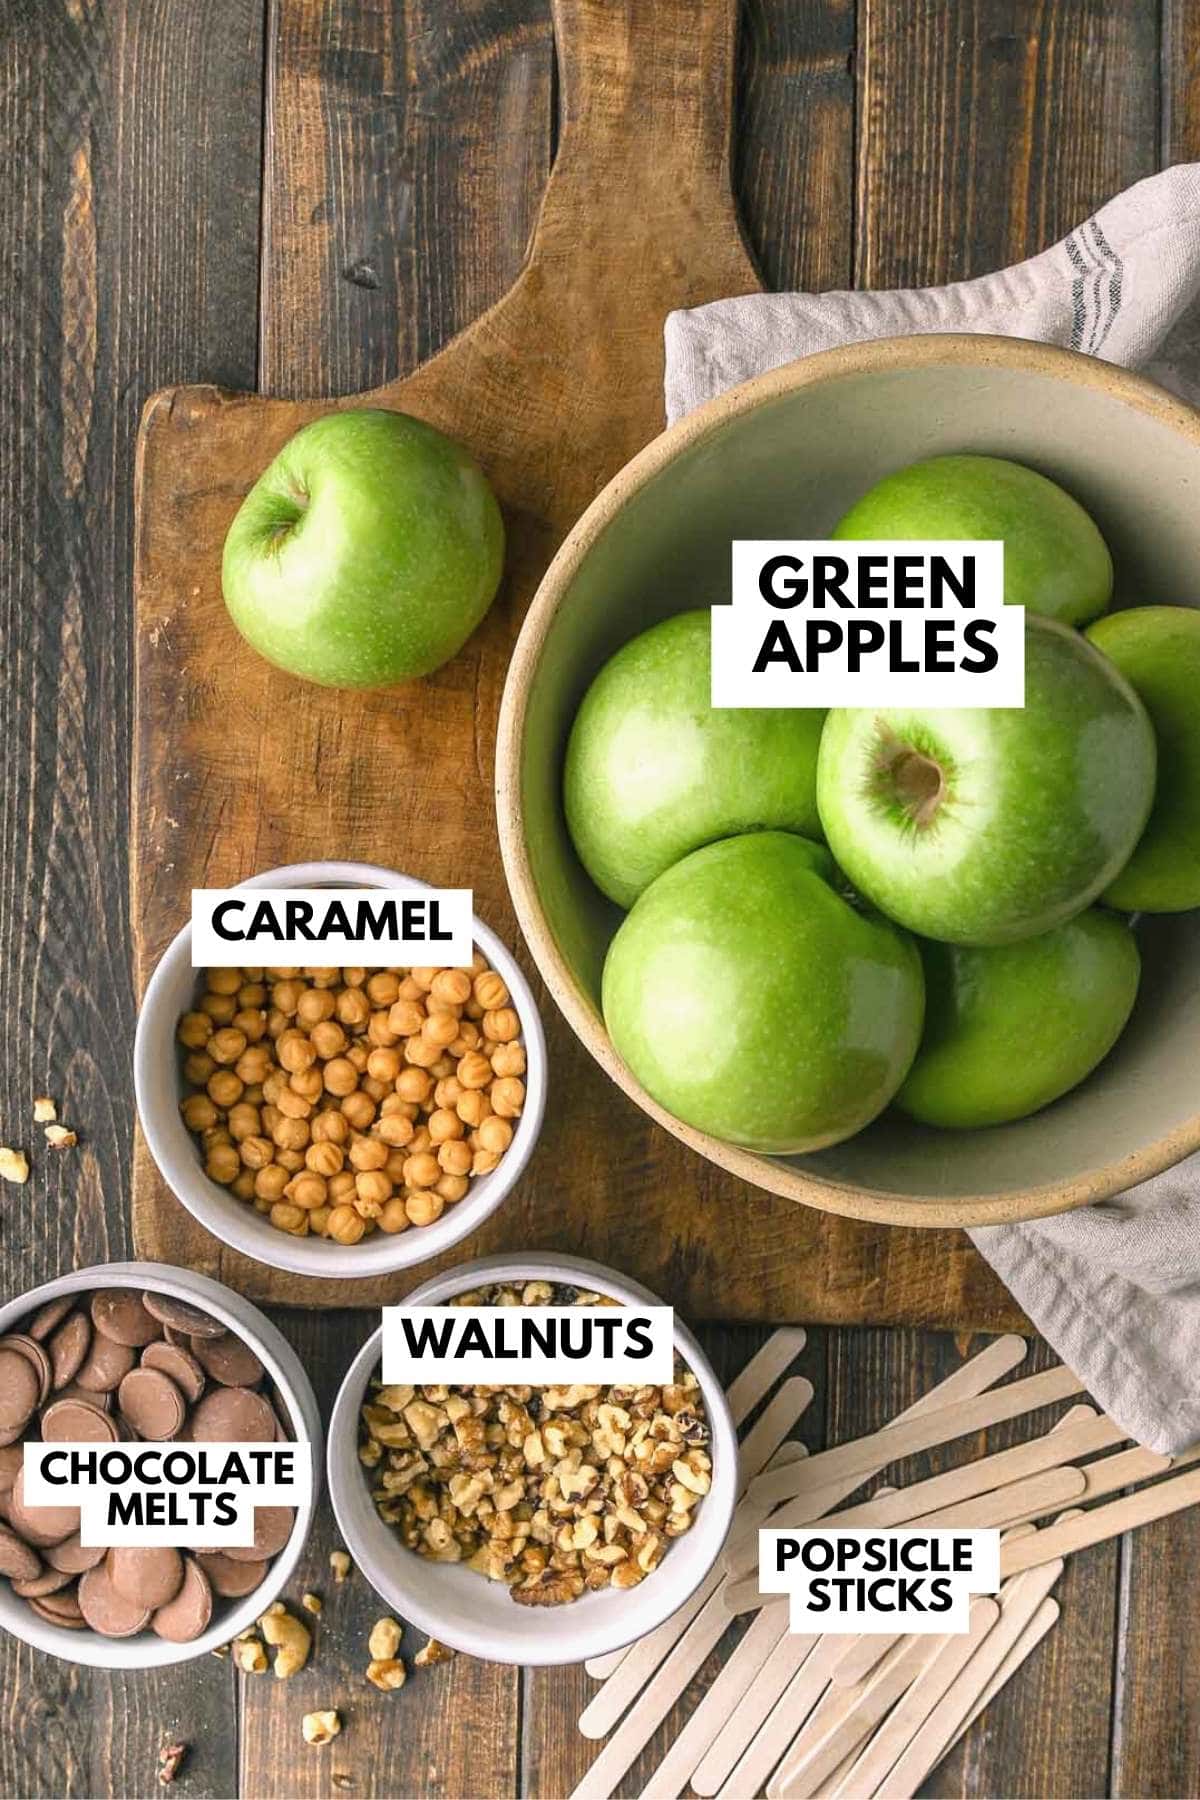
- Green Apples: feel free to also use red apples if desired. I prefer green apples because of the tartness.
- Chocolate Chips or Melts
- Caramel: Make sure to get baking caramel candies that you can melt down. I don’t recommend using caramel sauce.
- Nuts: Use walnuts, peanuts, or pecans.
- Popsicle Sticks
Step By Step
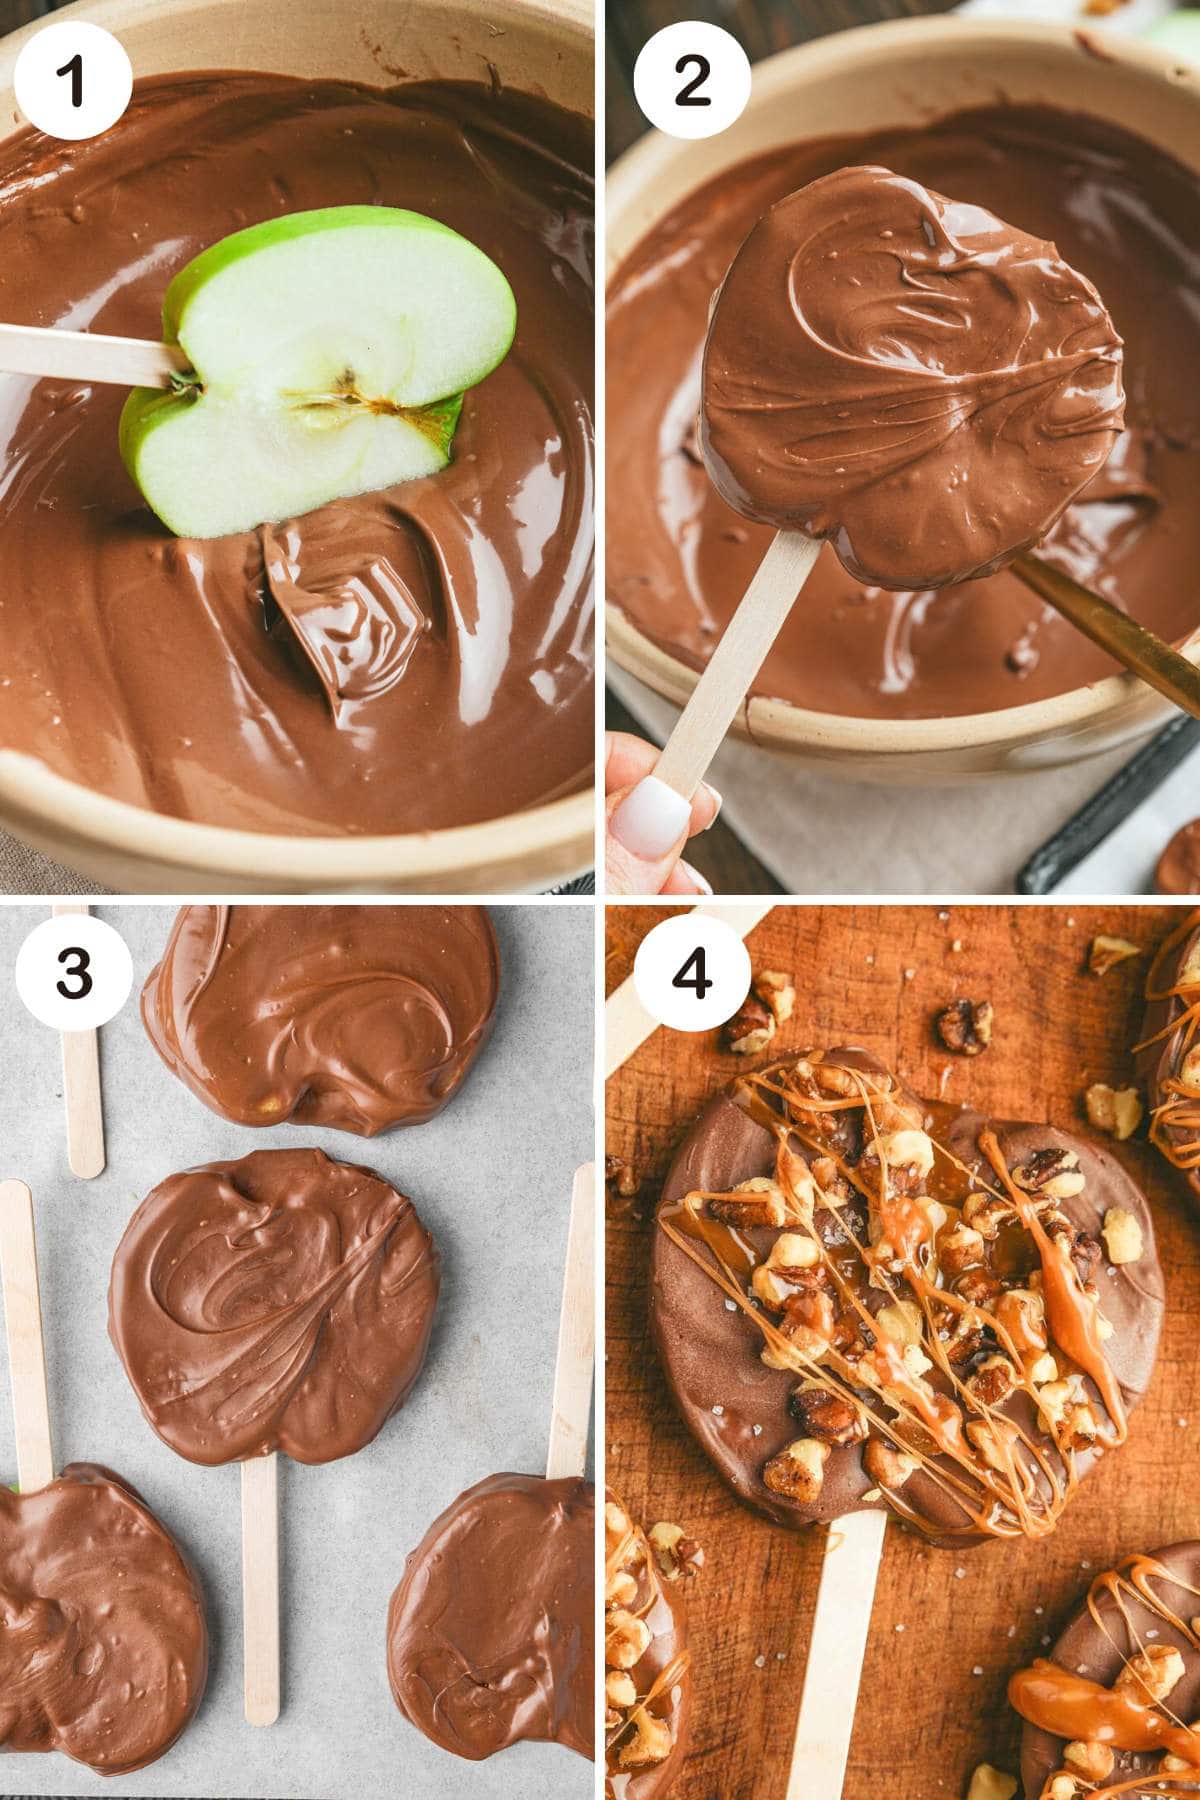
- Prepare the Apples: Wash and dry the apples thoroughly. Slice each apple into thick wedges, about 1/2 to 3/4 inch wide. Insert wooden sticks into one end of each apple slice, making sure they hold firmly.
- Melt the Chocolate: In a microwave-safe bowl, combine the chocolate chips or chocolate melts and coconut oil. Microwave the chocolate in 30-second intervals, stirring each time until the chocolate is smooth and fully melted. OR fill the bottom of a double boiler with water and place on low heat. Place chocolate in the top of a double boiler over hot (not boiling) water and allow it to melt. Do not cover. When most of the chocolate is shiny, stir until smooth, and add in the coconut oil to make it even smoother.
- Dip in Chocolate: Holding the wooden stick, dip each apple slice into the melted chocolate, coating it evenly. Allow any excess chocolate to drip back into the bowl. Place the chocolate-coated apple slices on a parchment-lined baking sheet. While the chocolate is still warm and melty, add the nuts to the chocolate. Make sure to do this before the chocolate sets so they will stick. Place the sheet pan in the refrigerator for about 10-15 minutes to let the chocolate firm up.
- Melt the Caramel: Unwrap the caramel candies and place them in a microwave-safe bowl. Add the cream and microwave the caramel mixture in 30-second intervals, stirring each time until the caramel is completely melted and smooth. Be cautious not to overheat. Feel free to also use the double broiler method from above.
- Toppings: Remove the apples from the fridge and drizzle with the melted caramel and finish with a little touch of coarse sea salt. Enjoy!

Mac’s Pro Tip
Expert Tip
- Melt Chocolate and Caramel Properly: Melt the chocolate and caramel over low heat, stirring constantly to prevent burning. Use a double boiler or microwave in short intervals to avoid overheating.
- Chill the Apples: place the apples in the refrigerator for at least 30 minutes before dipping them in chocolate. This helps the coatings set quickly.
Storage
- Store the apple slices in an airtight container in the refrigerator for best freshness and crispness. Consume within 1-2 days.
Serving
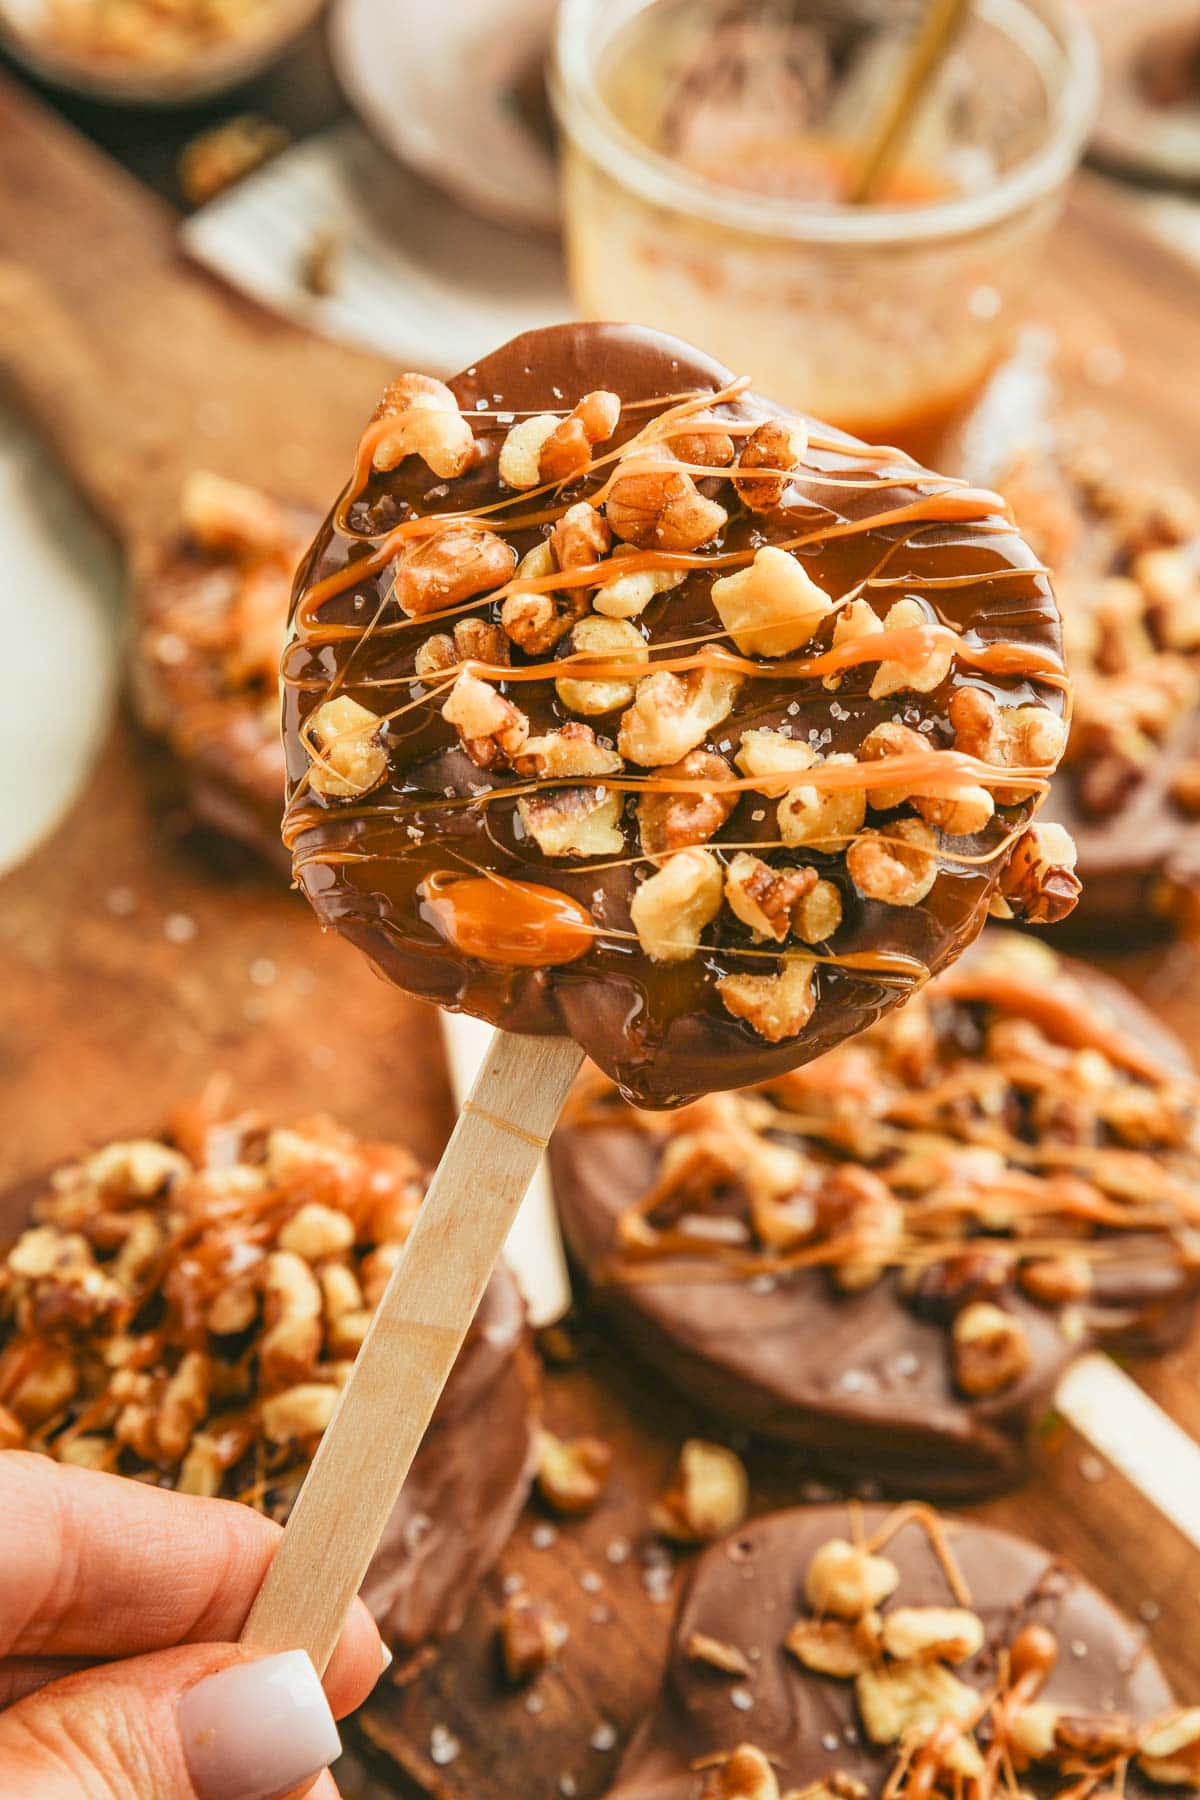
- Add these to a platter or make a DIY table with all the ingredients for a fun project at a party or a fun family weekend activity. Get creative with flavors by using different types of chocolate (dark, milk, white) and various toppings (toffee bits, crushed pretzels, shredded coconut) to suit your taste preferences.
FAQs
Make sure to insert the sticks firmly into the apple slices, but be careful not to push them all the way through. You can also dip the end of the stick in a bit of melted chocolate before inserting it to help secure it in place.
Yes, you can use your favorite type of apple. Popular choices include Granny Smith for their tartness or Gala for a sweeter flavor. It’s a matter of personal preference.
Chocolate Turtle Apple Slices are best when consumed within 1-2 days to ensure freshness and crispness. Store them in the refrigerator to keep them at their best.
I don’t recommend store-bought caramel sauce because it tends to be too thin. It will slip off the cooled chocolate and become a big mess. I prefer melting caramel candies because it will harden quickly after drizzling.
Yes, you can prepare these a day in advance. Just store them in an airtight container in the refrigerator.
For sure! Simply use dairy-free chocolate such as Hu Kitchen and use a paleo compliant caramel sauce.
Soak the slices in 1 cup water and 2 tbsp lemon juice. After they have soaked, pat them dry with a paper towel. This will ensure the chocolate will stick.
More Fall Recipes
Gluten Free
Caramel Apple Bark With Pretzels
Appetizers & Snacks
Easy Cranberry Turkey Sliders with Hawaiian Rolls


Chocolate Turtle Apple Slices
Ingredients
- 2 green Granny Smith Apples cut into 1/2 inch slices
- 3 cups chocolate chips or melts milk or dark
- 1 tbsp coconut oil
- 1 cup caramel candies unwrapped
- 1 tbsp heavy cream
- 1 cup walnuts chopped, or nuts of choice
- 12 popsicle sticks
- coarse sea salt to garnish
Instructions
- Prepare the Apples: Wash and dry the apples thoroughly. Slice each apple into thick wedges, about 1/2 to 3/4 inch wide. Insert wooden sticks into one end of each apple slice, making sure they hold firmly.
- Melt the Chocolate: In a microwave-safe bowl, combine the chocolate chips or chocolate melts and coconut oil. Microwave the chocolate in 30-second intervals, stirring each time until the chocolate is smooth and fully melted. OR fill the bottom of a double boiler with water and place on low heat. Place chocolate in the top of a double boiler over hot (not boiling) water and allow it to melt. Do not cover. When most of the chocolate is shiny, stir until smooth, and add in the coconut oil to make it even smoother.
- Dip in Chocolate: Holding the wooden stick, dip each apple slice into the melted chocolate, coating it evenly. Allow any excess chocolate to drip back into the bowl. While the chocolate is still warm and melty, add the nuts to the chocolate. Make sure to do this before the chocolate sets so they will stick. Place the sheet pan in the refrigerator for about 10-15 minutes to let the chocolate firm up.
- Melt the Caramel: Unwrap the caramel candies and place them in a microwave-safe bowl. Add the cream and microwave the caramel mixture in 30-second intervals, stirring each time until the caramel is completely melted and smooth. Be cautious not to overheat. Feel free to also use the double broiler method from above.
- Toppings: Remove the apples from the fridge, drizzle with the melted caramel, and finish with a little touch of coarse sea salt. Enjoy!
Notes
- These Chocolate Turtle Apple Pops are best when consumed within 1-2 days to ensure freshness and crispness. Store them in the refrigerator to keep them at their best.
- These can be made Paleo by using a dairy-free chocolate such as Hu Kitchen and use a paleo-compliant caramel sauce.
Nutrition
Nutrition information is automatically calculated, so should only be used as an approximation.





Made these and absolutely loved them. Such a great childhood treat!
These were so good and easy to make. I made them when friends came over and everyone loved them!
Thank you Sam! So happy to hear they were a hit.
These were the perfect fall treat. My kids loved them
This is great to hear. Thanks Rita
These have been my go to Fall treats the past couple of years.
So happy to hear!
Would love to make the day before for a potluck. It says to add the nuts before the chocolate sets, so they stick. It also says if making in advance, to add before serving so that they are crunchy. Could you please clarify the best way to go about this if making the day before? I am wondering if the nuts will stick if I add them the next day. Thanks!!
Hi Faye,
That was a mistake on my end. You can make the apples as is with the nuts and store in the fridge or freezer for a day before your event. Hope this helps!
Thank you! 🙂