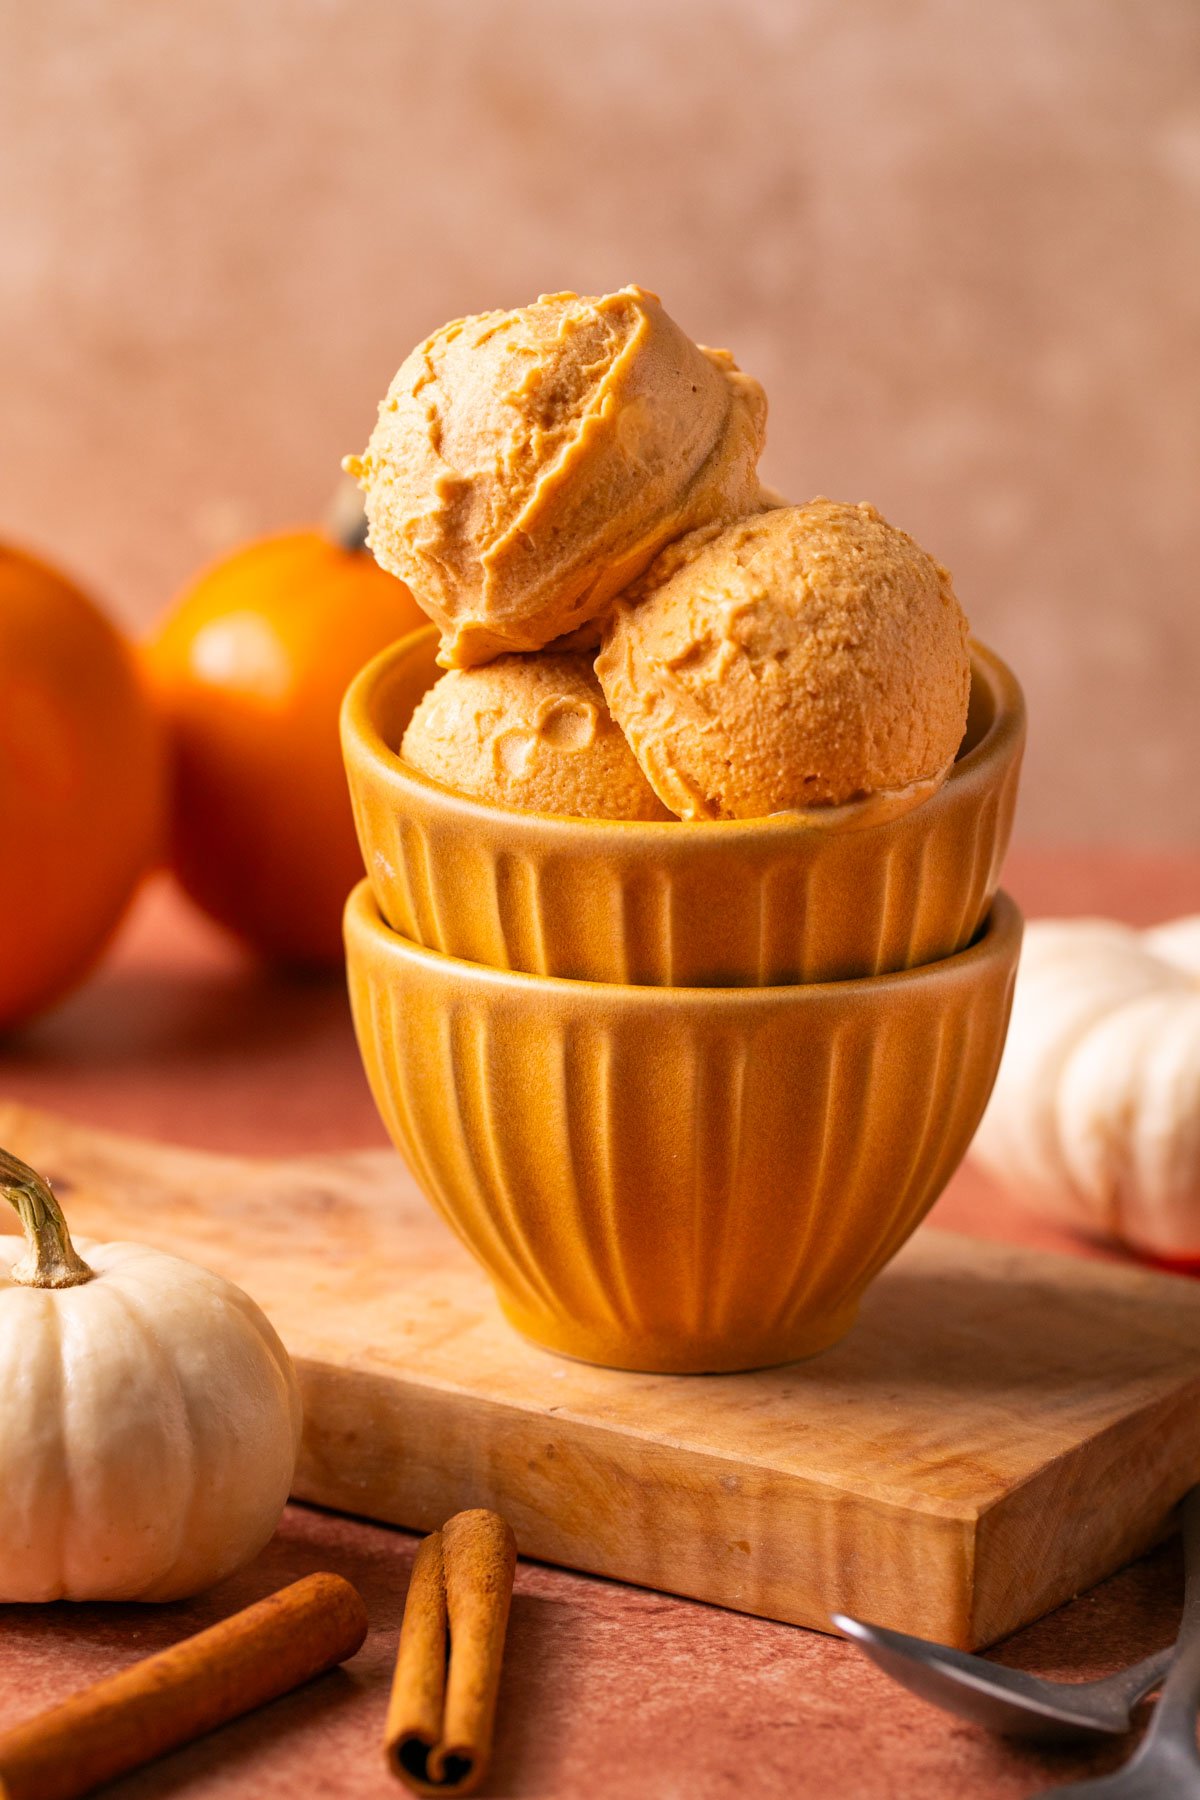
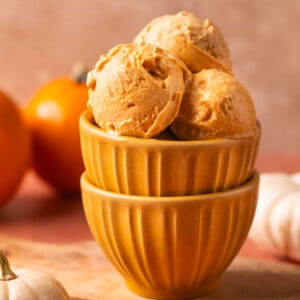
High Protein Pumpkin Ice Cream (Ninja Creami Option)
Published Oct 03, 2024 Updated May 30, 2025
This post may contain affiliate links. Please read our disclosure policy.
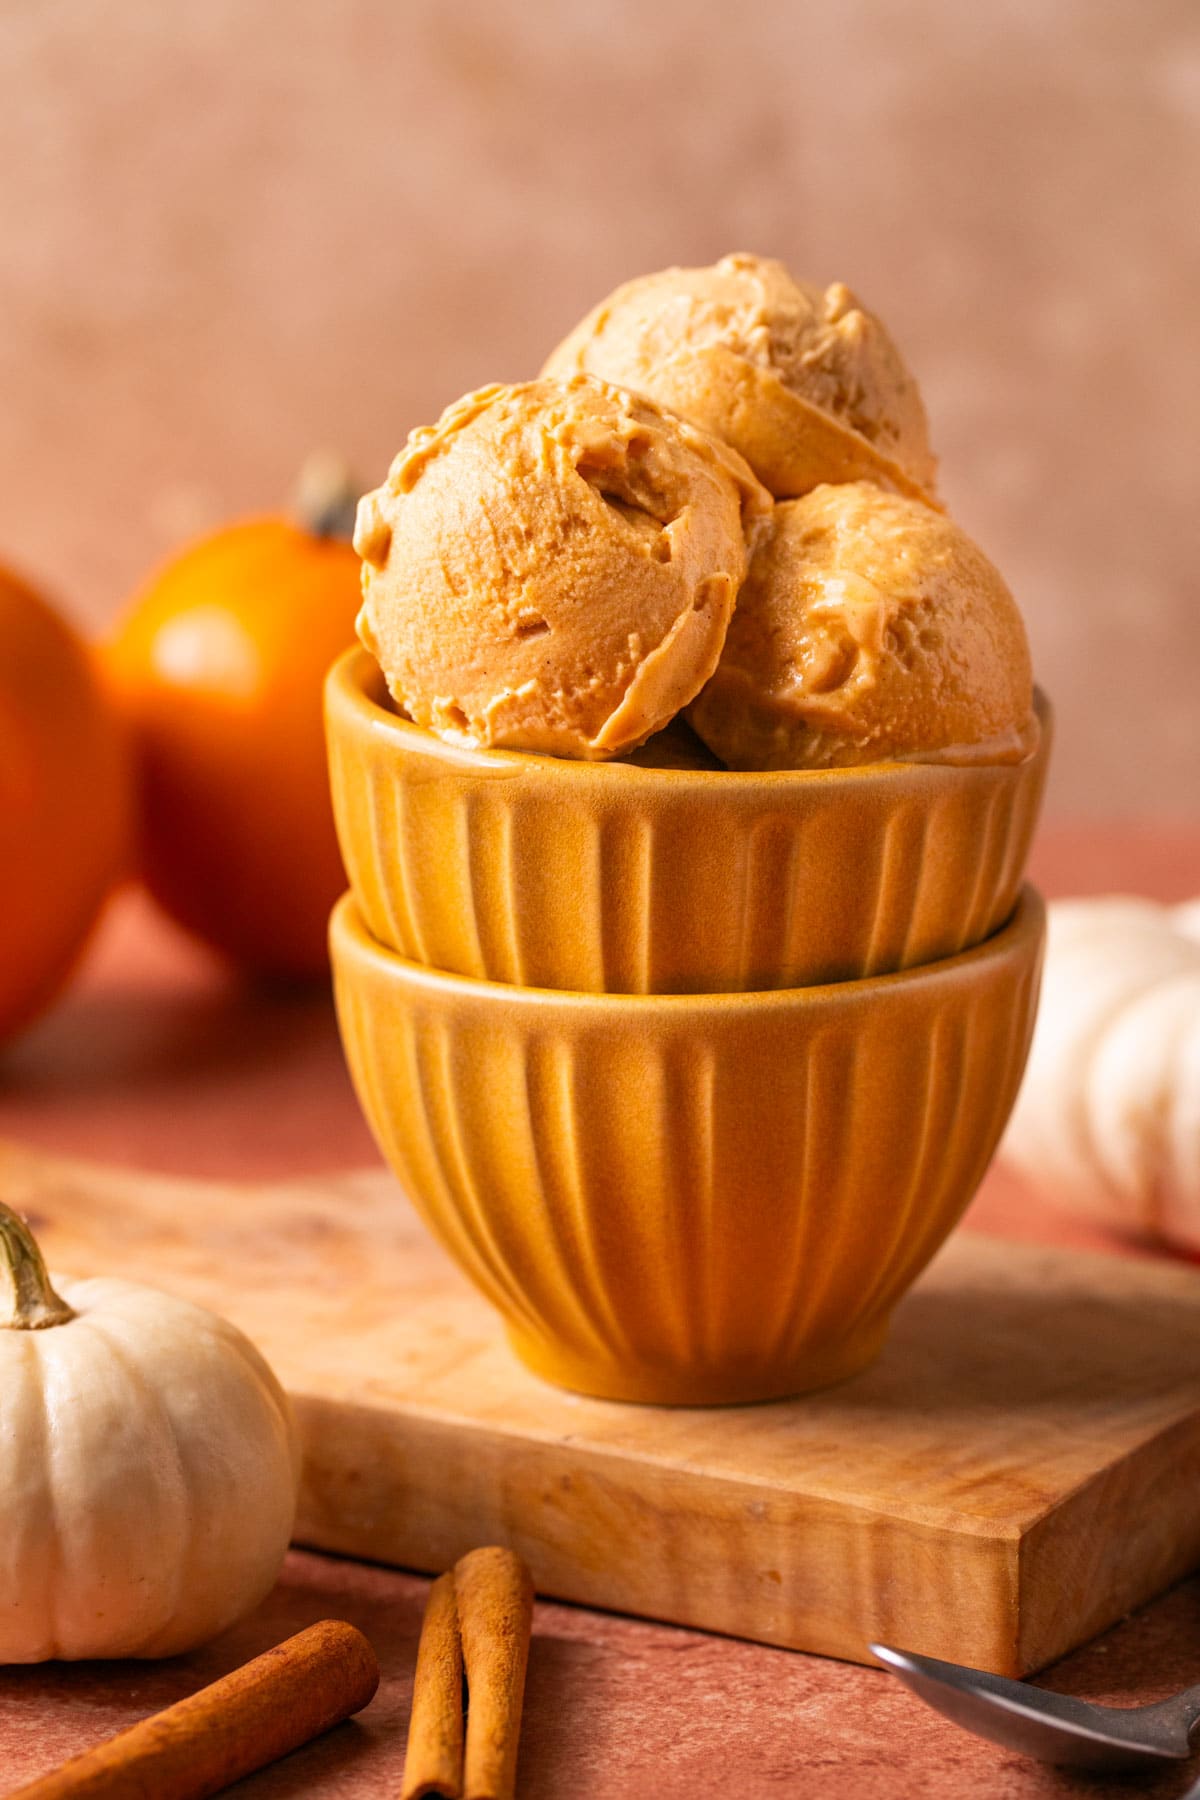
Indulge in this high protein pumpkin ice cream recipe, offering methods for a Ninja Creami ice cream machine and a food processor for those who don’t have an ice cream maker. This dairy-free pumpkin flavored dessert is made with a few basic ingredients like almond milk, pumpkin puree, protein powder, and warm spices.
Why You’ll Love High-Protein Ice Cream
This Ninja creami protein ice cream has simple ingredients, lots of protein, and no refined sugar! Whether you use a Ninja Creami or food processor to make this recipe, it’s so darn easy to make and tastes even better than traditional ice cream.
This high protein ice cream delivers all the creamy, goodness you crave in a dessert but leaves out the tummy ache some of us get after eating a bowl of Ben & Jerry’s – it’s a game changer! This delicious treat has quickly become my new favorite, and I’m sure you’ll love it just as much as regular ice cream! It has less added sugar than store-bought options and the whole pint has over 20 grams of protein!
If you love homemade protein ice cream recipes and are ready to make other protein-packed desserts try my High Protein Banana Pudding, No Bake Chocolate Peanut Butter Protein Cookies, or Strawberry and Cream Protein Donuts!
Ingredient Notes
- unsweetened almond milk: Or any other non-dairy milk or regular milk of choice.
- Greek yogurt: This is optional, but makes it creamier. Use non-dairy yogurt if dairy-free.
- canned pumpkin puree: Not pumpkin pie filling.
- vanilla protein powder: Use your favorite brand of whey protein powder.
- powdered monk fruit sweetener for low sugar and low carb: Honey/maple syrup will also work.
- vanilla extract
- pumpkin pie spice
- cinnamon
- pinch of sea salt
See the full recipe card below for exact ingredient amounts.
Step-by-Step Instructions
Ninja Creami Ice Cream Maker
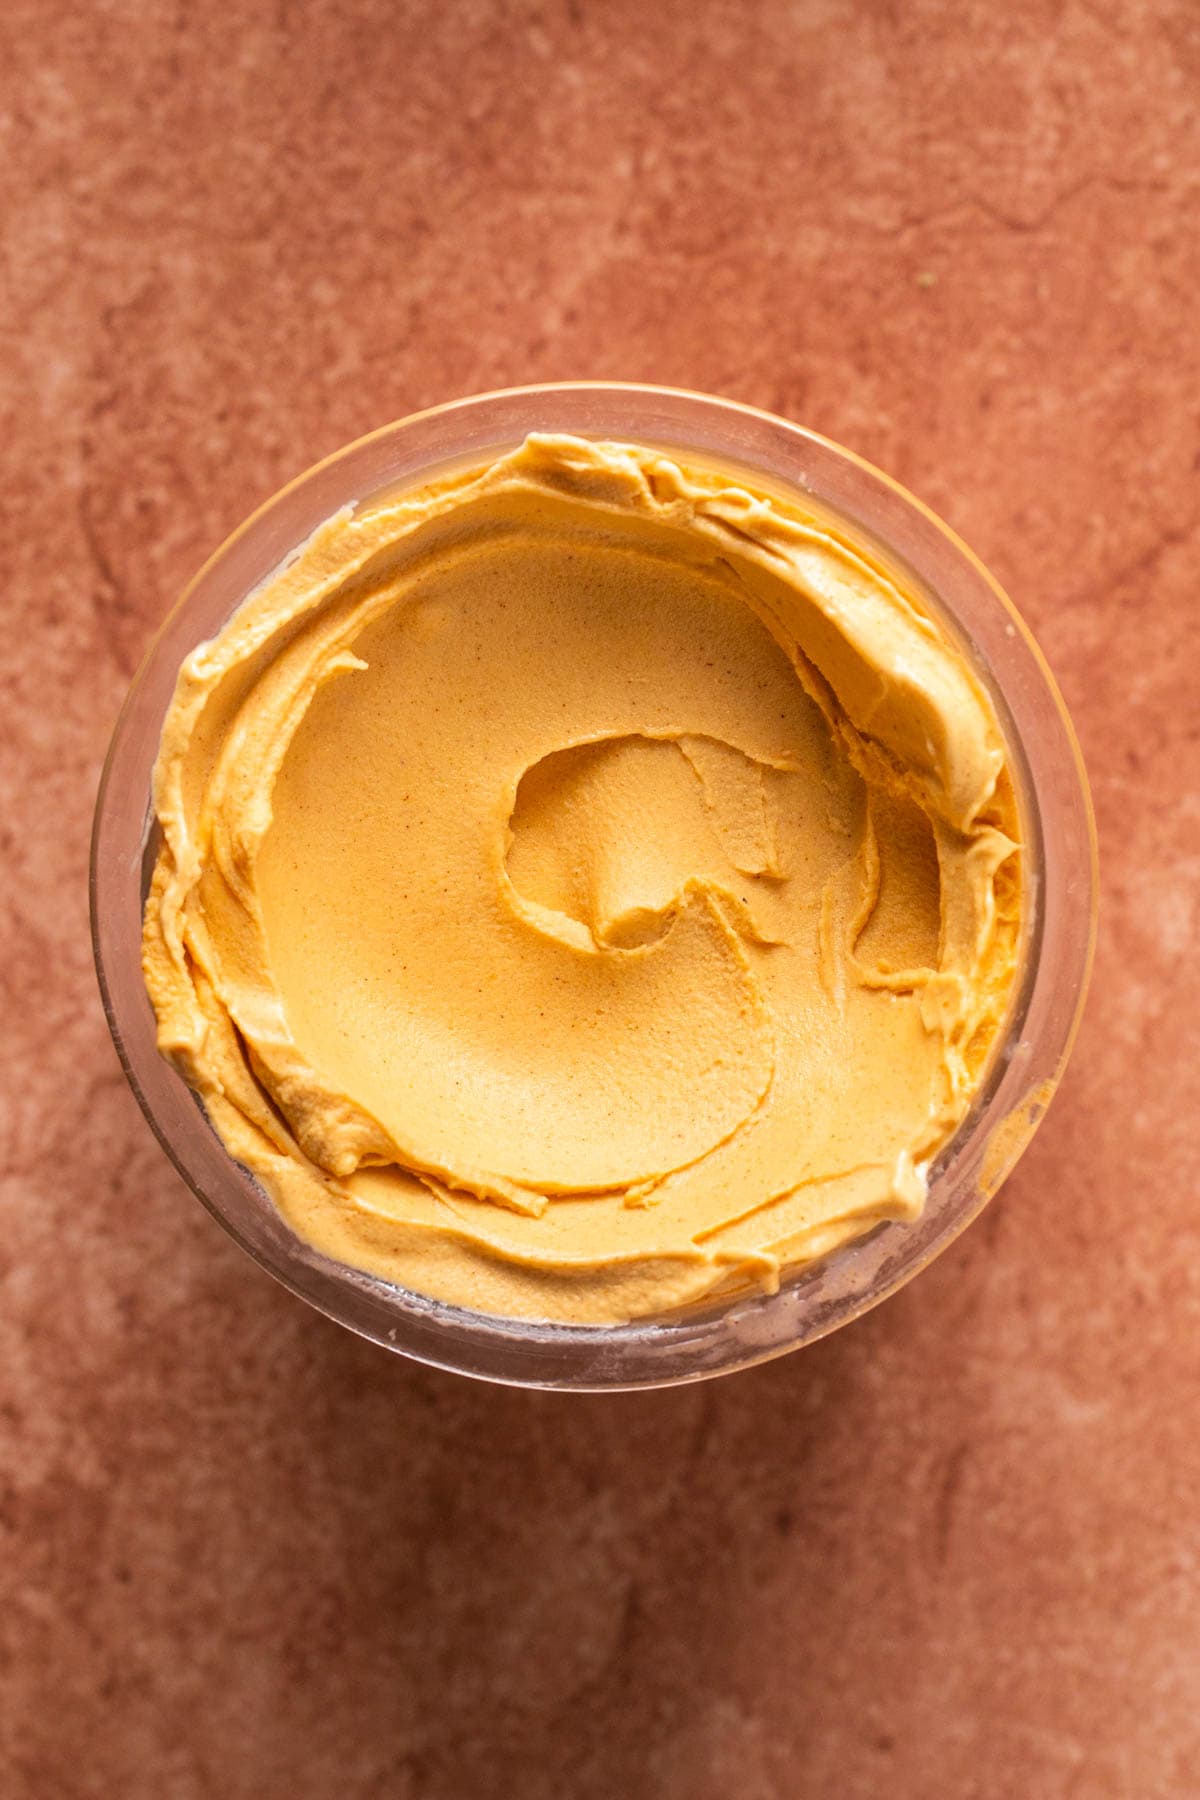
Step 1: Place all ingredients into your Ninja Creami pint container and mix. Make sure your mix doesn’t exceed the MAX FILL line.
Step 2: Freeze: Seal with the lid and freeze for at least 12 hours.
Step 3: Process: Remove the container from the freezer after freezing for 12-24 hours. Install the pint into the Ninja Creami machine and for the first spin, choose the on the “Lite Ice Cream” setting.
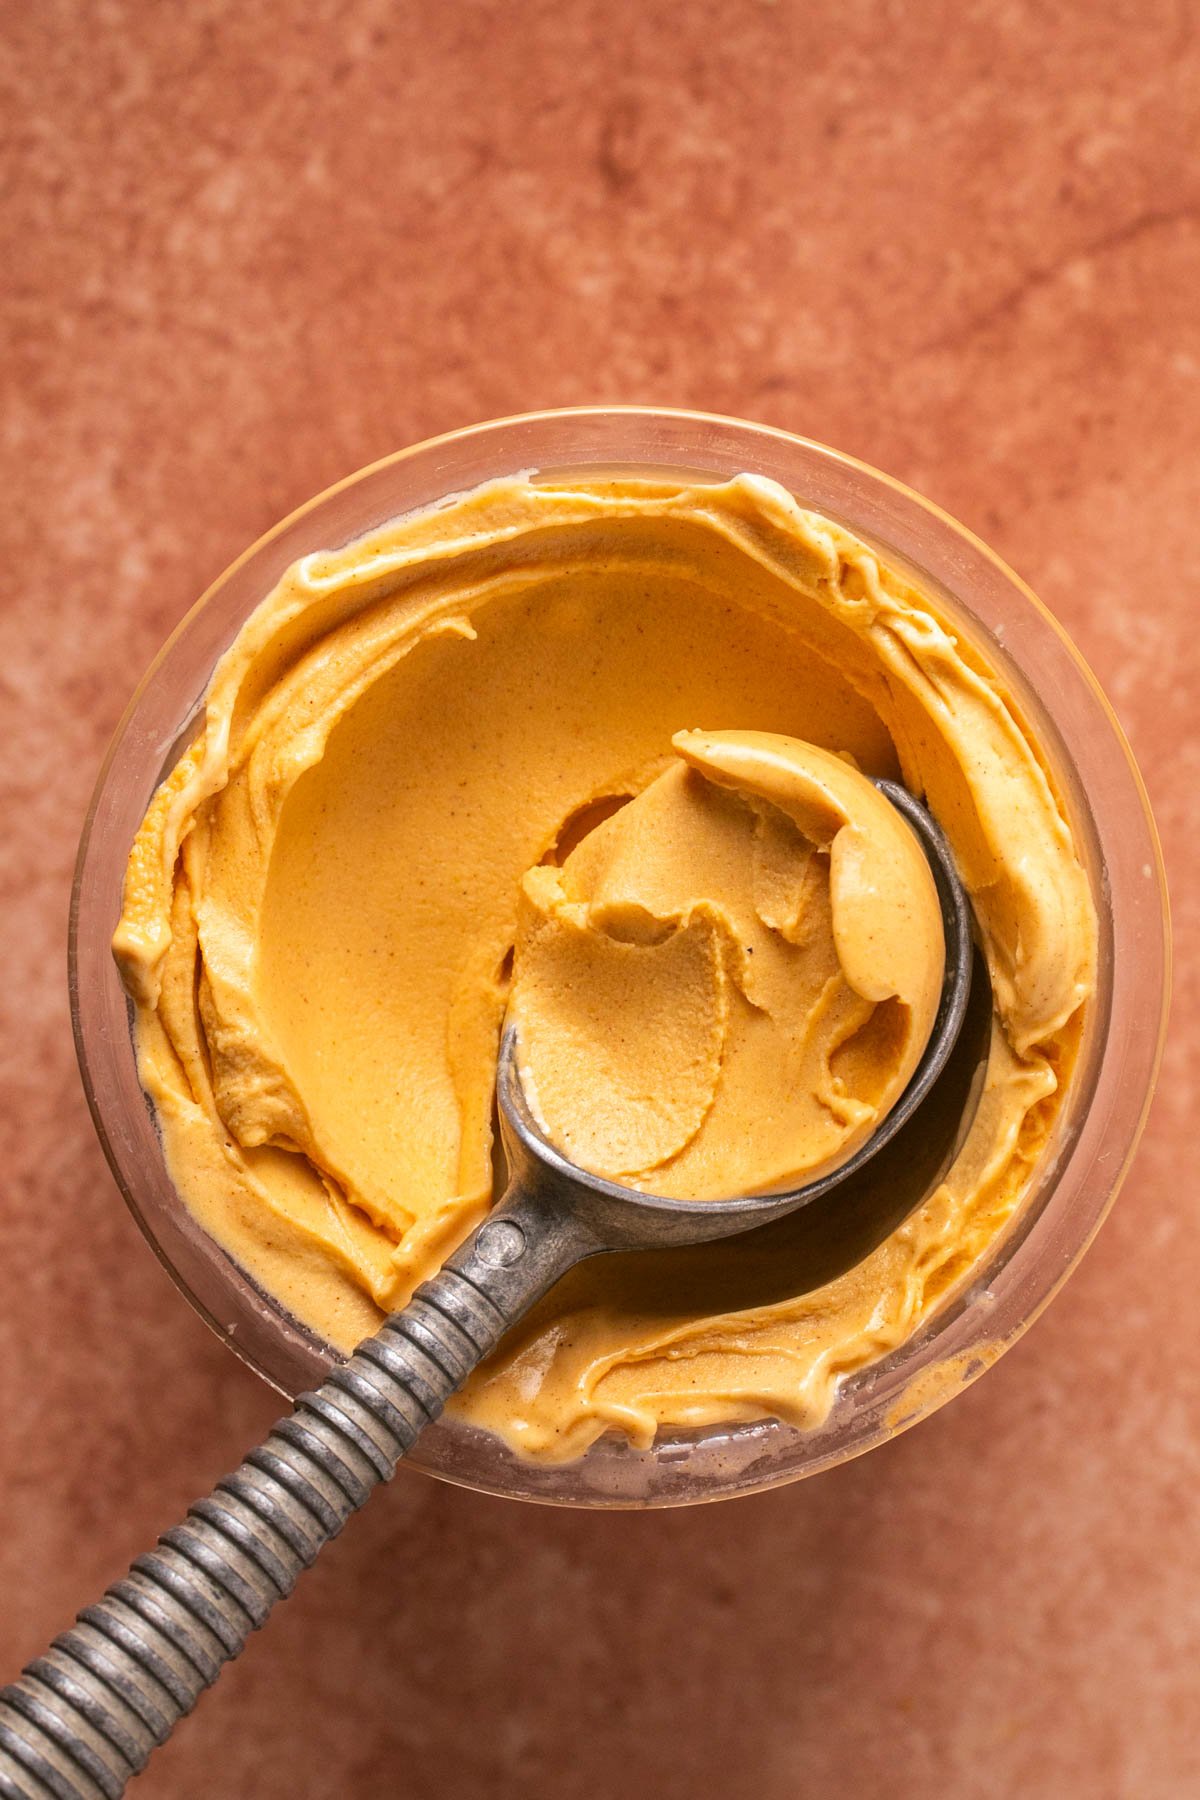
Step 4: Serve: Once processed, push a knife down the middle making a little hole. Add 1-2 tbsp of unsweetened almond milk and re-spin for additional processing. This will make it nice and creamy—however, no need to re-spin if your ice cream comes out smooth the first time.
Food Processor
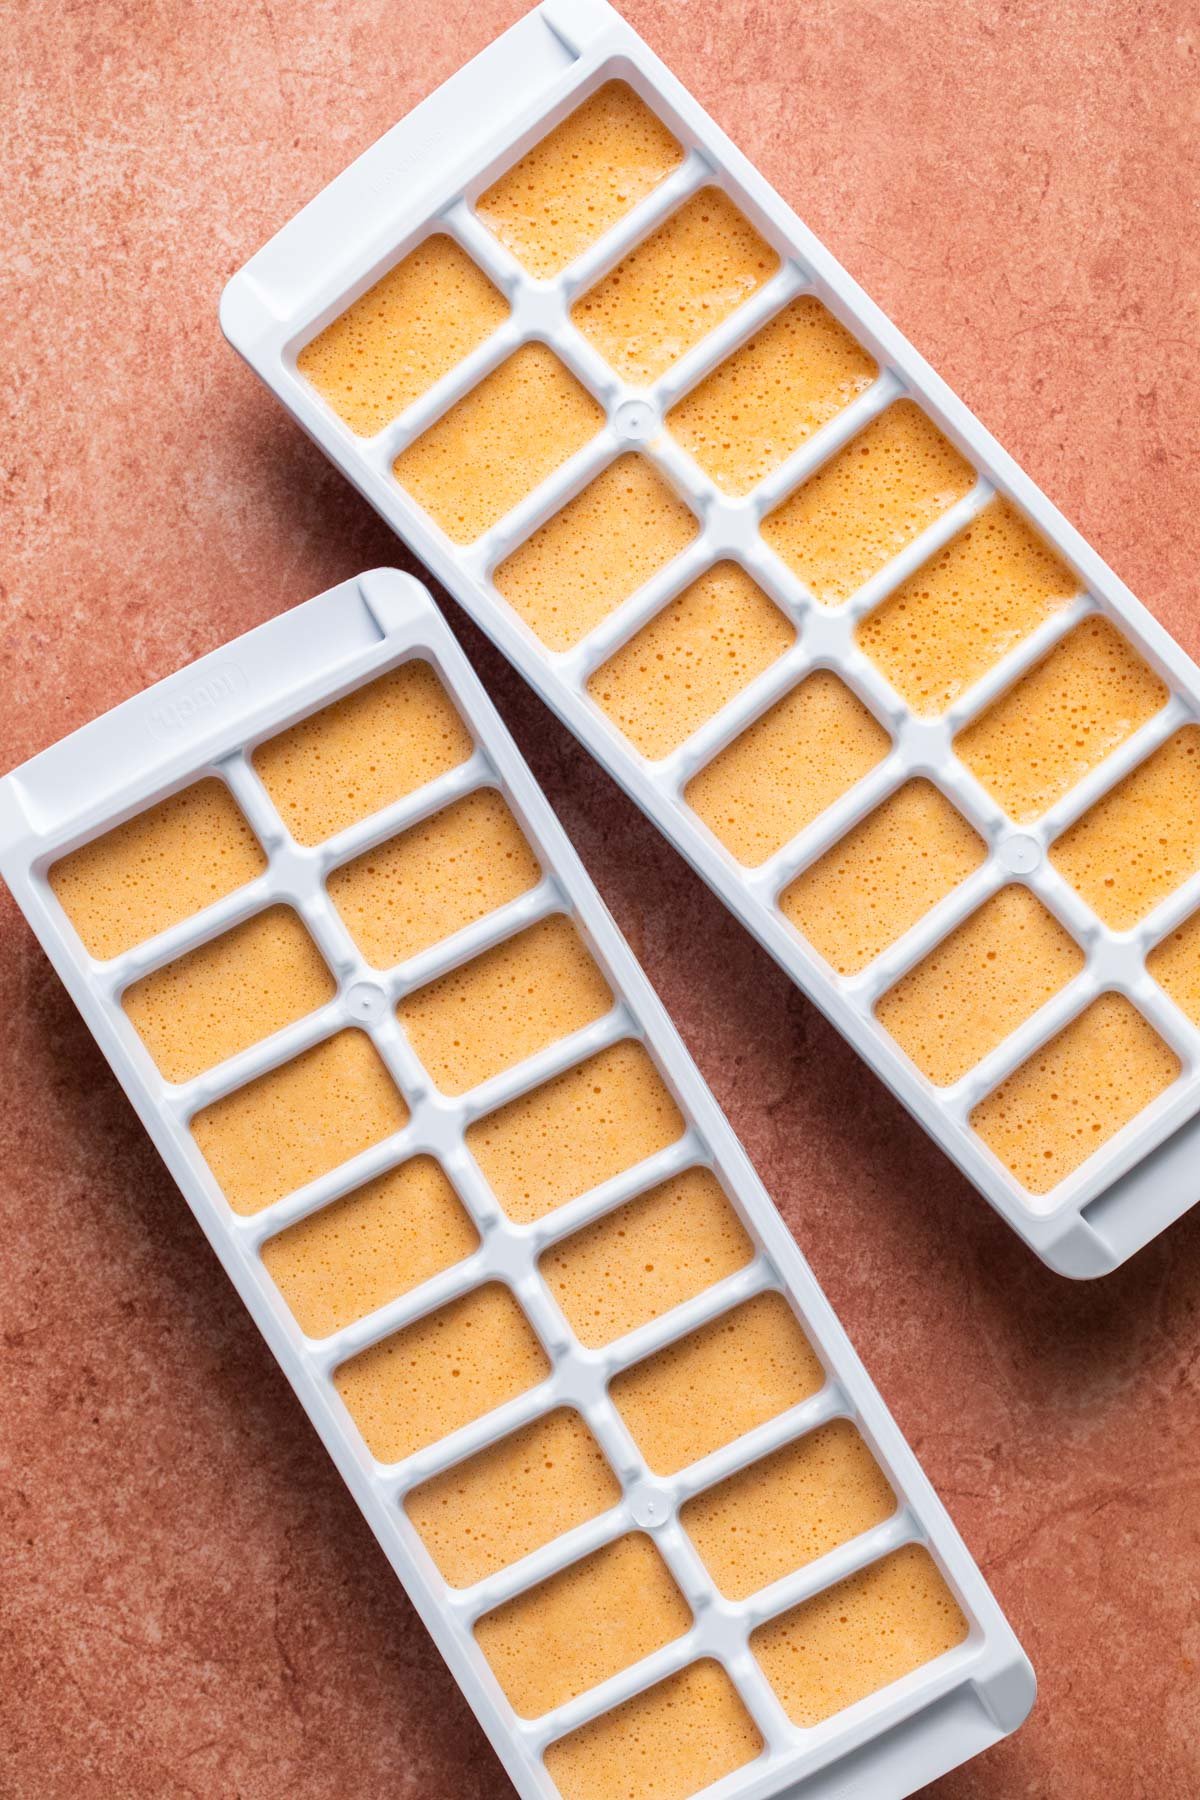
Step 1: Blend all ingredients together. Add the mix to ice cube trays and freeze for 24 hours.
Step 2: Place the ice cubes into a food processor. Add 1/4-1/3 cup unsweetened almond milk and blend until smooth and creamy. You may need to stop and scrape down the sides a few times.
Step 3: Adjust the consistency by adding more unsweetened almond milk (or milk of choice) if needed.
Mac’s Pro Tip
Expert Tips
- You can use coconut milk, almond milk, cashew milk, or oat milk if you prefer! If you aren’t dairy-free you can use your favorite milk. If you use skim milk note that you won’t get as creamy of a texture.
- For best results, eat this ninja creami protein ice cream recipe freshly spun with whatever mix ins you prefer.
- If you aren’t dairy-free, add heavy cream 1 TBS at a time and re-spin until your ice cream has reached your desired texture.
Suggested Mix-Ins
This healthy ice cream recipe is so versatile and you can create fun flavors using your favorite toppings! You can serve this delicious ice cream topped with:
- Whipped cream
- Caramel syrup
- Chocolate syrup
- Vanilla wafers
- Biscoff cookies
- Chocolate chips (milk, dark, or semi-sweet)
- Flakey sea salt
Storage Tips
Ninja Creami Method:
Freeze your ice cream in the Ninja Creami container for up to 2 weeks. When you’re ready to enjoy the leftovers, add a splash of milk (dairy-free or regular) and use the re-spin button on your Ninja Creami to achieve that creamy texture again.
Food Processor Method:
Freeze your homemade ice cream in an airtight container for up to 2 weeks. When you’re ready to eat it, take it out of the freezer and let sit for 5 – 10 minutes before digging in.
Recipe FAQs
Yes, it is a 1:1 swap!
This recipe yields 1 pint of ice cream and has 24 grams of protein. It’s a great way to satisfy your sweet tooth and up your protein intake at the same time!
For sure! To make a dairy-free option, use your favorite dairy-free yogurt instead of Greek yogurt.
Yes, you can use chocolate protein powder if you prefer!
You sure can!
More Delicious Recipes

Follow on Instagram
If you love this recipe, please give it a star rating and leave a comment below! Follow me on Pinterest, Facebook, and Instagram for more!

High Protein Pumpkin Ice Cream (Ninja Creami Option)
Ingredients
- 12-14 oz unsweetened almond milk or any other dairy-free milk
- 1-2 tbsp Greek yogurt optional, but makes it creamier
- 1/2 cup canned pumpkin puree not pumpkin pie filling
- 1 scoop vanilla protein powder (about 3 tbsp)
- 2-3 tbsp powdered monk fruit sweetener for low sugar and low carb OR honey/maple syrup
- 1 teaspoon vanilla extract
- 1 teaspoon pumpkin pie spice
- 1/4 teaspoon cinnamon
- Pinch of salt
Instructions
Ninja Creami
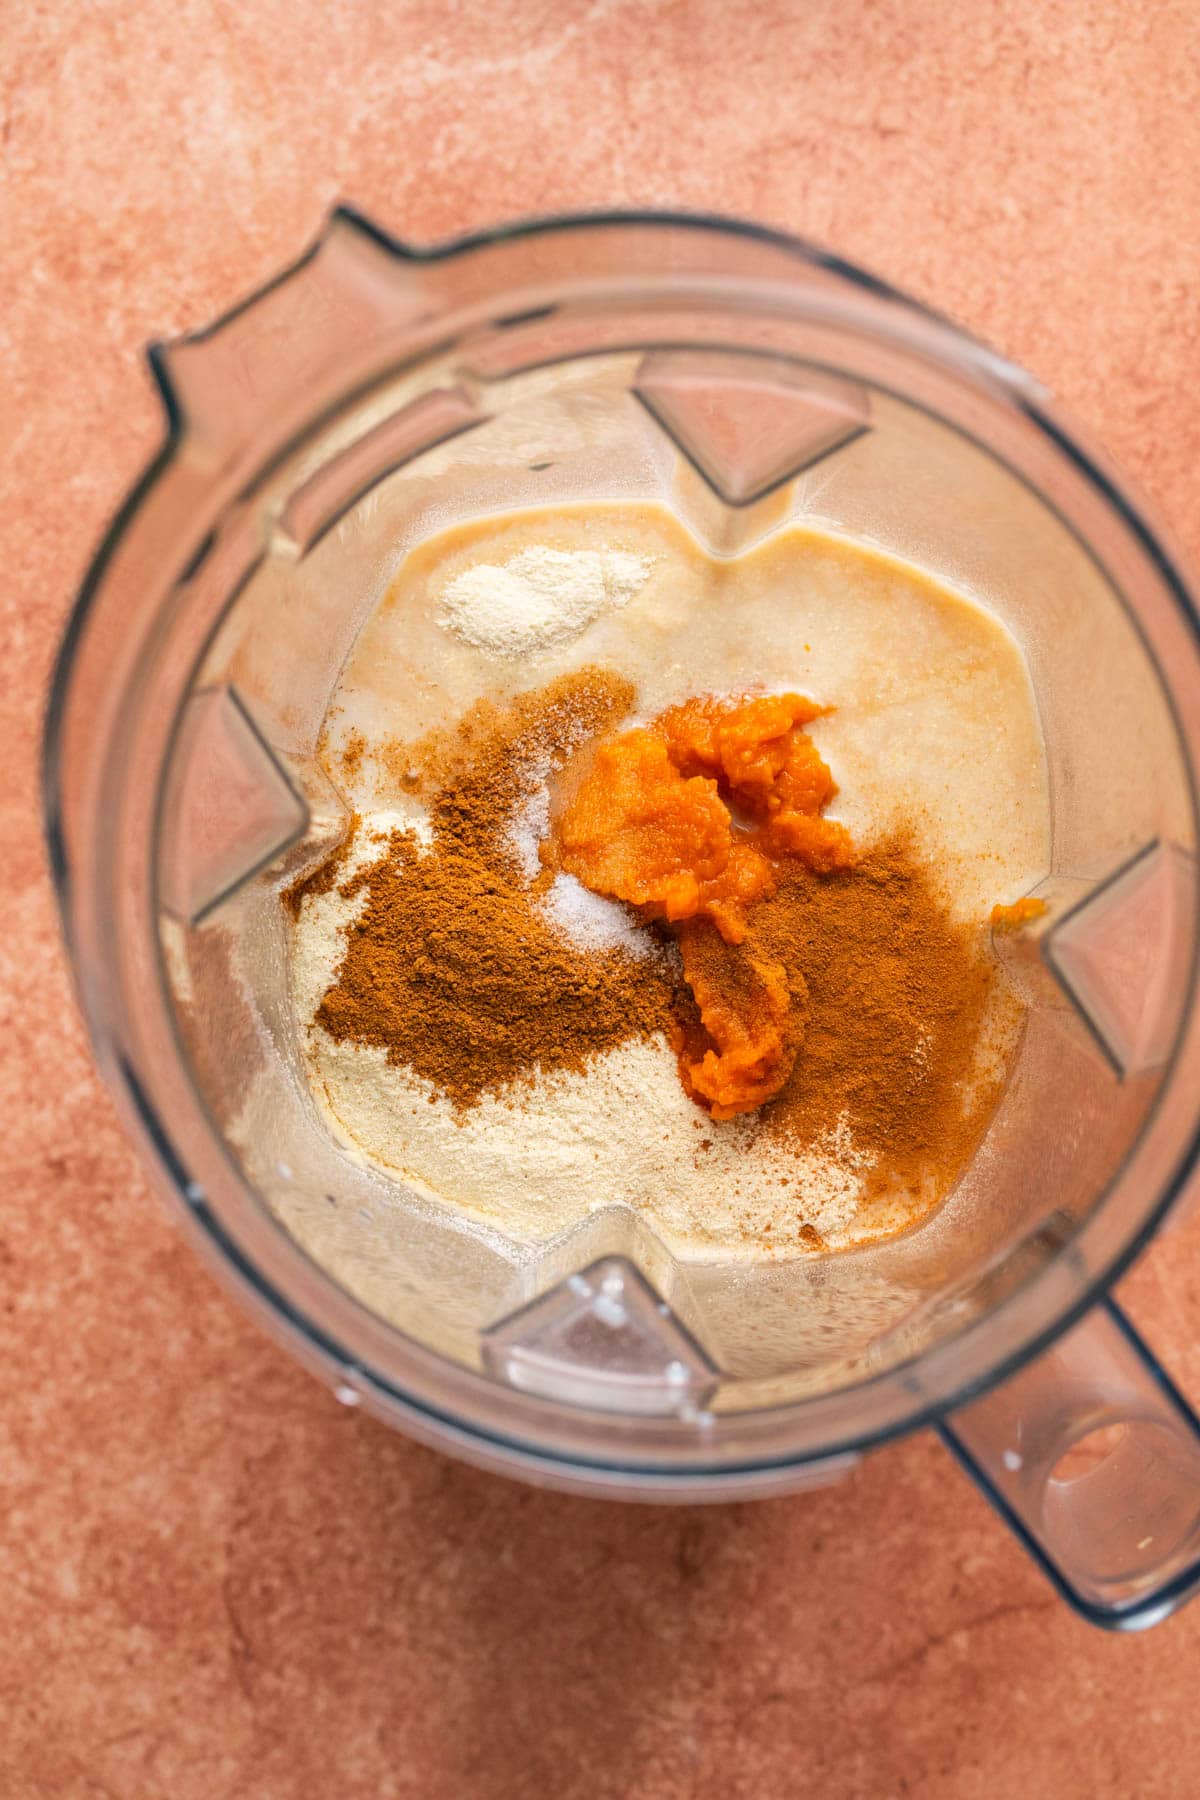
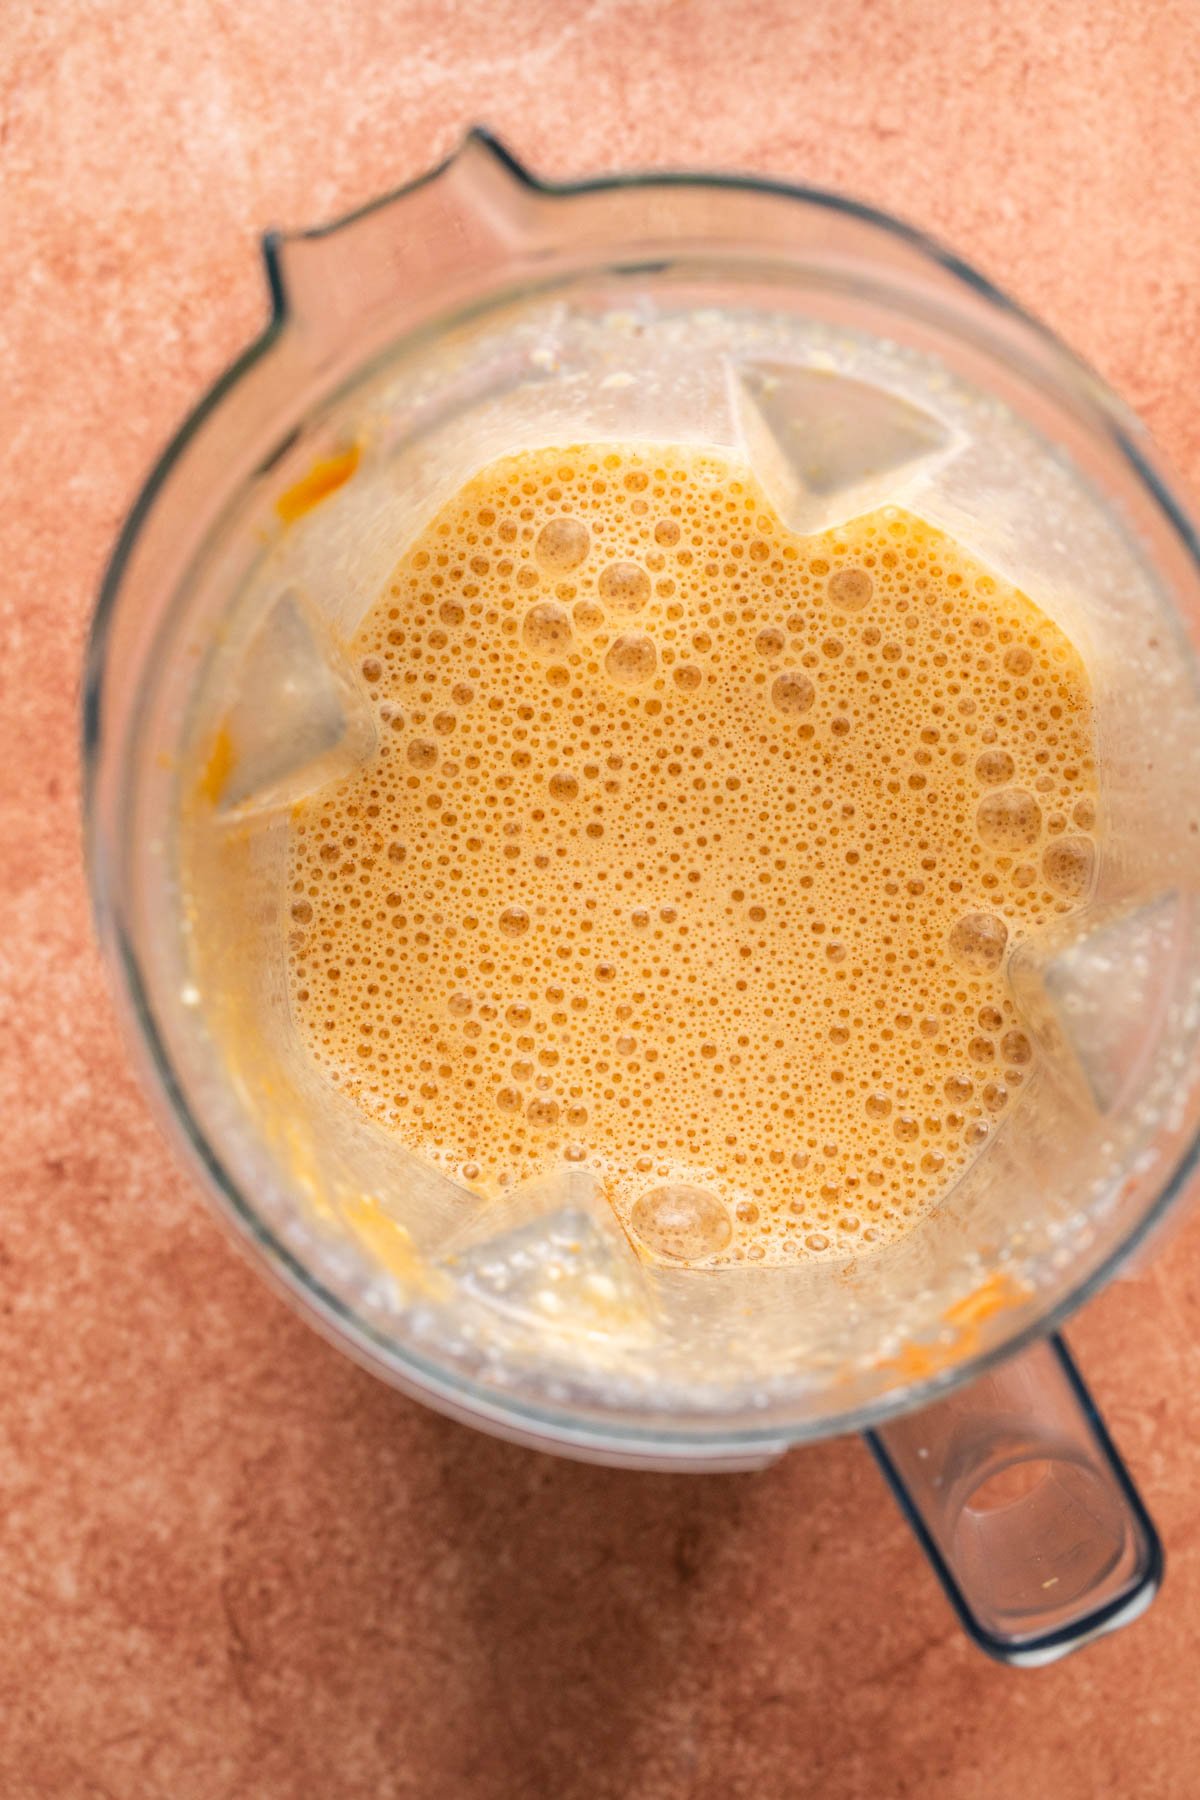
- Mix everything in a blender. Blend until smooth.
- Freeze: Pour the mix into a Ninja Creamy pint container, ensuring it doesn’t exceed the MAX FILL line and the juice covers the fruit. Seal with the lid and freeze for at least 24 hours.
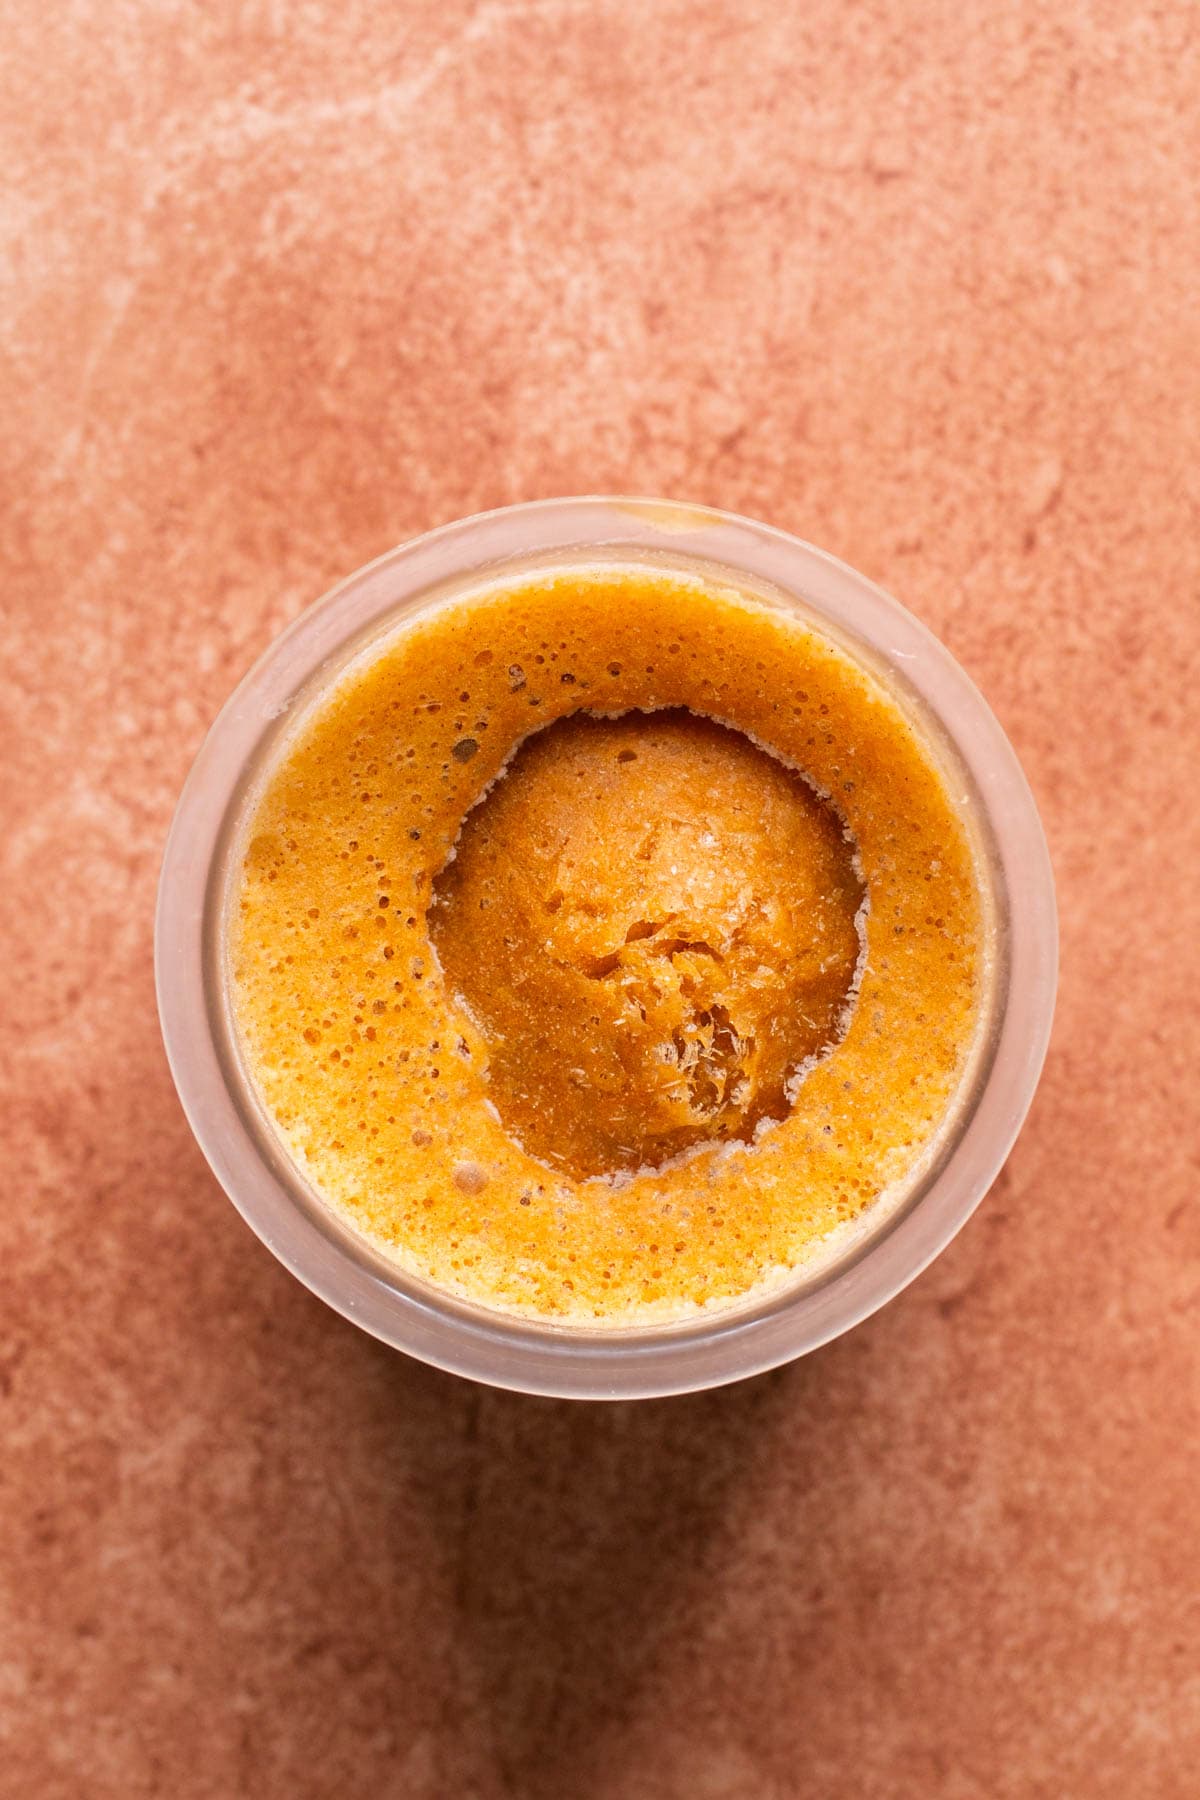
- Process: Remove the container from the freezer after freezing for 12-24 hours. Install the pint into the Ninja Creamy machine and process on the “light ice cream” setting.
- Serve: Once processed, push a knife down the middle making a little hole. Add 1-2 tbsp of coconut milk and re-spin for additional processing. This will make it nice and creamy—however, no need to re-spin if your ice cream comes out smooth the first time.
Food Processor
- Add the mix to ice cube trays and freeze for 24 hours.
- Place the ice cubes into a food processor. Add 1/4-1/3 cup coconut/almond milk and blend until smooth and creamy. You may need to stop and scrape down the sides a few times.
- Adjust the consistency by adding more coconut milk if needed.
Notes
- You can use coconut milk, almond milk, cashew milk, or oat milk if you prefer! If you aren’t dairy-free you can use your favorite milk. If you use skim milk note that you won’t get as creamy of a texture.
- For best results, eat this ninja creami protein ice cream recipe freshly spun with whatever mix ins you prefer.
- If you aren’t dairy-free, add heavy cream 1 TBS at a time and re-spin until your ice cream has reached your desired texture.
Nutrition
Nutrition information is automatically calculated, so should only be used as an approximation.


SO GOOD! I used lactose free protein milk over the almond milk and used pudding mix for the consistency instead
Love this. Thank you!