The BEST Gluten-Free Pie Crust
Published Nov 19, 2024 Updated Mar 06, 2026
This post may contain affiliate links. Please read our disclosure policy.
Y’all are going to love this gluten-free pie crust. It’s buttery, flaky, and so easy to roll out without any crumbling! Made with gluten-free flour, cold butter, and just enough liquid to bring the dough together, it creates tender layers and crisp edges once baked. After a quick chill, the dough rolls out beautifully and bakes into the perfect crust for everything from sweet holiday pies to savory pot pies that everyone will love!
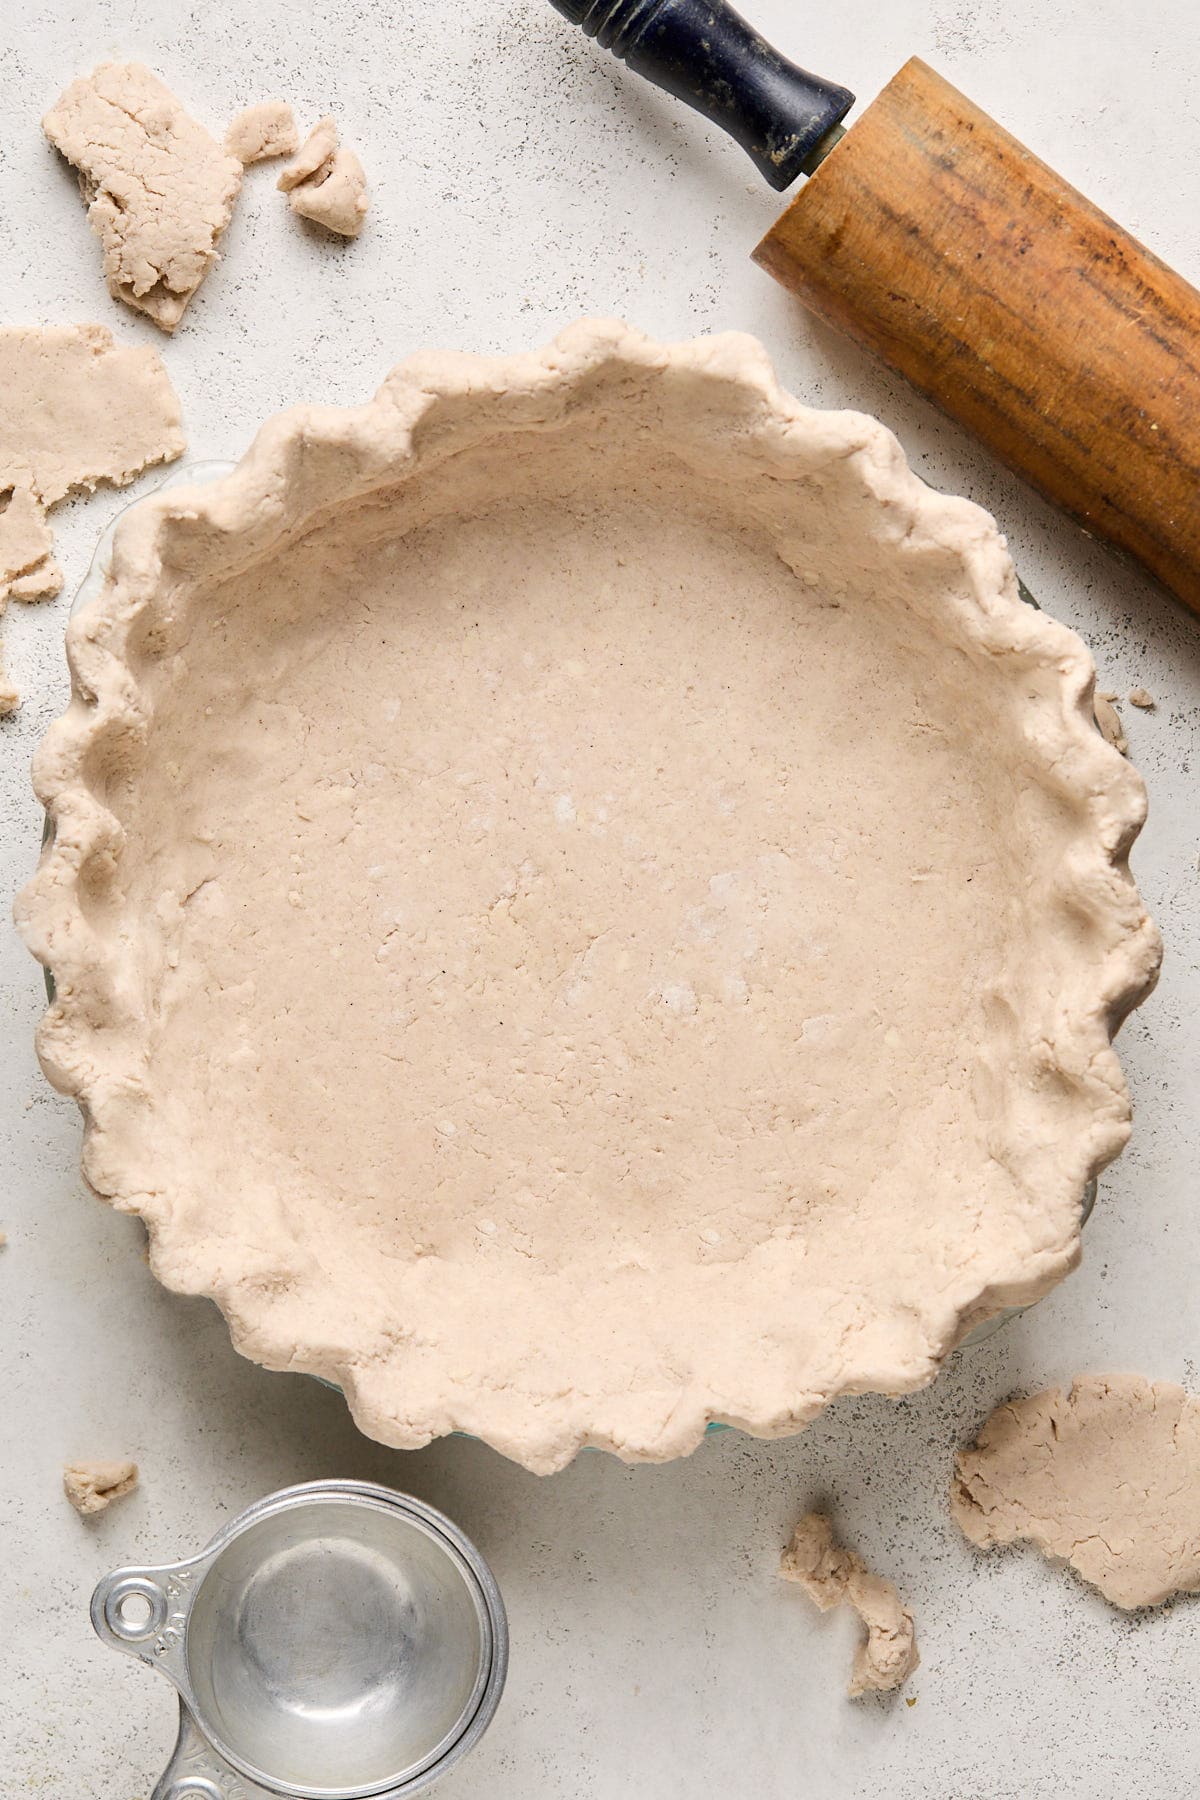
Table of Contents
Why You’ll Love This Gluten-Free Pie Crust Recipe
After plenty of testing in my kitchen, I finally landed on a gluten-free pie crust that checks every box! It rolls out easily, bakes up with tender layers and crisp edges, and is simple enough for beginners to master. Once it’s in the oven, the crust turns beautifully golden with that buttery, flaky texture that makes every pie so darn good!
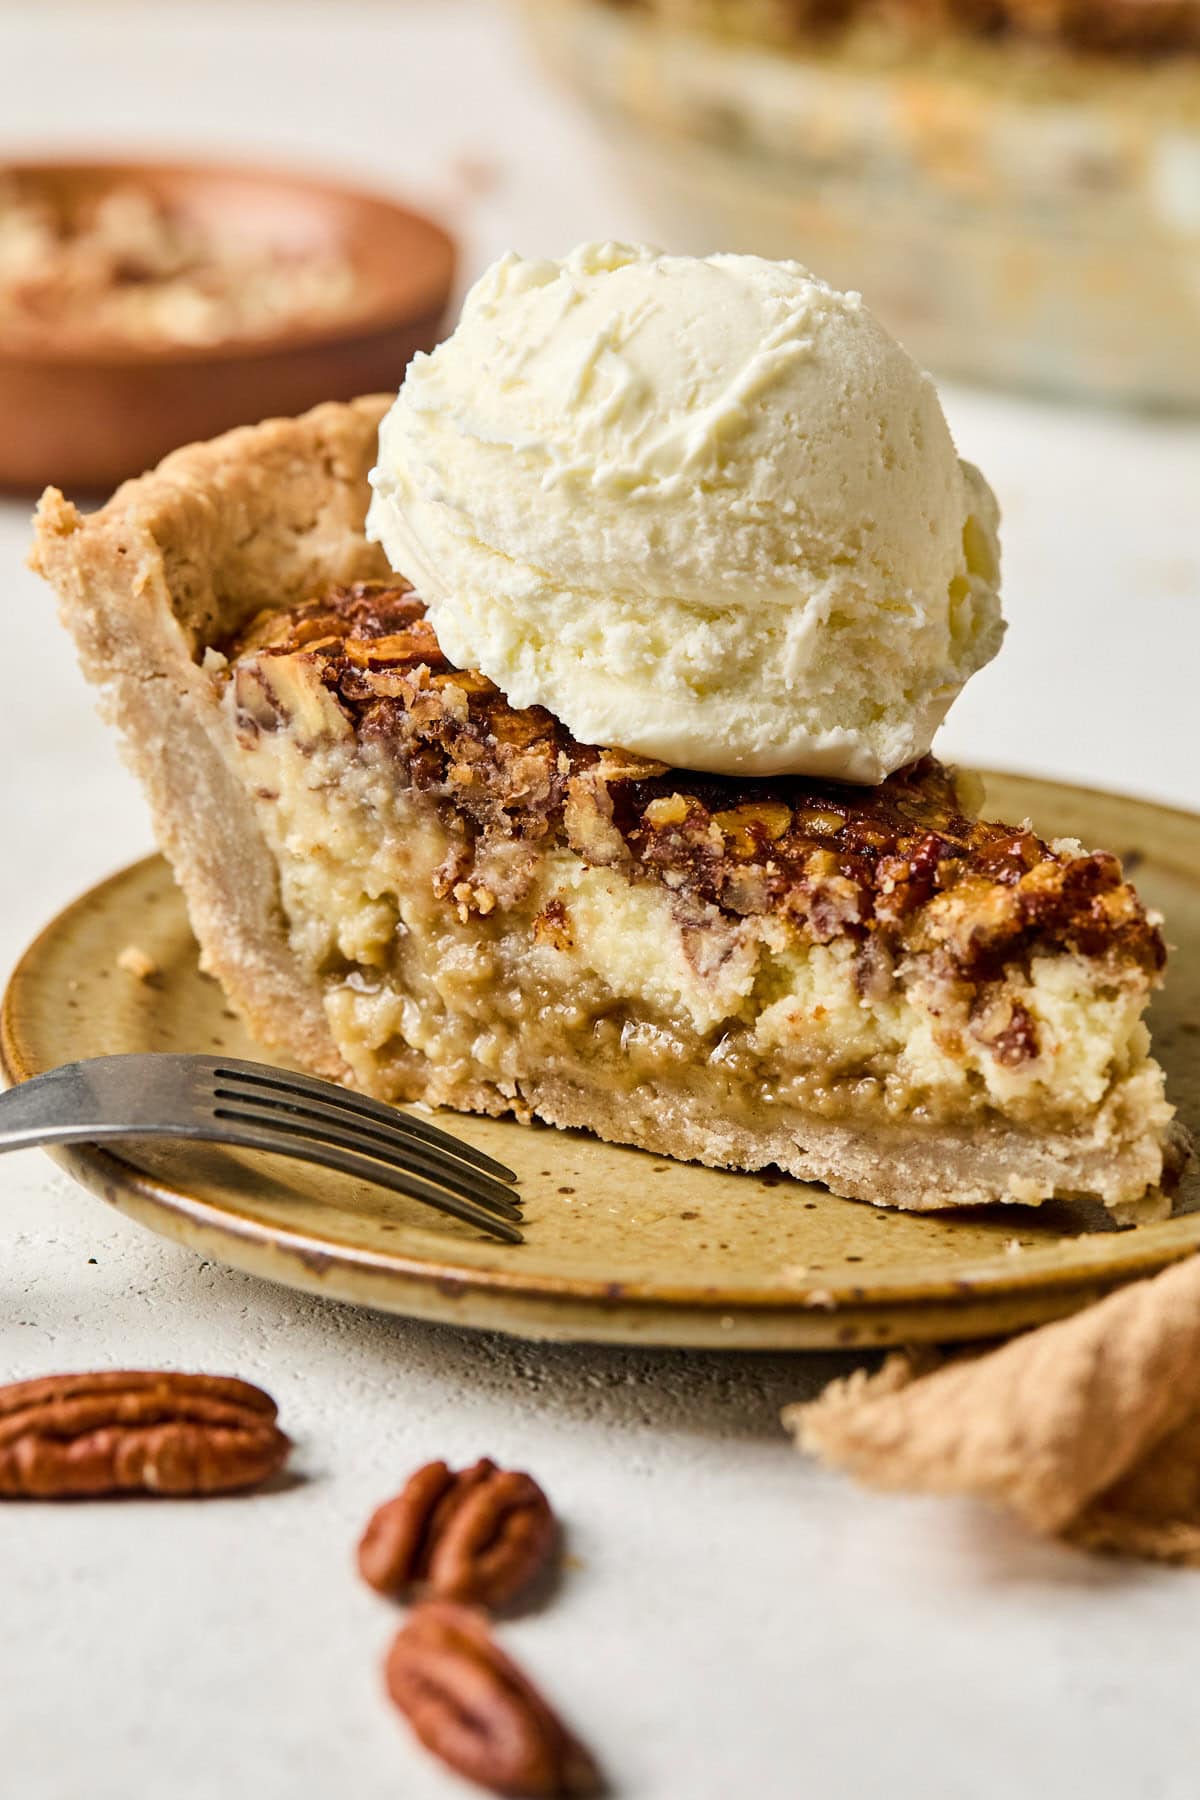
This crust is also so flexible. It holds up beautifully with rich fillings like my pecan pie, chilled desserts like this peanut butter pie, or even these mini pumpkin pie tarts – you can’t go wrong!
Best of all, the dough is easy to handle. Rolling it between parchment paper helps keep the crust intact while you shape it, which makes the whole process much less frustrating. And if your kids love helping in the kitchen as much as mine do, they’ll have fun with the baking process!
Ingredients You’ll Need

- Gluten-free flour blend: I use King Arthur’s Measure for Measure flour because it creates a dough with enough structure to roll easily while still baking up tender. If you use another blend, make sure it contains xanthan gum to help bind the dough!
- Sugar: A small amount of sugar adds subtle sweetness and helps the crust develop a beautiful golden color during baking.
- Cold salted butter: Cold butter is the key to a flaky crust. As the butter melts in the oven, it creates pockets of steam that form those delicate layers.
- Apple cider vinegar: This ingredient may seem surprising, but it plays an important role in the dough! The acidity helps relax the gluten-free dough slightly, which makes it easier to roll and less likely to crack.
- Cold water: Adding cold water slowly allows the dough to come together without becoming sticky.
How to Make This Gluten-Free Pie Crust Recipe

Step 1: Combine Dry Ingredients. Add the gluten-free flour and sugar to a food processor or mixing bowl and pulse or whisk to combine.

Step 2: Add Cold Butter. Cut the cold butter into small cubes and add it to the flour mixture. Pulse or cut in with a pastry cutter until the mixture resembles coarse crumbs with pea-sized pieces of butter.
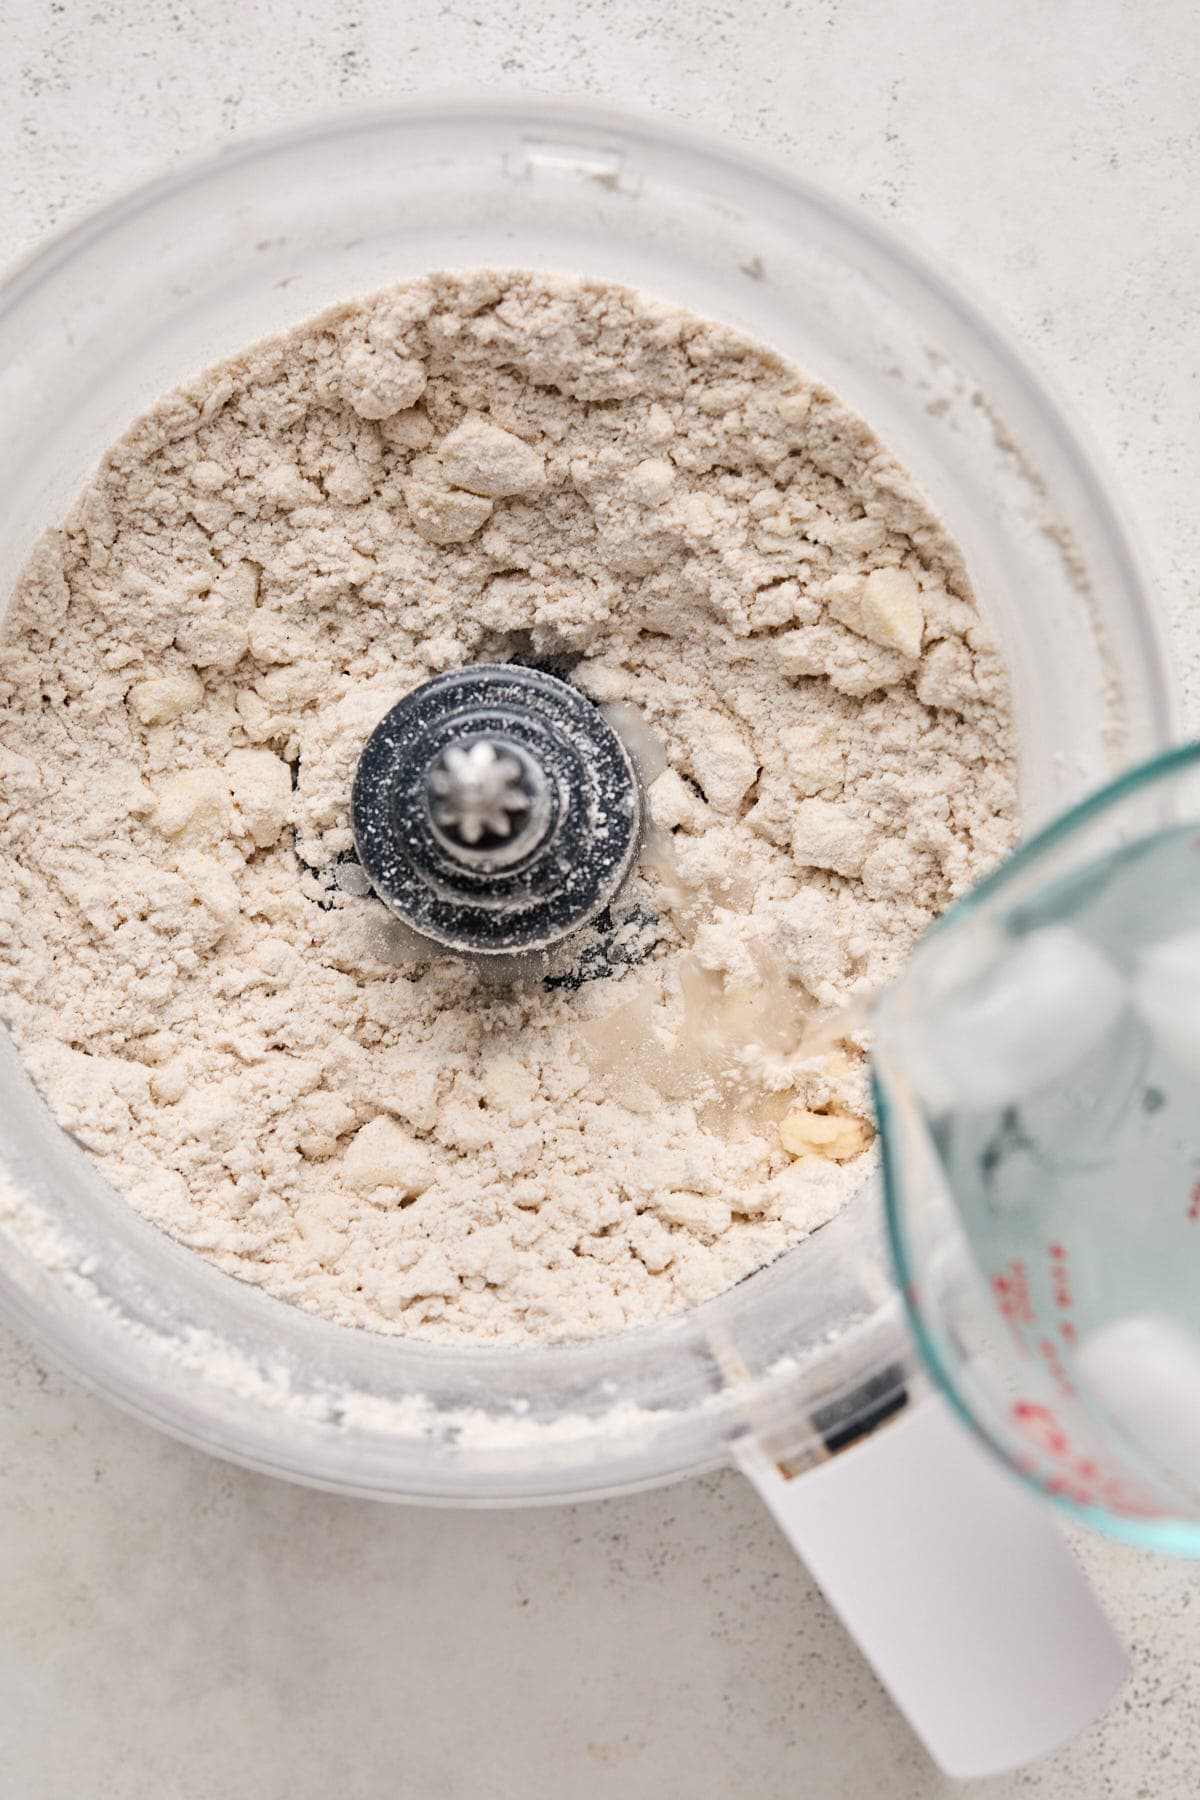
Step 3: Add Vinegar and Water. Drizzle in the apple cider vinegar. Gradually add cold water one tablespoon at a time, mixing gently after each addition. Use just enough water for the dough to hold together when pressed.
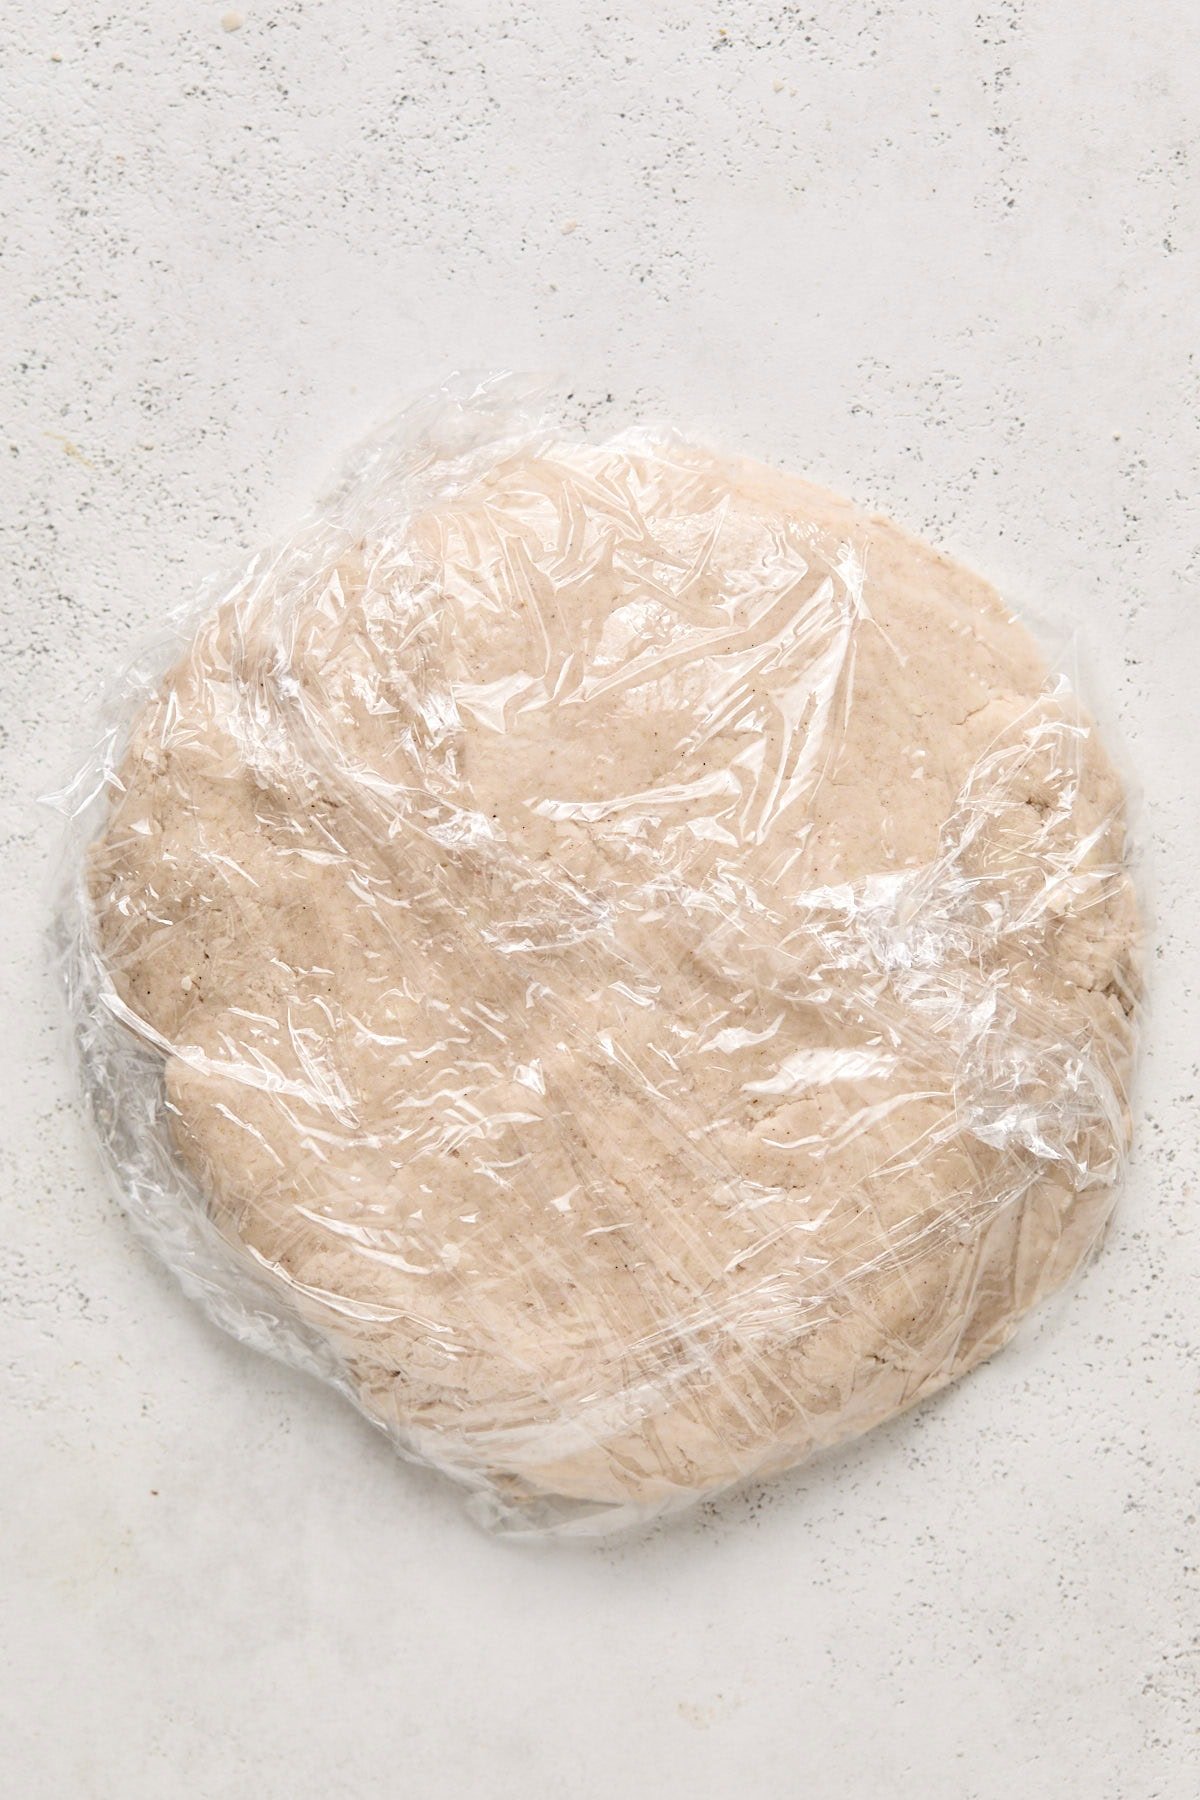
Step 4: Form the Dough. Turn the dough out onto plastic wrap. Gather it into a ball, flatten it into a disc, and wrap it tightly. Refrigerate for at least 30 minutes to allow the butter to firm up.
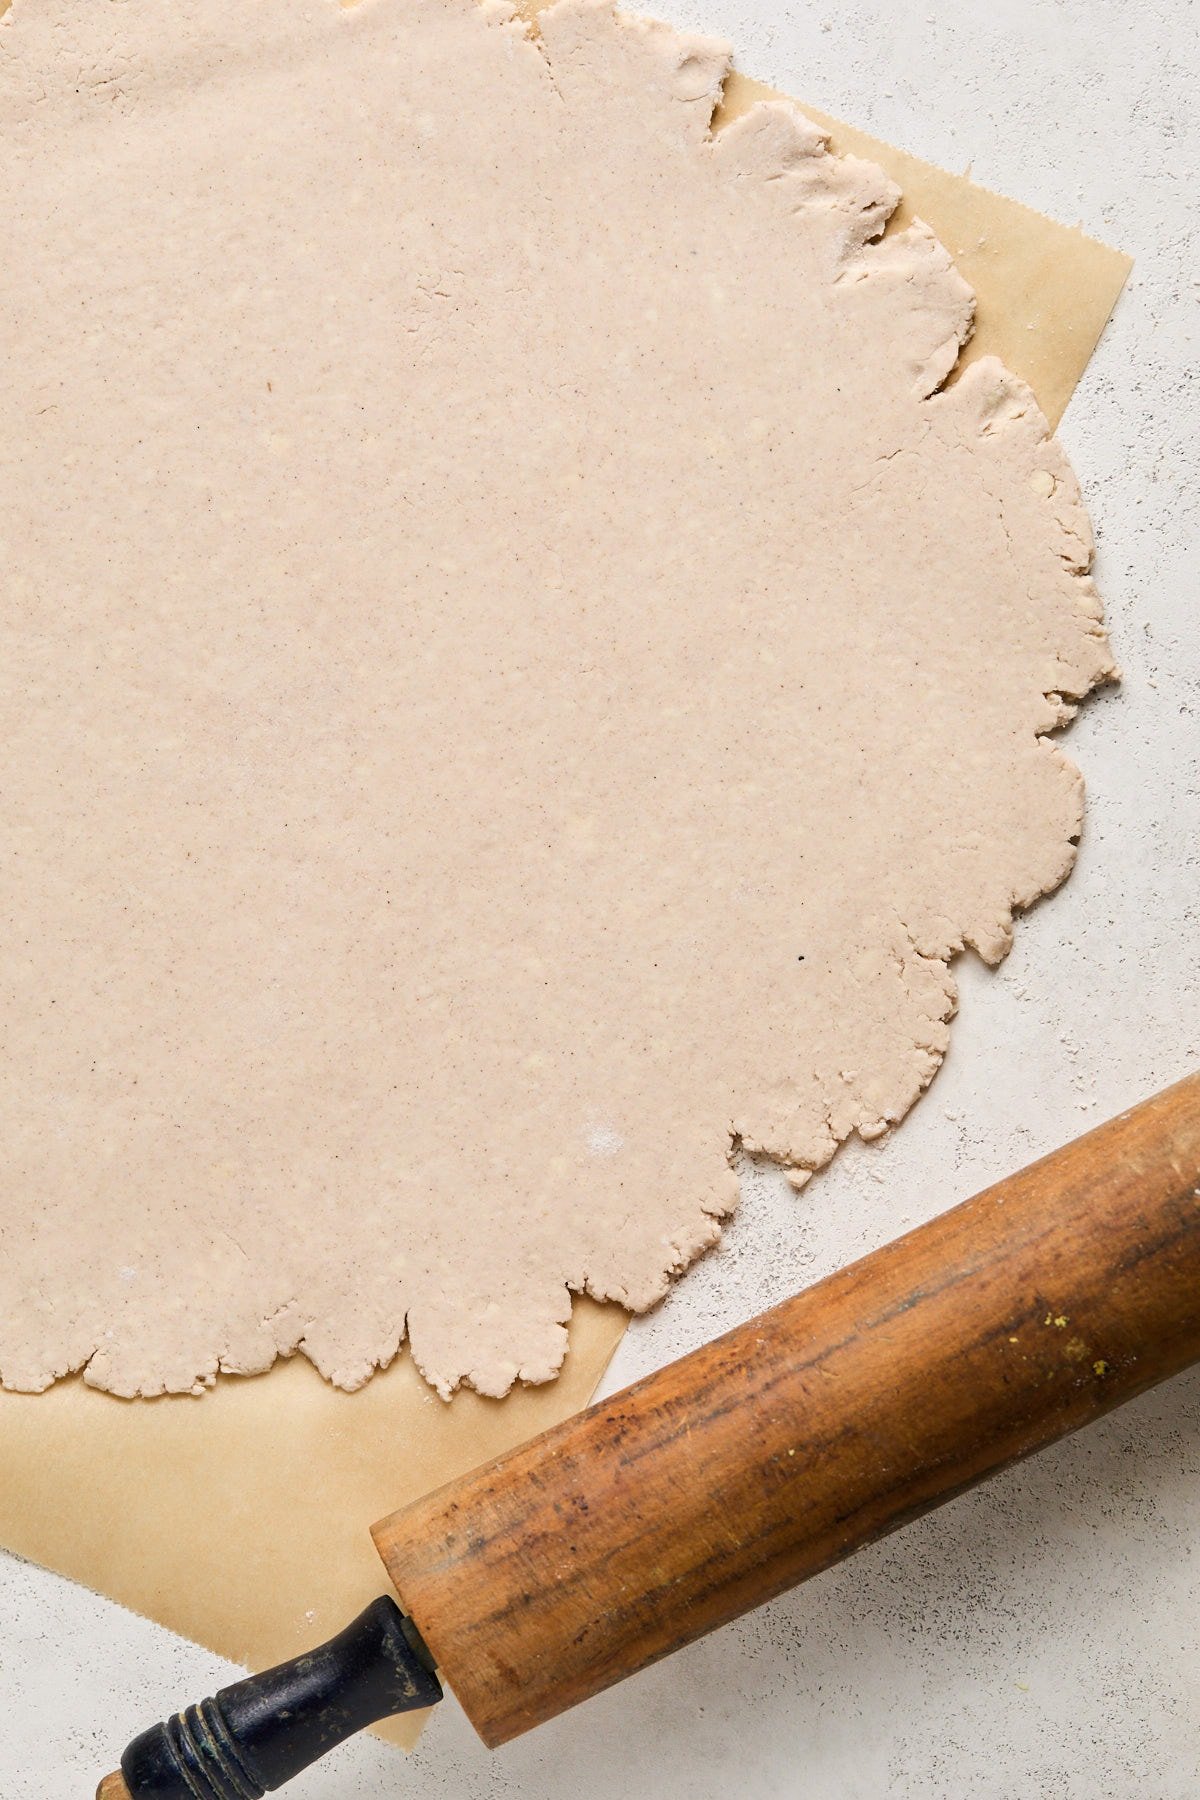
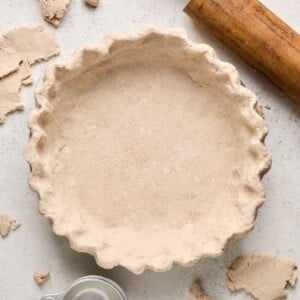
Step 5: Roll Out the Dough. Place the chilled dough between two sheets of parchment paper or on a lightly floured surface. Roll into a circle about 1/8 inch thick and 1-2 inches larger than your pie pan.
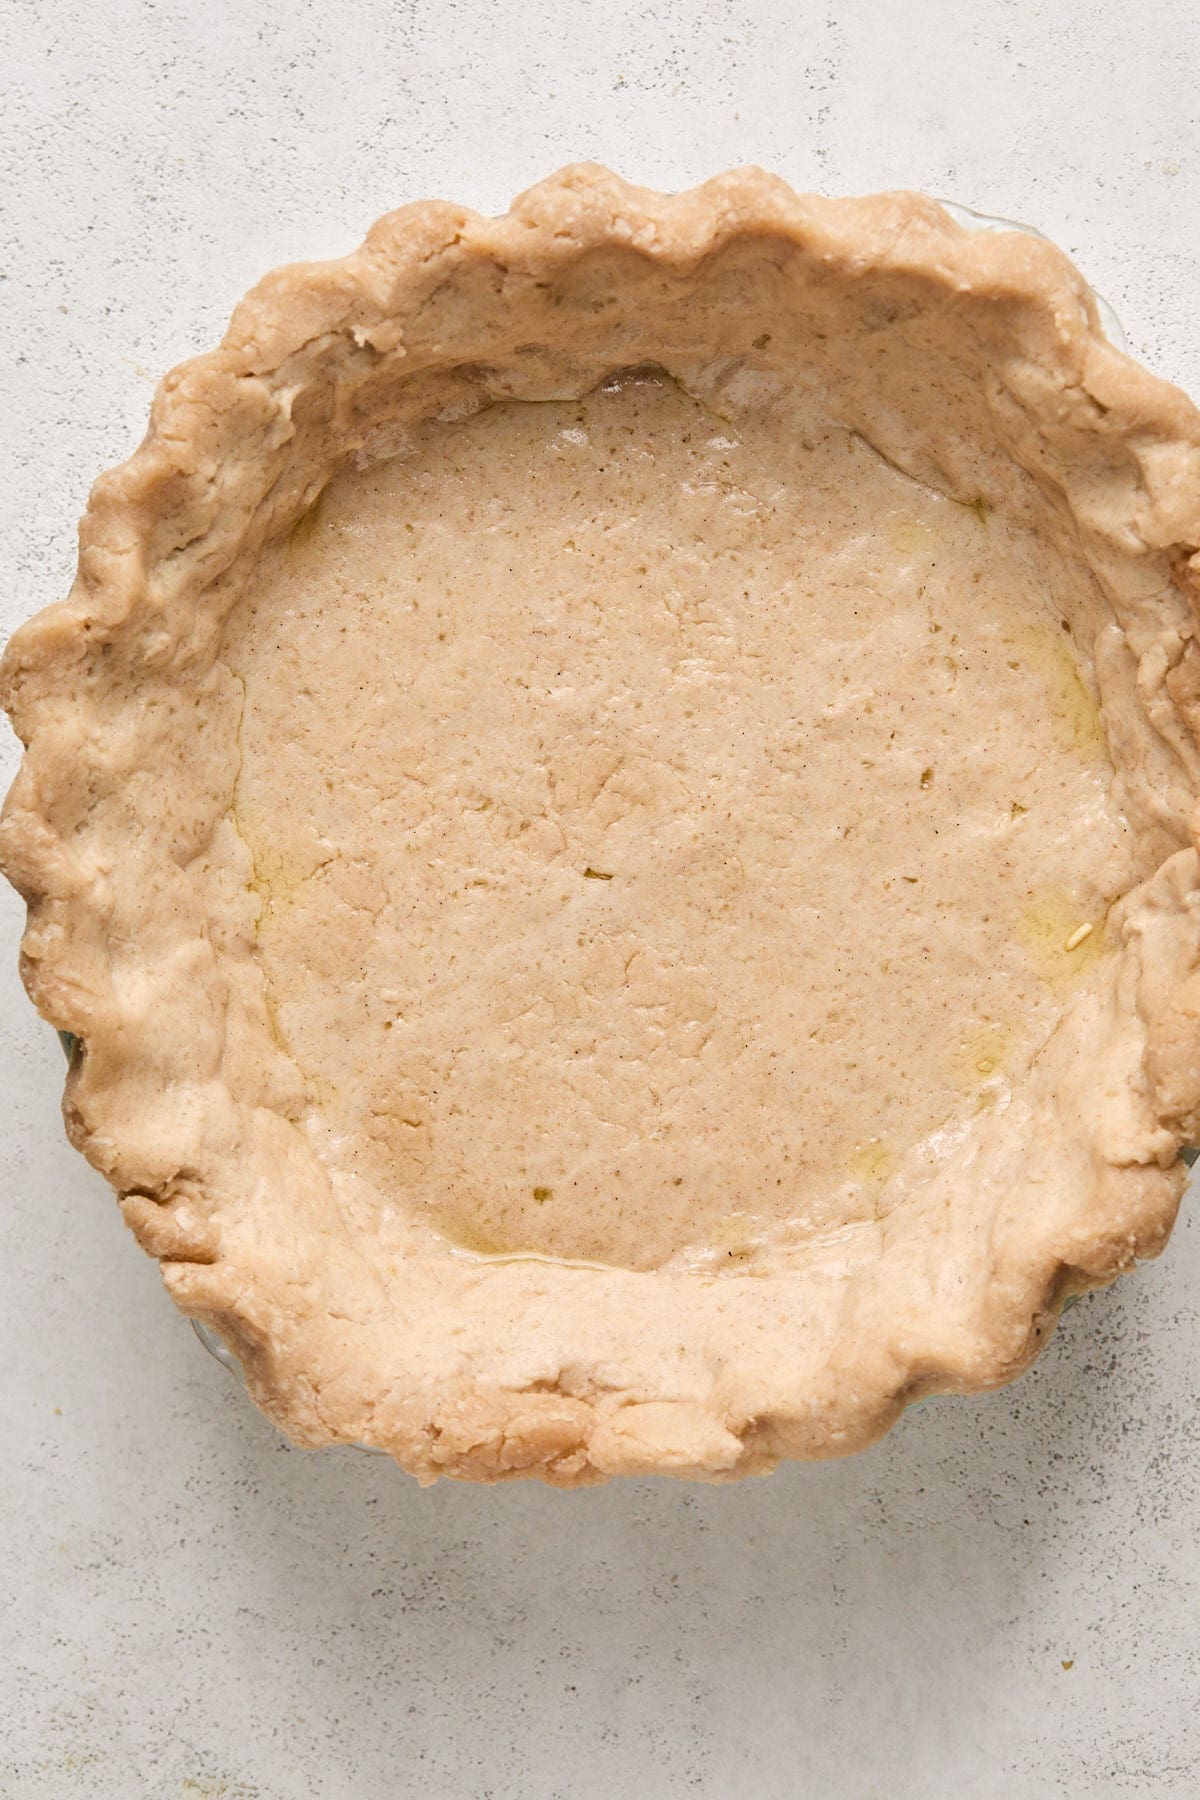
Step 6: Transfer to the Pie Pan. Carefully transfer the dough to the pie pan and press gently into the bottom and sides. Trim excess dough and crimp the edges as desired. Chill the Crust. Place the prepared pie crust in the refrigerator for 10-15 minutes before baking. This helps the butter firm up and prevents the crust from shrinking in the oven.
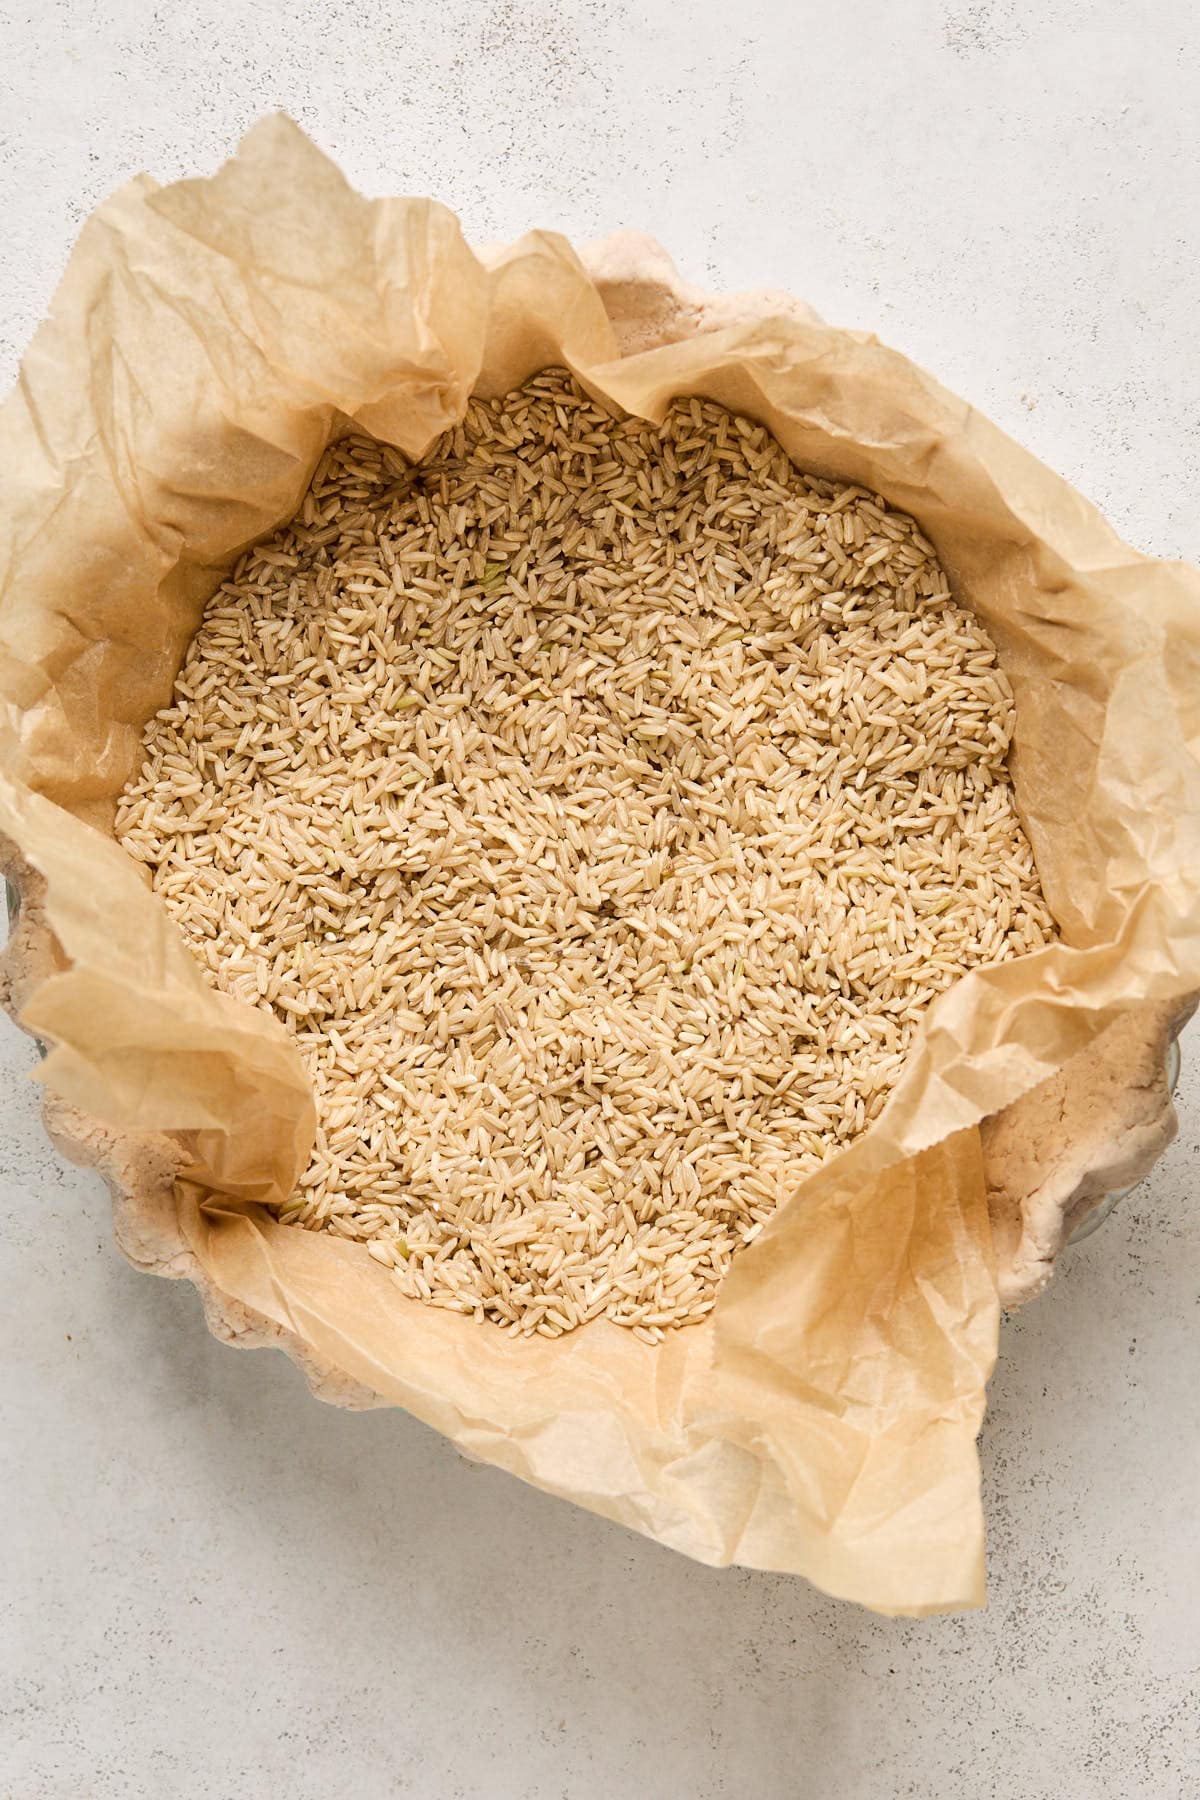
Step 7: Line the Crust. Place parchment paper or foil over the crust and press gently into the bottom and sides. Add Pie Weights. Fill the lined crust halfway up the sides with dried beans or rice.
Step 8: Blind Bake. Bake at 375°F for 15-20 minutes, or until the edges start turning golden. For a fully baked crust, remove the pie weights and continue baking for another 10-15 minutes until the bottom is slightly golden.
Mac’s Pro Tip
Expert Tips for the Best Gluten-Free Pie Crust
- Use very cold butter. Keeping the butter cold until the moment you mix it into the dough creates the flaky layers that make a crust irresistible!
- Add water slowly. Gluten-free dough needs just enough moisture to hold together. Too much water can make the dough sticky and harder to roll.
- Roll between parchment paper. Gluten-free dough can be delicate. Rolling between parchment helps prevent sticking and makes transferring the crust much easier.
- Fix cracks easily. If small cracks appear while rolling, simply press the dough back together with your fingers or use a tiny bit of cold water to seal the seam.
Troubleshooting Gluten-Free Pie Dough
Gluten-free pie dough can feel a little different than traditional dough, but once you know a few simple tricks, it becomes so easy to work with! Most gluten-free pie crust problems happen when the dough is too dry, too warm, or rolled too thin. If something doesn’t look quite right, don’t worry – these quick fixes usually solve the problem!
- If the dough cracks while rolling: Press the dough back together gently with your fingers. If needed, dab a tiny bit of cold water on the seam to help it stick.
- If the dough feels sticky: Dust lightly with gluten-free flour or roll the dough between parchment paper to prevent sticking.
- If the crust shrinks while baking: Make sure the dough chills long enough before baking. Cold butter helps the crust keep its shape.
- If the crust seems dry or crumbly: Add cold water one teaspoon at a time until the dough holds together when pressed.
Serving and Storage Tips
- These gluten free pie crusts work beautifully for both sweet and savory pies. Fill them with apple or pumpkin for dessert, or skip the sugar for quiches and pot pies.
- Unbaked dough can be stored in the fridge for up to 2 days. You can also make the dough ahead of time and keep it wrapped in the fridge for up to 2 days before rolling it out.
- For longer storage, wrap the dough tightly in plastic wrap and place it in a freezer-safe bag. It will keep well in the freezer for about 3 months. Thaw overnight in the fridge before rolling.
- You can also roll out the crust, place it directly in the pie dish, and freeze it unbaked. Bake straight from frozen, adding a few extra minutes to the baking time if needed!
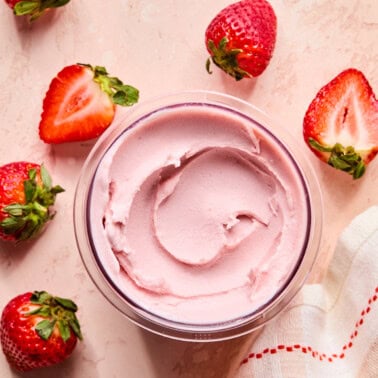
If you’re craving a sweet, chilled dessert, this gluten-free pie crust makes the perfect base for my cookies & cream fluff pie!
Recipe FAQs
A gluten-free flour blend that already includes a binder like xanthan gum works best. I like to use King Arthur Measure for Measure because it creates a dough that rolls easily and bakes into a tender, flaky crust!
Gluten-free crusts can crumble because they lack gluten, which normally provides elasticity. Using a flour blend with xanthan gum and chilling the dough helps improve structure.
Rolling the dough between parchment paper and chilling it before baking helps maintain its shape and prevents cracks.
Many recipes call for blind baking to prevent a soggy bottom crust, especially for custard or cream pies!
Once you make this crust, you’ll see how easy homemade gluten-free baking can be! It’s buttery, flaky, and sturdy enough for all your favorite pie fillings. If you give it a try, I’d love to hear how it turned out – leave a comment and let me know what pie you made!
More Gluten-Free Desserts


If you love this gluten-free pie crust recipe, please give it a star rating and leave a comment below! Follow me on Pinterest, Facebook, and Instagram for more!
Follow on Instagram

The BEST Gluten-Free Pie Crust
Ingredients
Single Crust
- 1 1/2 cups gluten-free flour 180 grams King Arthur’s Measure for Measure
- 1 1/2 tbsp sugar
- ¼ cup cold water add more as needed (1 tbsp at a time)
- 8 tbsp cold salted butter 1 stick
- ½ tsp apple cider vinegar
Double Crust
- 2 1/2 cups gluten-free flour 300 grams King Arthur’s Measure for Measure
- 2 tbsp sugar
- 1/2 cup cold water add more as needed (1 tbsp at a time)
- 1 cup cold salted butter, cut into small cubes 2 sticks
- 1 tsp apple cider vinegar
Instructions
- Combine Dry Ingredients: In a food processor or mixing bowl, add the gluten-free flour and sugar. Pulse or whisk to combine.
- Add Cold Butter: Cut the cold, salted butter into small cubes. Add it to the flour mixture and pulse (or use a pastry cutter) until the mixture resembles coarse crumbs with pea-sized pieces of butter throughout.
- Add Vinegar and Water: Drizzle in the apple cider vinegar. Then, gradually add the cold water, 1 tablespoon at a time, pulsing or stirring gently after each addition. Use just enough water for the dough to hold together when pressed.
- Form Dough: Turn the dough out onto a piece of plastic wrap. Gather it into a ball, then flatten it into a disc. Wrap it tightly in the plastic wrap and refrigerate for at least 30 minutes (or up to 1 hour) to let it firm up.
- Roll Out Dough: Once chilled, place the dough between two pieces of parchment paper or on a floured surface. Roll it out into a circle about 1/8 inch thick and 1–2 inches larger than your pie pan.
- Transfer to Pie Pan: Carefully place the dough into your pie pan, pressing gently to fit it into the bottom and sides. Trim any excess dough around the edges and crimp or shape the edge as desired.
- Chill and Bake: If the recipe calls for a pre-baked crust, chill the shaped crust in the pie pan for 10–15 minutes. Then, prick the bottom with a fork OR don’t prick the bottom (always go according to your recipe's instructions) Bake according to the recipes instructions.
- Line the Crust: Cut a piece of parchment paper or aluminum foil large enough to cover the crust and extend up the sides. Gently press it down onto the crust, covering the bottom and edges.
- Add the Beans: Pour dried beans (or rice) onto the parchment or foil, filling the crust about halfway up the sides. Distribute the beans evenly so they press the crust down and hold it in
- Blind Bake: Bake the crust with the beans in the oven according to the recipe’s instructions—usually for 15-20 minutes at 375°F (190°C), or until the edges begin to turn golden.Do show the baked crust in the step-by-step.
Notes
- Use very cold butter. Keeping the butter cold until the moment you mix it into the dough creates the flaky layers that make a crust irresistible!
- Add water slowly. Gluten-free dough needs just enough moisture to hold together. Too much water can make the dough sticky and harder to roll.
- Roll between parchment paper. Gluten-free dough can be delicate. Rolling between parchment helps prevent sticking and makes transferring the crust much easier.
- Fix cracks easily. If small cracks appear while rolling, simply press the dough back together with your fingers or use a tiny bit of cold water to seal the seam.
- These gluten free pie crusts work beautifully for both sweet and savory pies. Fill them with apple or pumpkin for dessert, or skip the sugar for quiches and pot pies.
- Unbaked dough can be stored in the fridge for up to 2 days. You can also make the dough ahead of time and keep it wrapped in the fridge for up to 2 days before rolling it out.
- For longer storage, wrap the dough tightly in plastic wrap and place it in a freezer-safe bag. It will keep well in the freezer for about 3 months. Thaw overnight in the fridge before rolling.
- You can also roll out the crust, place it directly in the pie dish, and freeze it unbaked. Bake straight from frozen, adding a few extra minutes to the baking time if needed!
Nutrition
Nutrition information is automatically calculated, so should only be used as an approximation.