How to Make Cakesicles Recipe (Cake Popsicles)
Published Apr 26, 2023 Updated May 17, 2024
This post may contain affiliate links. Please read our disclosure policy.
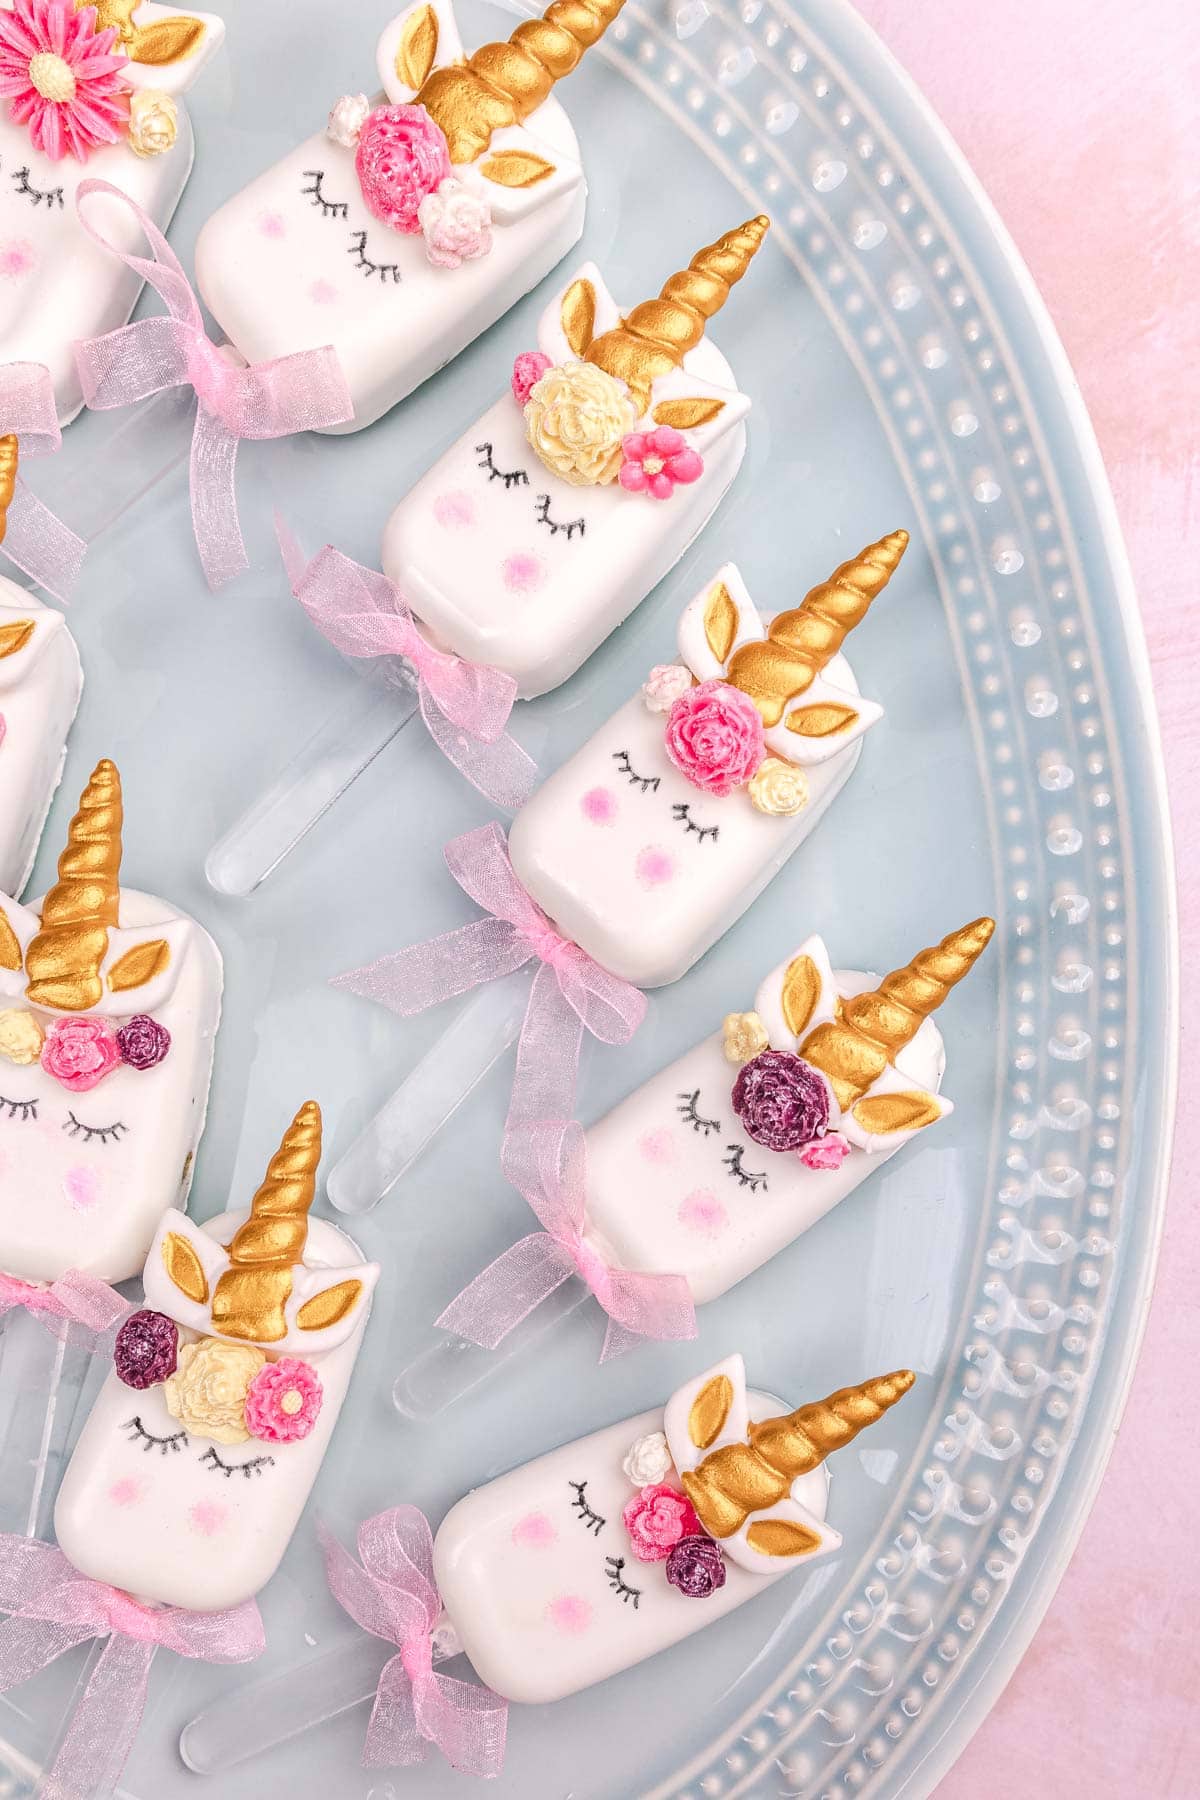
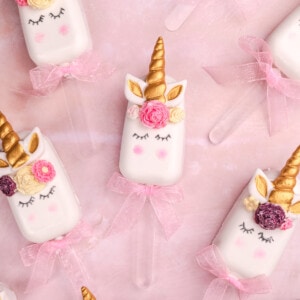
An easy, delicious recipe for How to Make Cakesicles! These cake popsicles are a fun, cute, and tasty way to celebrate any holiday or special event. I’ll show you how to make a Unicorn theme, but this recipe can really be used in any silicone mold for any special occasion! The options are endless!
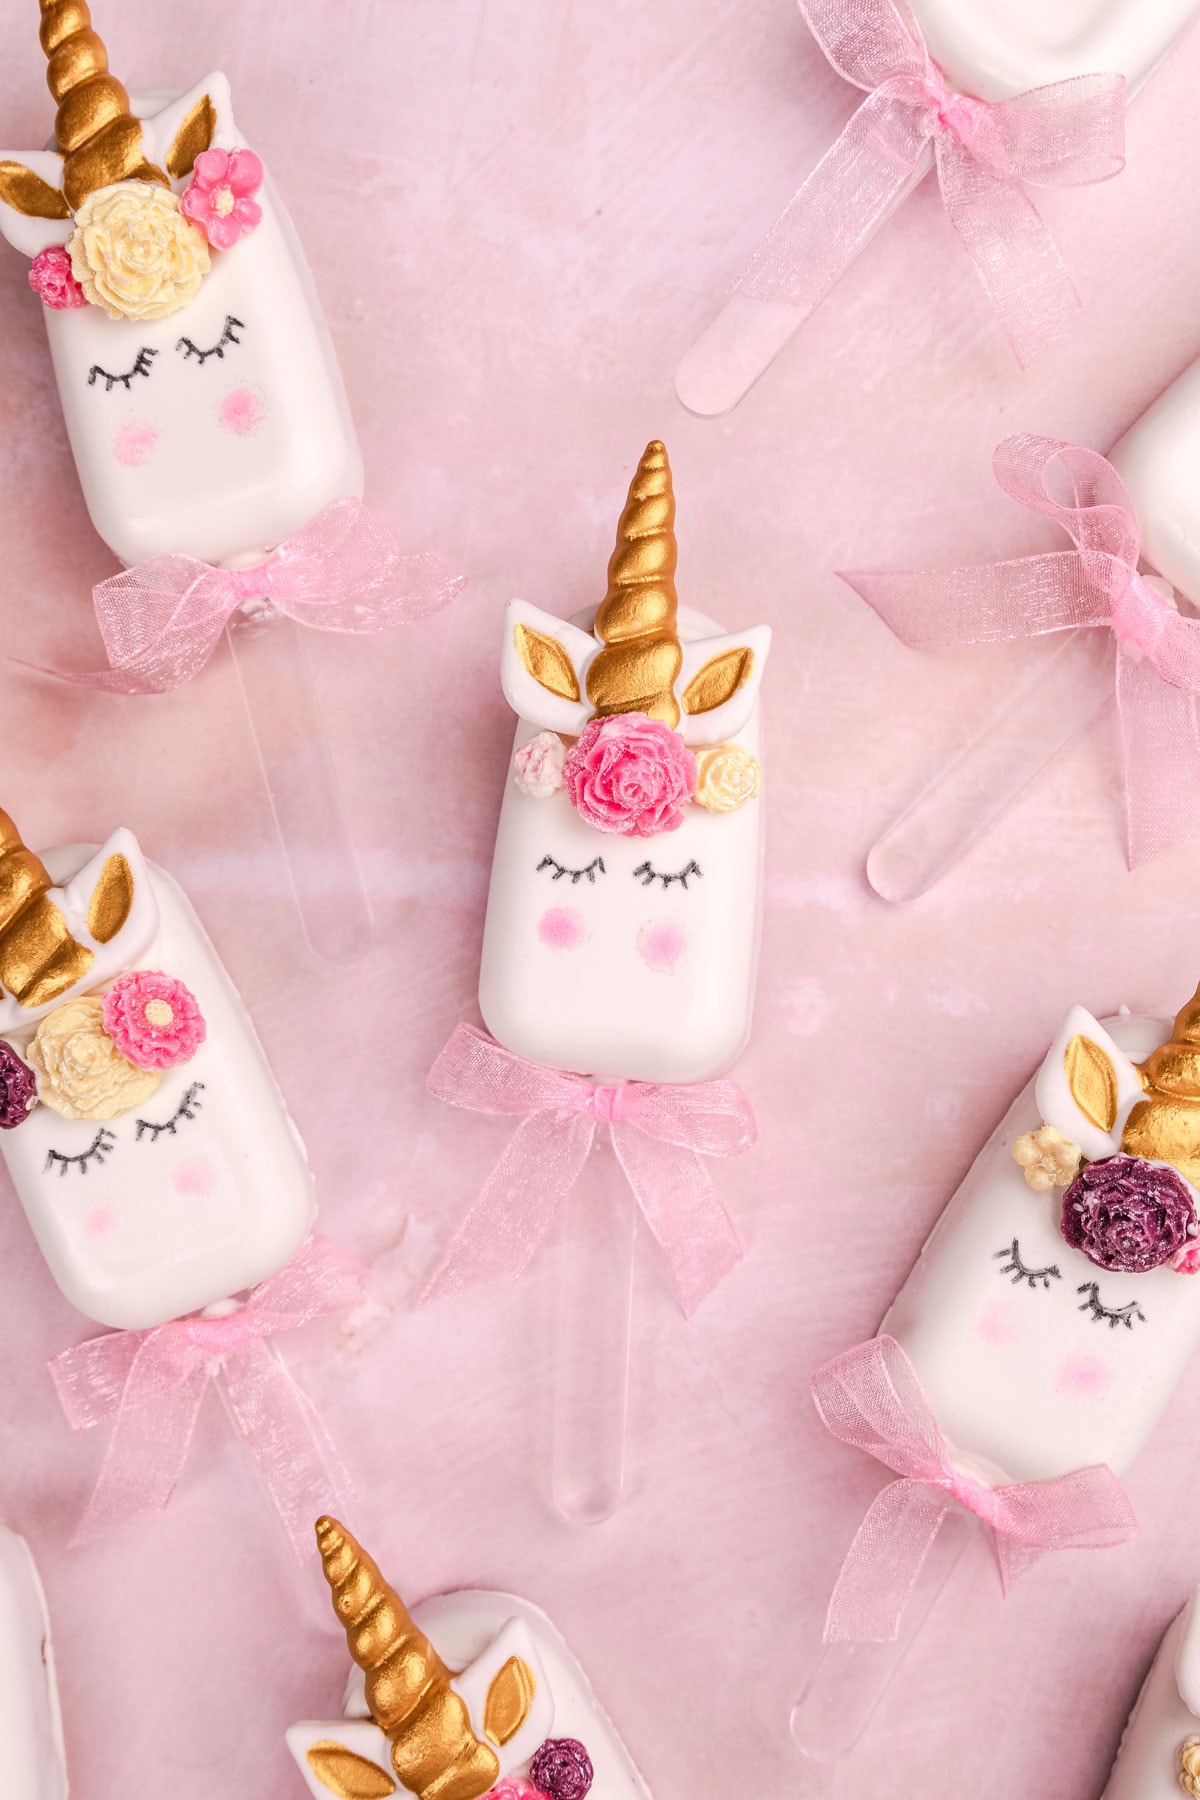
Table of Contents
What Are Cakesicles?
Cakesicles are a delightful and visually appealing dessert that combines the elements of cake and popsicles. Essentially, they are cake pops in the shape of a popsicle. There are many ways to make them- in molds or without, and the result is always a hit!
What Makes This Recipe Great
My little girl turned 5 and requested Unicorn Cakesicles, so this mama got to work, and WOW! I am so impressed by how these turned out I just had to share. The best part is, though they may look complicated, they’re actually super easy cakesickles to make and so versatile!
Use this recipe for any holiday or theme you want! All you need are silicone molds, box cake mix, buttercream frosting, melting chocolate, and the decor of your choice!
These Instagram and Pinterest-worthy treats taste amazing, look beautiful, and will win over holidays and birthday parties. Fun and tasty cake popsicles for any age!
If you’re looking for a vegan version, try my Vegan Vanilla Cake with Buttercream!
Ingredient Notes
Cake Popsicles
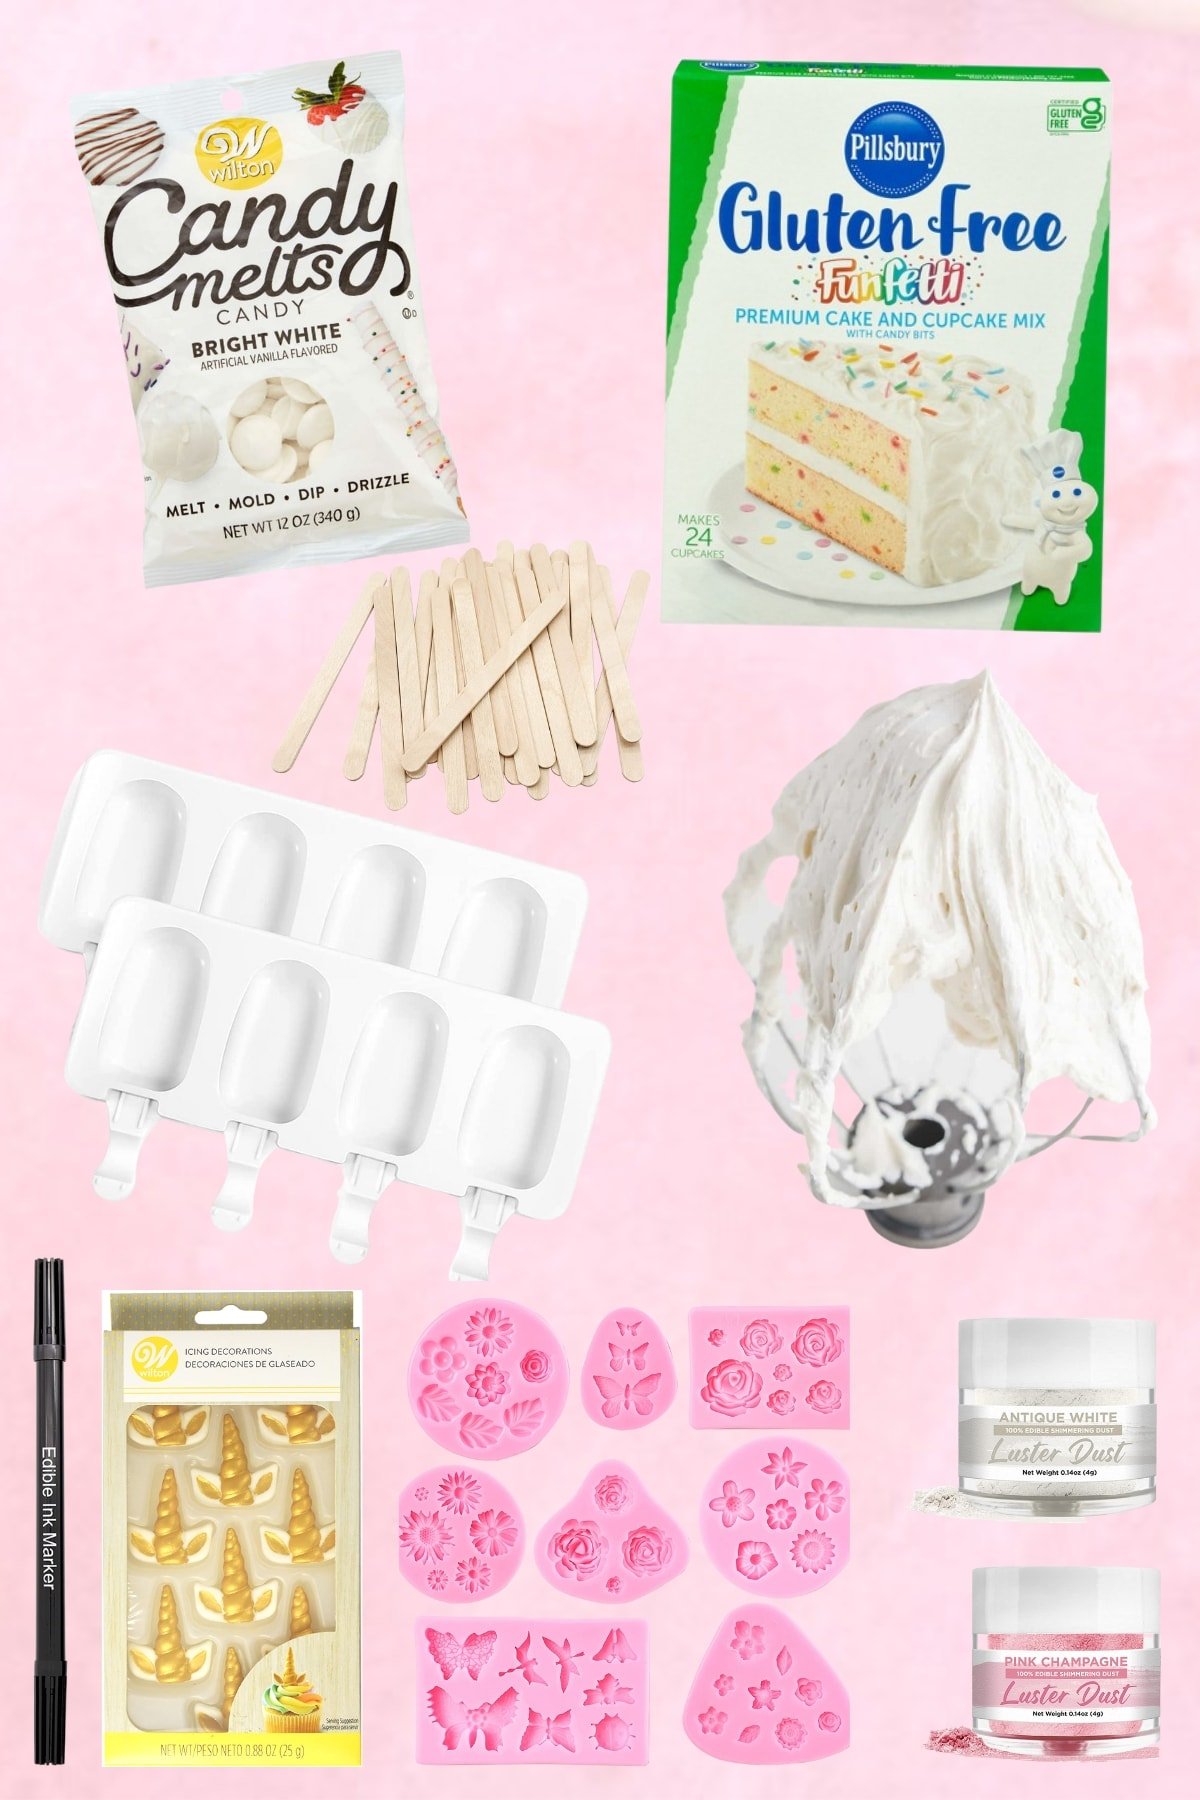
- confetti cake mix: I used gluten-free Funfetti cake mix, which turned out so well. You can use any boxed cake mix flavor you like. Vanilla, strawberry, or chocolate cake would work well. Typically, box cakes require additional ingredients like eggs, oil, and water. Make sure you have those on hand! Leftover cake will work as well– as long as it’s moist cake, you can use it!
- buttercream frosting: You can use a storebought version or try my homemade buttercream frosting recipe! You could also use cream cheese frosting if desired.
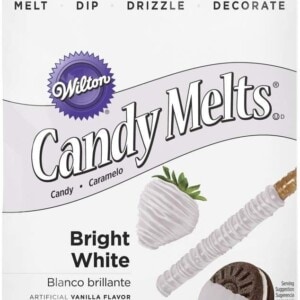
- melting chocolate: I used the bright white Candy Melts for these unicorn cakesicles. If you are using this recipe with a different cakesicle mold, feel free to choose the colored candy melts of your choice.
Decorating
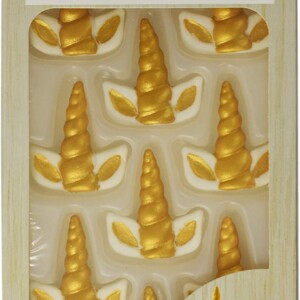
- unicorn horns
- food coloring
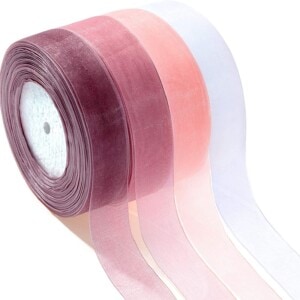
- ribbon
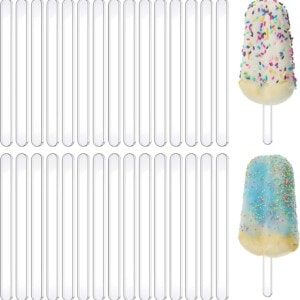
- popsicle sticks
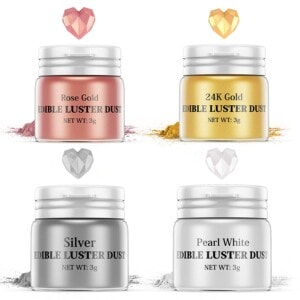
- edible glitter
- sprinkles
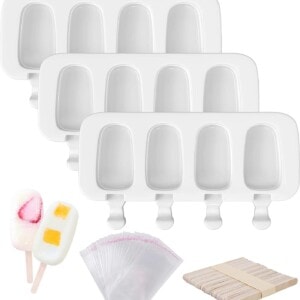
Tools & Equipment
Step-by-Step Instructions
Follow these simple steps to make the most amazing cakesicles! See the printable recipe card below for more tips and to print.
Prepare the Cake Filling

- Bake the cake according to the box instructions. Insert a toothpick in the middle of the cake to check and see if it’s done, then remove it from the oven and let it cool at room temperature for 30 minutes.
- In a large bowl, crumble the cooled cake and stir in the buttercream frosting with a spatula.
- Add the cake crumbs and frosting mixture to a ziplock bag and press, and smash together. It should almost look like a dough consistency.
- Store the smashed cake mixture in the fridge for at least 30 minutes.
Melting the Chocolate and Assembling the Cakesicles
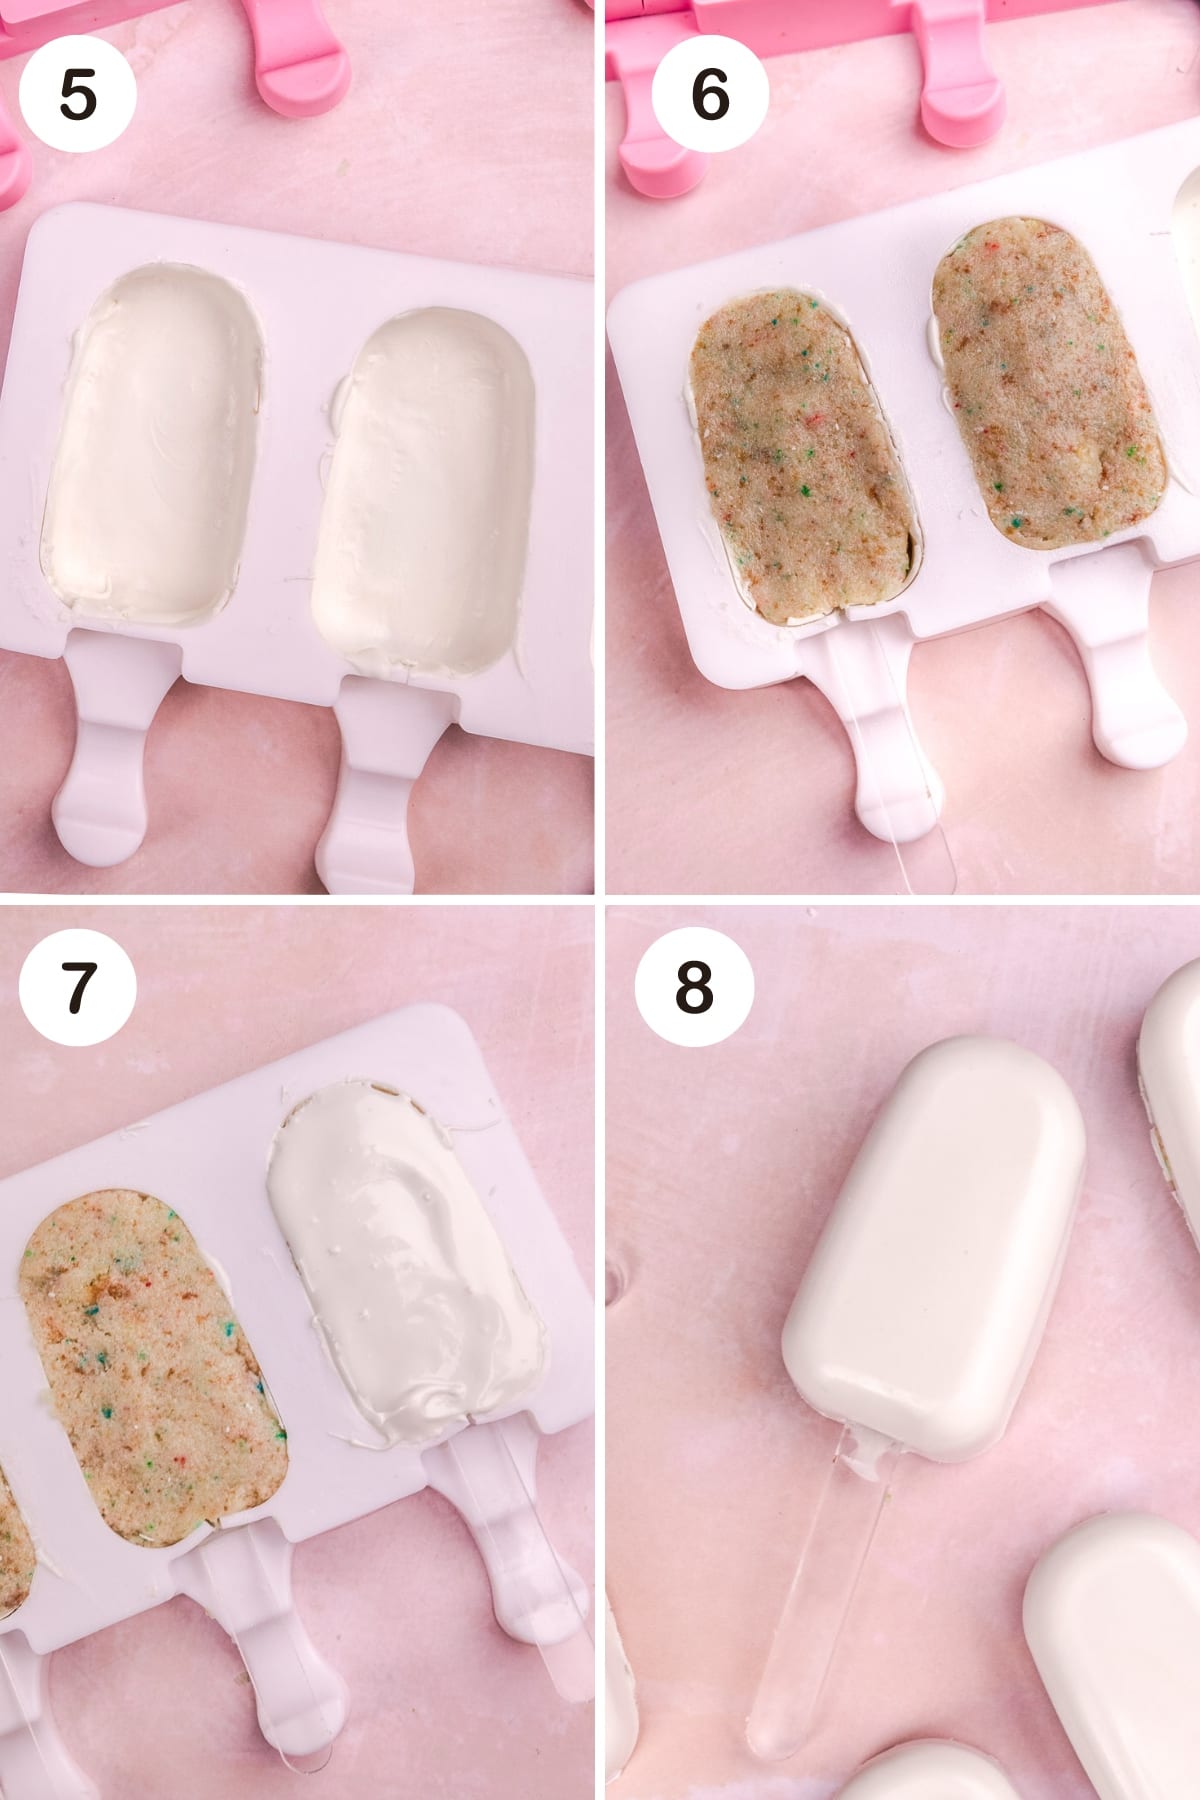
- Melt the chocolate according to the package and spoon 2 tablespoons into each mold. Use a spoon to distribute the chocolate inside the cavity of the mold.
- Next, place each popsicle stick into the mold before the chocolate melts. Repeat the step above if you need another layer of chocolate so it is not transparent.
- Smash the cake dough into each mold. It should be flush with the top of the mold.
- Take another tablespoon or so of the melted chocolate and cover the top of the cake, keeping it close to the edges.
- Chill in the fridge for 10 minutes or until the chocolate coating is hard. Once the chocolate shell has hardened, gently remove each of the cakesicles from the mold. Gently pull back the sides of the mold and pop the chocolates out.
Decorating
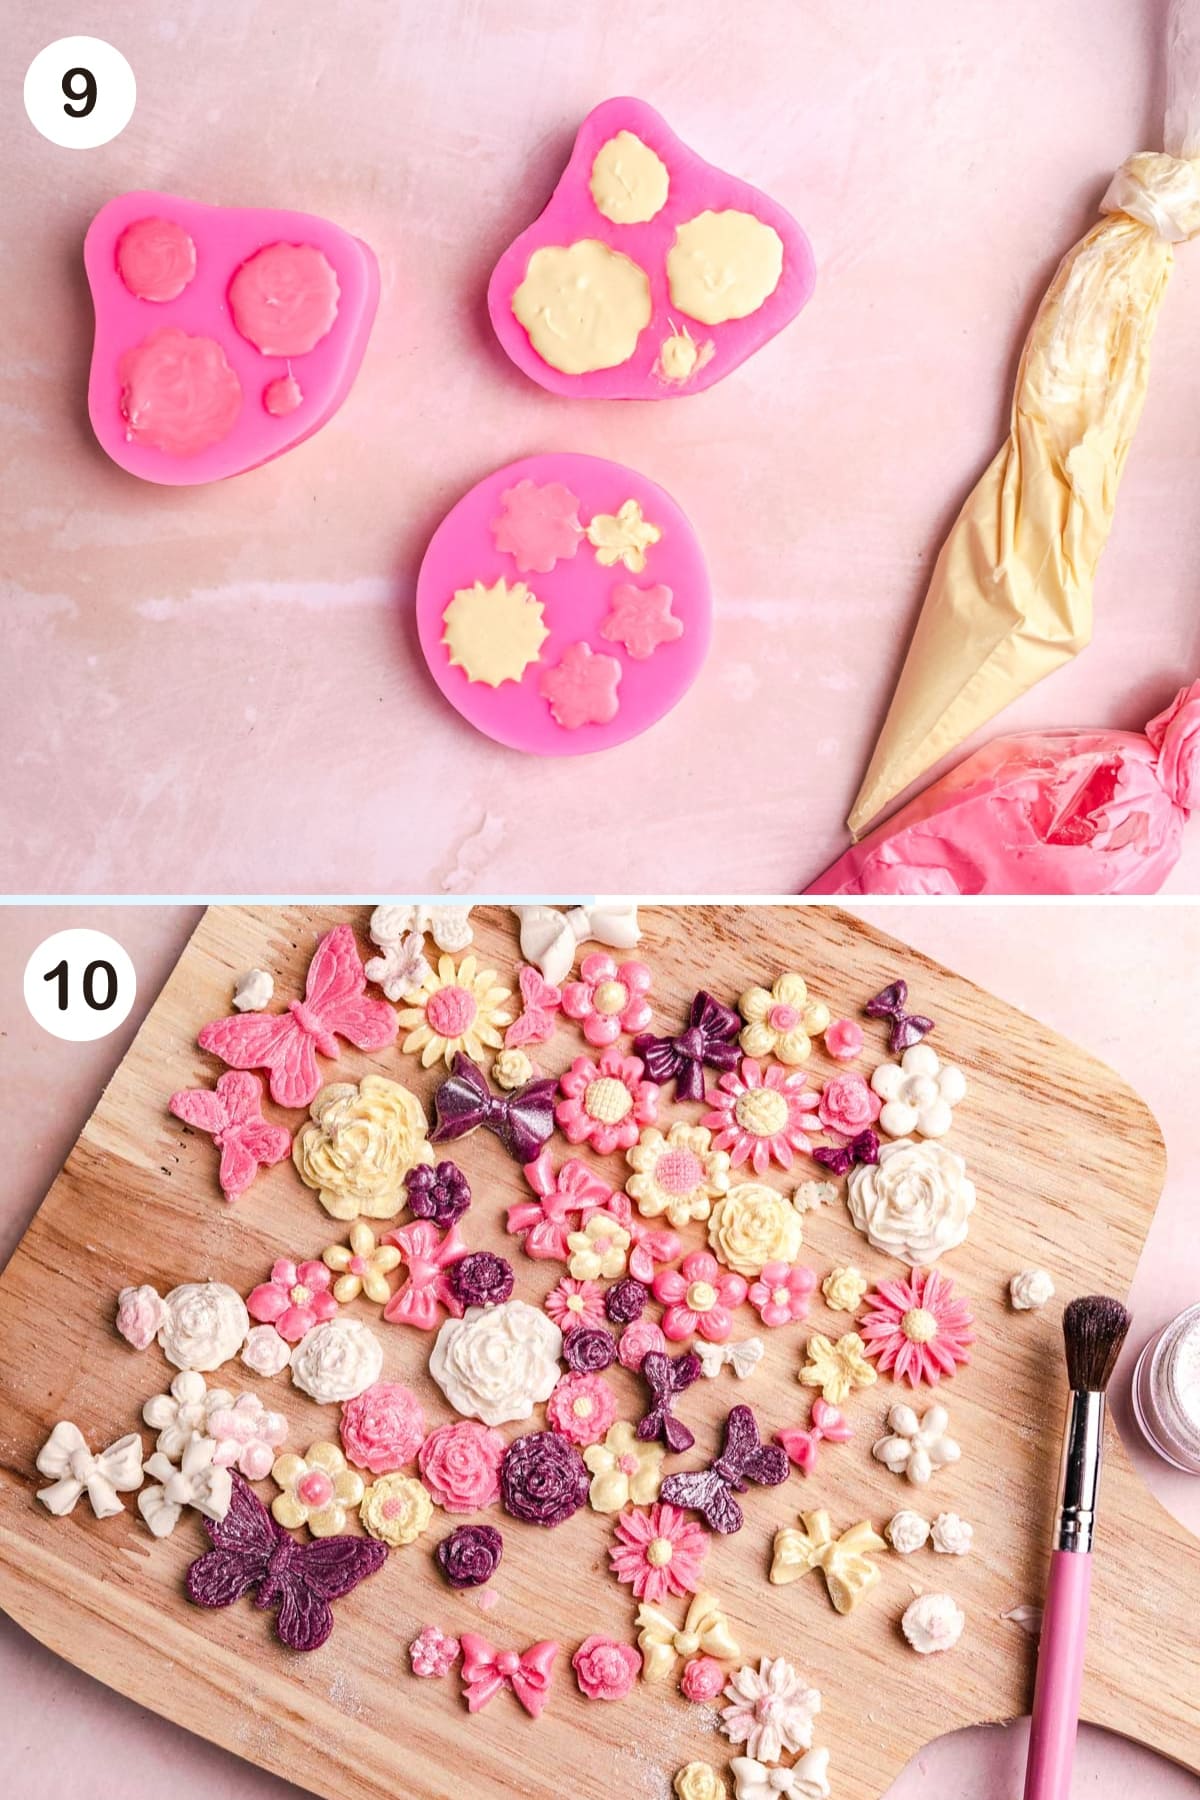
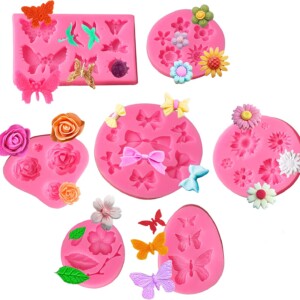
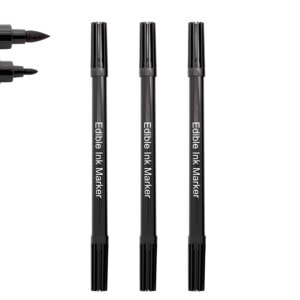
- Decorate as desired. I use chocolate molds for the flowers and bought the unicorn toppers from Walmart. I used edible dust for the pink cheeks with a paintbrush and an edible black marker for the eyes.
- To place the flowers and horns on, use the melted chocolate as the glue.
- Cake pop sticks are easy to find. I recommend dipping the sticks in the chocolate before inserting them into the cakesicles. This helps “glue” them so they stay on.
Mac’s Pro Tips
Expert Tips
- Excess Chocolate: If you have excess white chocolate, simply add some food coloring to it, use it in the desired chocolate molds, and decorate! You can also use the chocolate to drizzle or create other designs.
- Molds: You can use this recipe to make any kind of cakesicles you desire. Just choose the cakesicle or popsicle molds you want, and follow the same instructions.
- Themes: You can make this cakesicles recipe for any holiday or with any theme! Halloween cakesicles, Christmas Cakesicles, birthdays, baby showers, bridal showers, weddings, Valentine’s Day, Easter, etc.! There are silicone molds for everything.
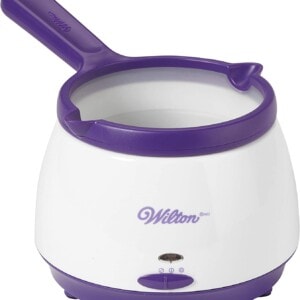
- Melting Methods: There are many ways you can melt chocolate safely, in a microwave-safe bowl in second intervals, in a chocolate heater, or over the stovetop. Choose the method that works best for you, and make sure to follow the package instructions.
- Chocolate: I recommend using chocolate that is designed for melting like the candy melts brand. Using regular chocolate chips or a bar of dark chocolate doesn’t always work because of the other ingredients they are made with. The chocolate could be too thin and not hardened properly.
- Traditional Cake Pop: If you don’t want to use a mold, simply shape the dough into cake balls, insert your popsicle sticks, and dip to coat.
Serving Tips
- Serve the cake popsicles right away for best results.
- If displaying for a birthday party, use a block of flower foam as a stand or buy a cake pop dessert stand. Or serve on a platter.
- If giving them out individually, wrap them in clear treat bags (you can find these on Amazon) and tie them with a ribbon.
- Your kids can eat them right off of the cake pop stick. For younger kids, you can cut the cakesicles into smaller pieces with a knife and serve on a plate, if needed.
Storage Tips
- If you have leftovers, you can wrap each one in plastic wrap and store them in an airtight container, with enough room to not overcrowd or damage the cakesicles. Separate layers with parchment paper.
- Store in the fridge for up to 4 days for optimal freshness.
- To store the cakesicles in the freezer, I recommend storing them with the chocolate shell, undecorated. Wrap each cake popsicle in plastic wrap, then store them in a freezer-safe container for up to 2 months. Defrost in the fridge overnight, then decorate!
Recipe FAQs
They’re so easy! It’s actually just a baked box cake, crumbled and mixed with buttercream frosting!
It will crack if there is not a thick enough layer of chocolate. Make sure you add 2 to 3 coats of chocolate in the molds before adding this cake. This will make the shell strong and thicker.
They can be stored in the fridge for up to 4 days in an airtight container.
If the cakesickle cracks, fill in the crack with a little melted chocolate and pop it in the fridge until the chocolate has hardened. If it is super noticeable that you filled it in, you can decorate over that specific spot or even add sprinkles.
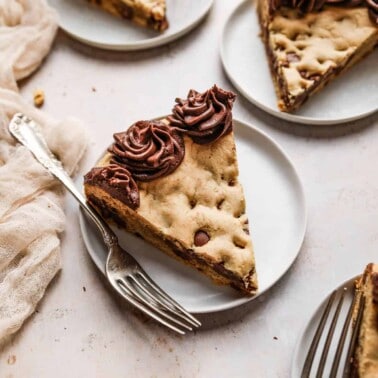
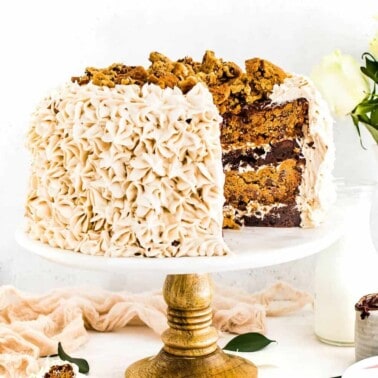
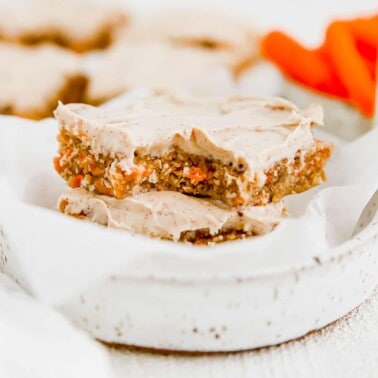
More Delicious Cake Recipes!

Follow on Instagram
If you love this recipe, please give it a star rating and leave a comment below! Follow me on Pinterest, Facebook, and Instagram for more!

How to Make Cakesicles (Cake Popsicles!)
Ingredients
Cakesicles
- 1 box confetti cake mix can use gluten-free
- 1/2 cup buttercream frosting
- 32 oz melting chocolate bright white
Decorating
- unicorn horns bought from Amazon
- chocolate molds
- food coloring for different colored flowers
- ribbon
- popsicle sticks
Instructions
Cake Mixture
- Bake the cake according to the box instructions. Insert a toothpick in the middle of the cake to check and see if it’s done, then remove it from the oven and let it cool at room temperature for 30 minutes.
- In a large bowl, crumble the cooled cake and stir in the buttercream frosting with a spatula.
- Add the cake crumbs and frosting mixture to a ziplock bag and press, and smash together. It should almost look like a dough consistency.
- Store the smashed cake mixture in the fridge for at least 30 minutes.
Melt The Chocolate
- Melt the chocolate according to the package and spoon 2 tablespoons into each mold. Use a spoon to distribute the chocolate inside the cavity of the mold.
- Next, place the popsicle sticks into the mold before the chocolate melts. Repeat the step above if you need another layer of chocolate so it is not transparent.
- Smash the cake dough into each mold. It should be flush with the top of the mold.
- Take another tablespoon or so of the melted chocolate and cover the top of the cake, keeping it close to the edges.
- Chill in the fridge for 10 minutes or until the chocolate coating is hard. Once the chocolate shell has hardened, gently remove each cakesicle from the mold. Gently pull back the sides of the mold and pop the chocolates out.
Decorating
- Decorate as desired. I use chocolate molds for the flowers and bought the unicorn toppers from Walmart. I used edible dust for the pink cheeks with a paintbrush and an edible black marker for the eyes.
- To place the flowers and horns on, use the melted chocolate as the glue.
- Cake pop sticks are easy to find. I recommend dipping the sticks in the chocolate before inserting them into the cakesicle. This helps “glue” them so they stay on.
Notes
Expert Tips
-
- Excess Chocolate: If you have excess white chocolate, simply add some food coloring to it, use it in the desired chocolate molds, and decorate! You can also use the chocolate to drizzle or create other designs.
-
- Molds: You can use this recipe to make any kind of cakesicles you desire. Just choose the mold you want, and follow the same instructions.
-
- Themes: You can make this cakesicles recipe for any holiday or with any theme! Halloween cakesicles, Christmas cakesicles, birthdays, baby showers, bridal showers, weddings, Valentine’s Day, Easter, etc.! There are silicone molds for everything.
-
- Melting Methods: There are many ways you can melt chocolate safely, in a microwave-safe bowl in second intervals, in a chocolate heater, or over the stovetop. Choose the method that works best for you, and make sure to follow the package instructions.
-
- Chocolate: I recommend using chocolate that is designed for melting, like the candy melts brand. Using regular chocolate chips or a bar of dark chocolate doesn’t always work because of the other ingredients they are made with. The chocolate could be too thin and not harden properly.
Serving Tips
-
- Serve the cake popsicles right away for best results.
-
- If displaying for a birthday party, use a block of flower foam as a stand or buy a cake pop dessert stand. Or you can serve on a platter.
-
- If giving them out individually, wrap them in clear treat bags (you can find these on Amazon) and tie them with a ribbon.
-
- Your kids can eat them right off of the cake pop stick. For younger kids, you can cut the cakesicles into smaller pieces with a knife and serve on a plate, if needed.
Storage Tips
-
- If you have leftovers, you can wrap each one in plastic wrap and store them in an airtight container, with enough room to not overcrowd or damage the cakesicles. Separate layers with parchment paper.
-
- Store in the fridge for up to 4 days for optimal freshness.
-
- To store these cakesicles in the freezer, I recommend storing them with the chocolate shell, undecorated. Wrap each cake popsicle in plastic wrap, then store them in a freezer-safe container for up to 2 months. Defrost in the fridge overnight, then decorate!
Equipment

Nutrition
Nutrition information is automatically calculated, so should only be used as an approximation.


So cute and so easy!
Thank you!