How to Make Maple Cream (1-Ingredient Recipe!)
Published Dec 17, 2023 Updated Nov 05, 2024
This post may contain affiliate links. Please read our disclosure policy.
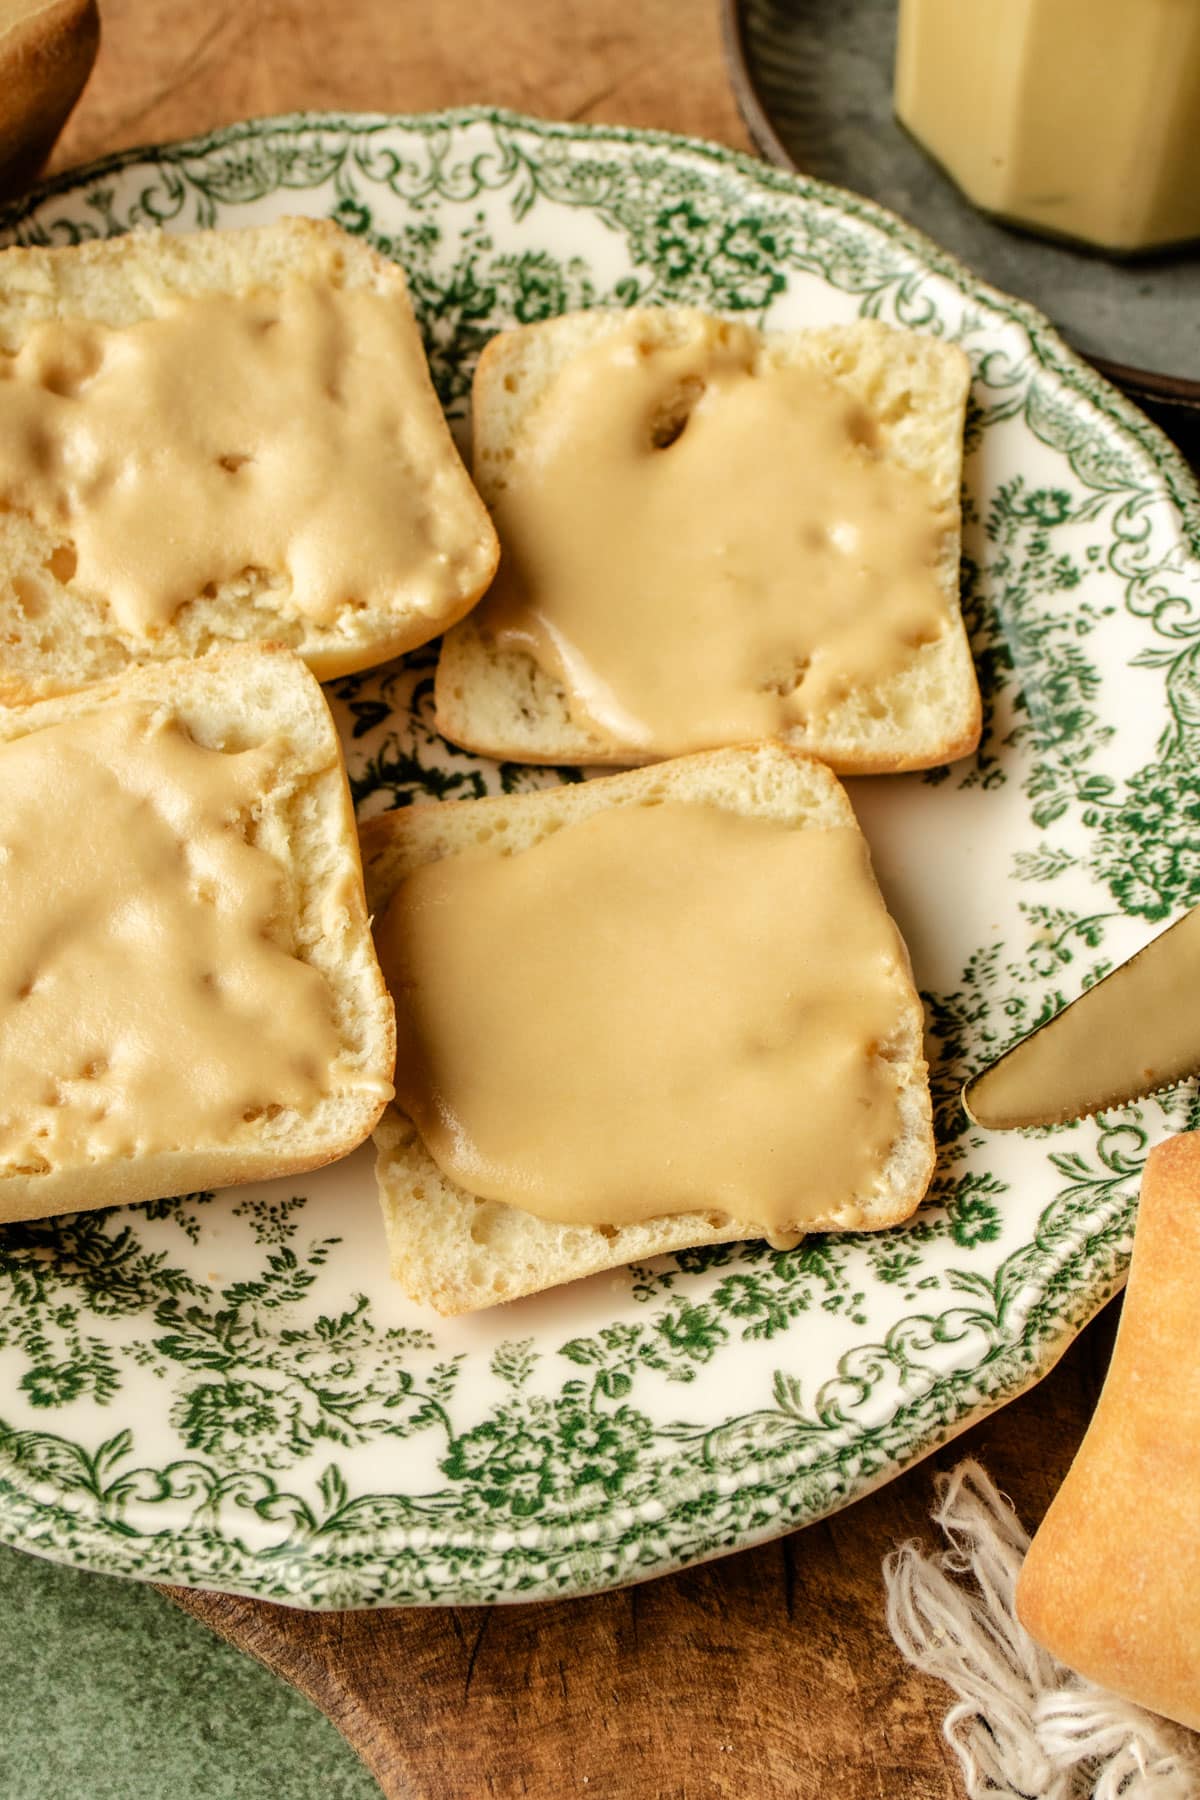
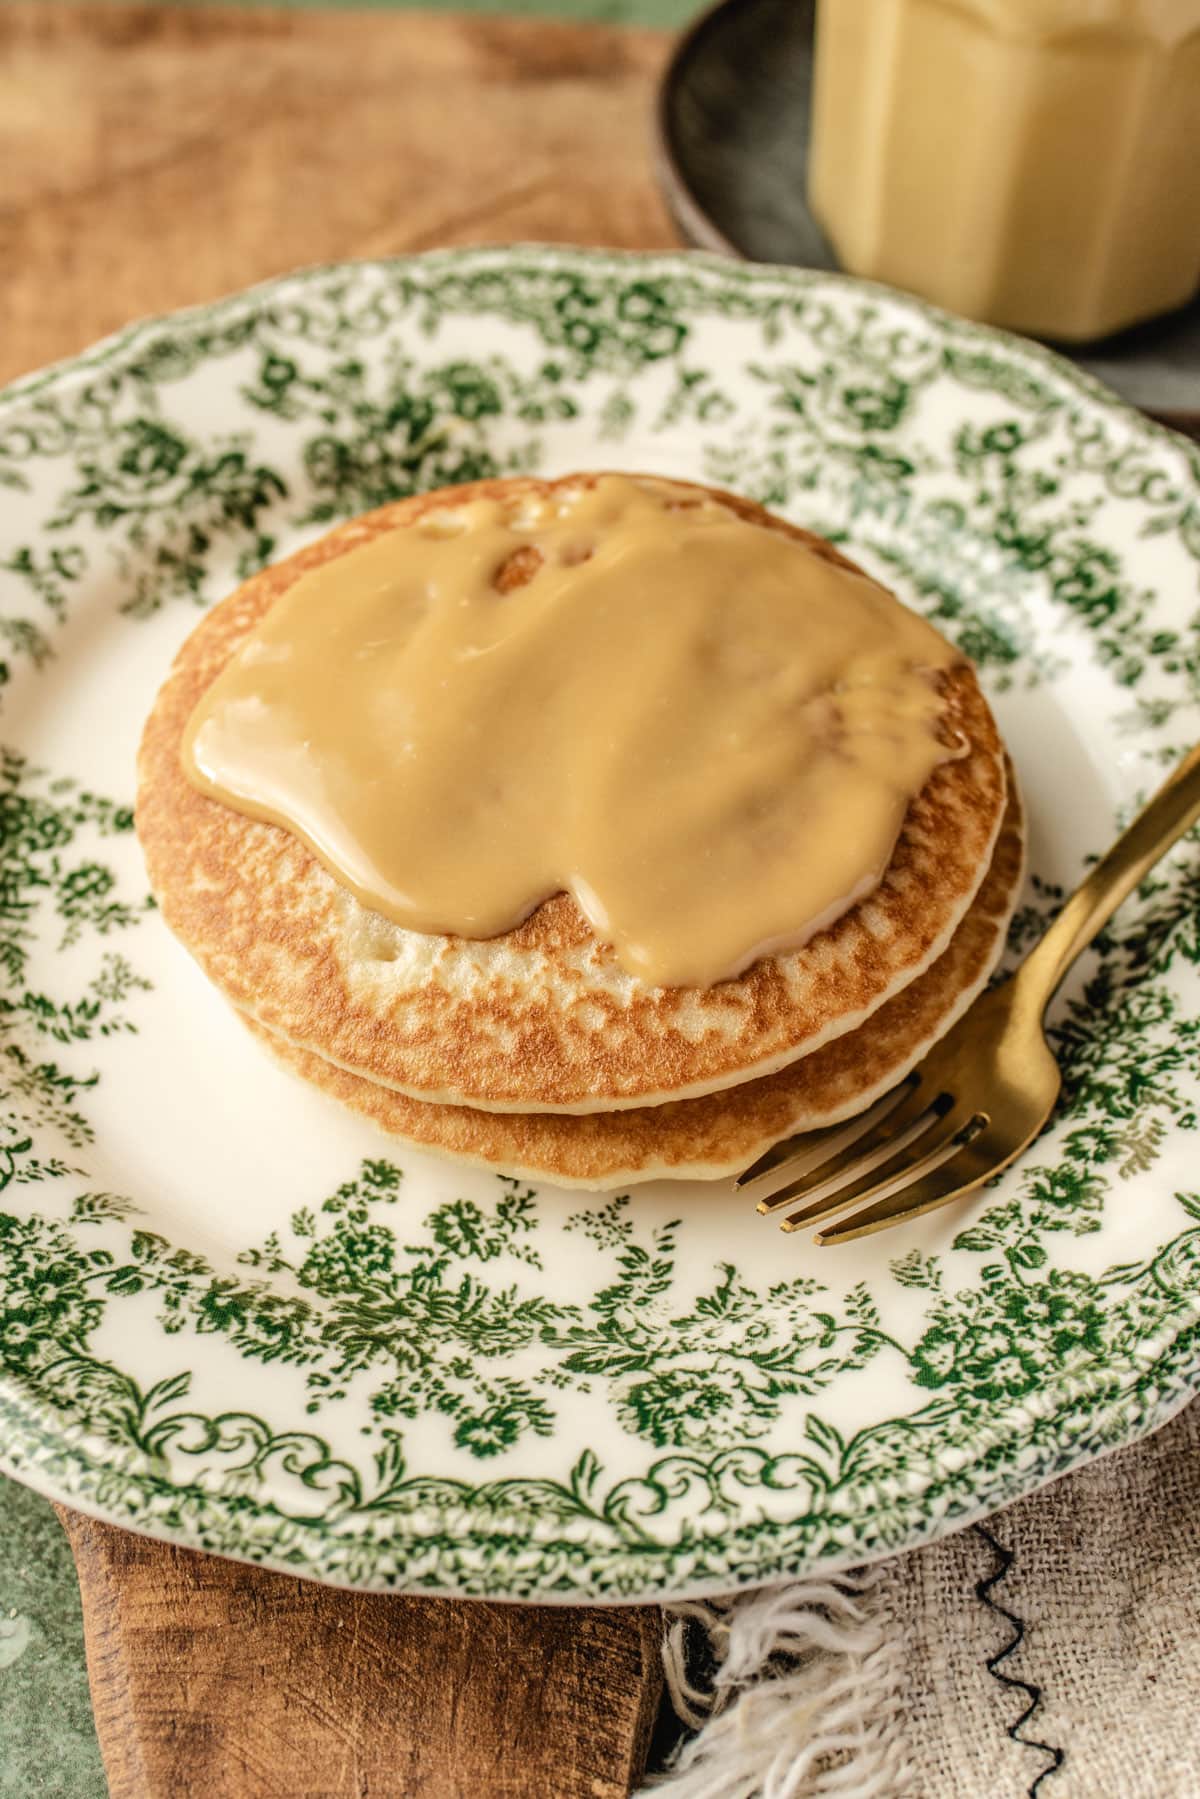
Discover the rich, creamy texture of Maple Cream, a one-ingredient delight made with just pure maple syrup. Perfectly whipped for spreading, this homemade maple cream is fantastic on toast, hot biscuits, pancakes, waffles, and more! While it takes a bit of patience and practice, the results will bring maple magic to your table!

What Makes Maple Cream Special?
With its rich, velvety texture and deep maple flavor, maple cream captures the cozy essence of fall, making it a perfect addition to Thanksgiving tables and seasonal gatherings alike. It can elevate breakfast favorites, serve as a decadent dessert topping, or be enjoyed as a homemade treat to share.
This creamy spread only requires one ingredient-maple syrup, but it’s essential to follow each step carefully to achieve that flawless, spreadable texture. Heating maple syrup to 235°F is key for evaporating water and setting the stage for that smooth, spreadable consistency. And a quick cool-down—think crushed ice—helps prevent large crystals, giving your maple cream that dreamy, silky texture.
If you’re a fan of natural sweeteners, don’t miss my whipped honey recipe, another one-ingredient spread that’s as delightful as it is easy to make. Plus, grab free printable labels to package your maple cream for gifting!
Ingredients Needed
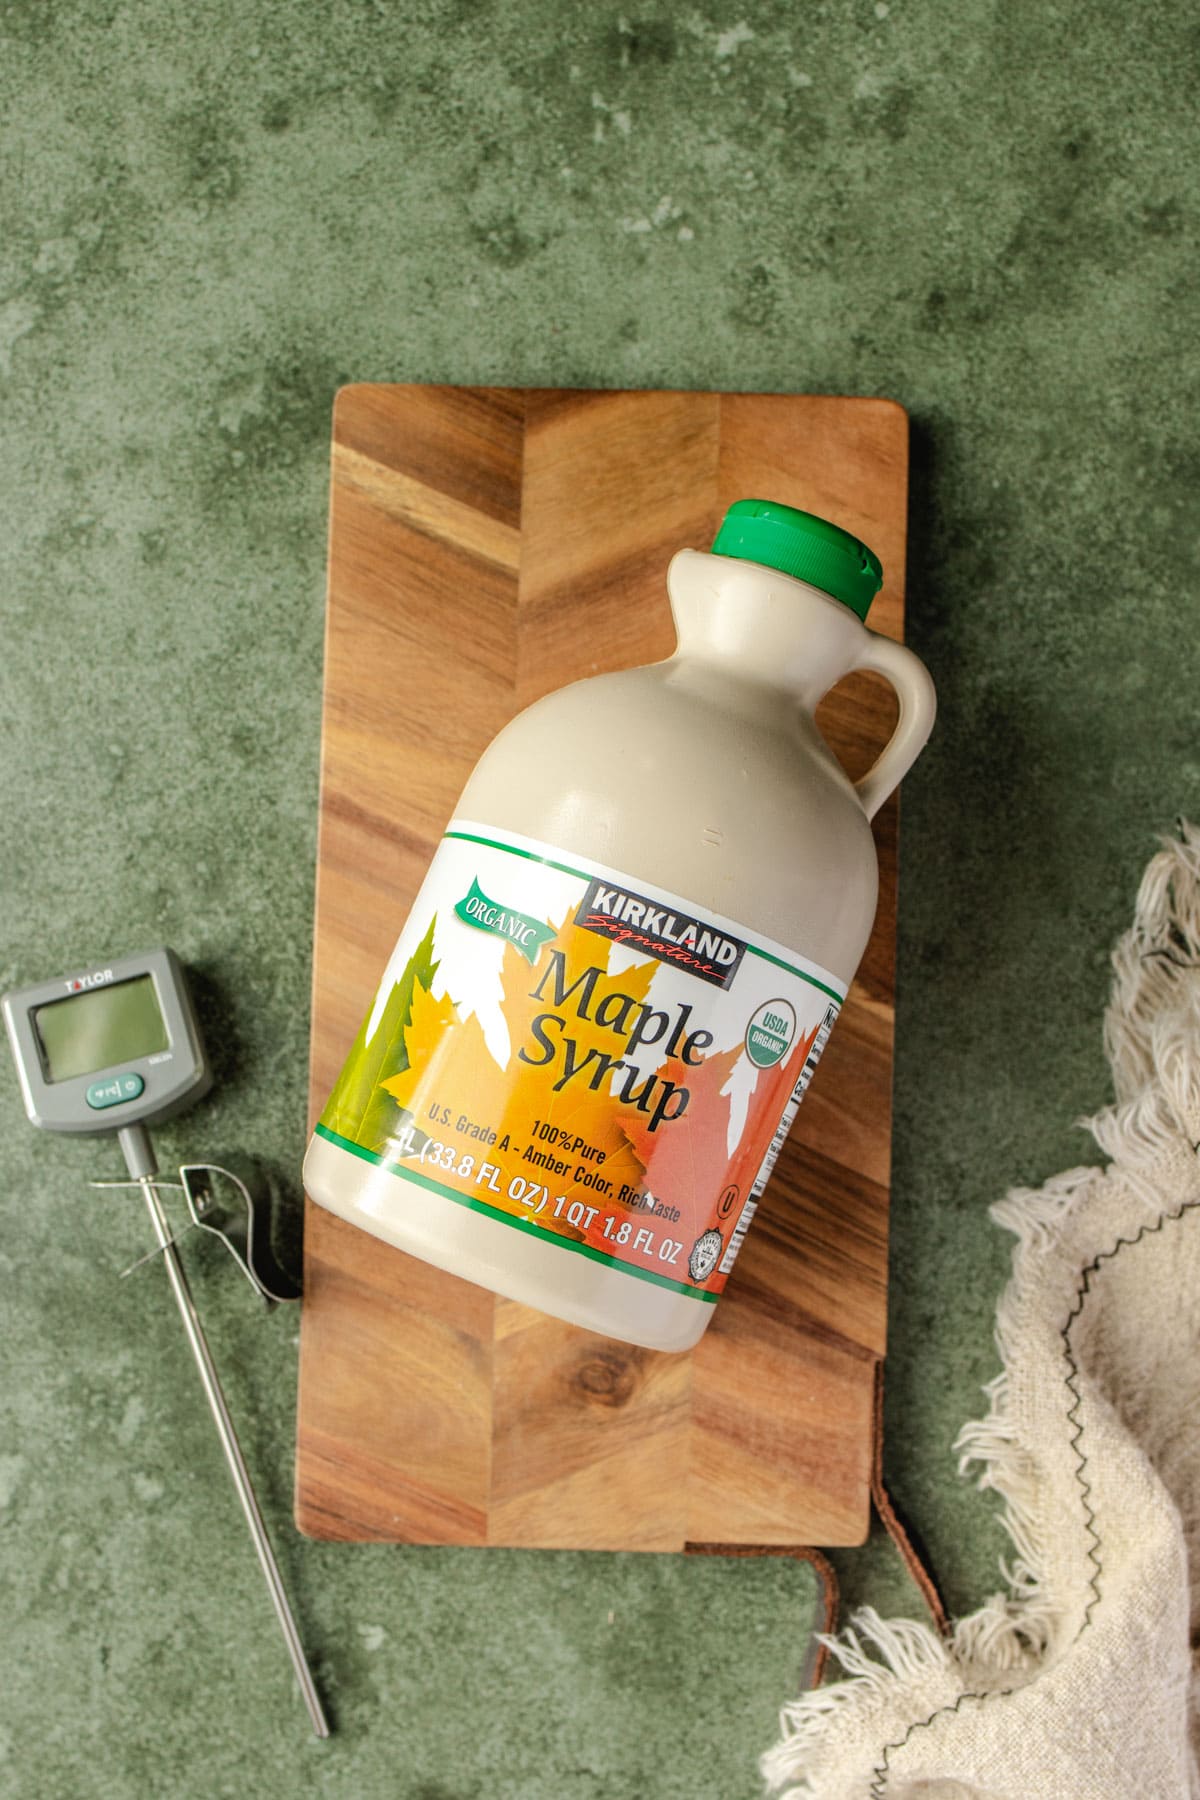
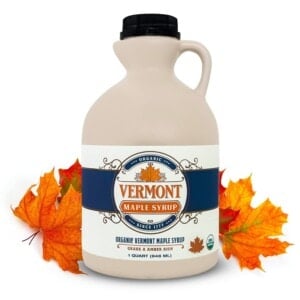
- Pure Maple Syrup: Use 100% pure maple syrup (not pancake syrup or maple-flavored syrups) for the best flavor and texture. Grade A dark amber syrup is ideal for its robust, rich maple taste, which shines through beautifully in the whipped cream.
- Butter (Optional): Just a small amount of unsalted butter can help prevent the maple syrup from boiling over. Adding about 1/4 teaspoon can keep foam and bubbles under control during heating without affecting the flavor or consistency of the finished spread.
Tools
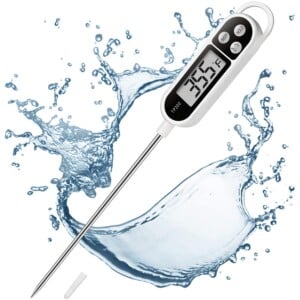
- Candy Thermometer: A reliable candy thermometer is essential for accurately measuring the syrup’s temperature. Look for one that clips onto the saucepan to monitor the temperature as the syrup heats. Can be an analog or digital thermometer.
- Heavy-Bottomed Saucepan: Use a large, heavy-bottomed saucepan to heat the syrup evenly and prevent scorching. The pan’s size should allow room for the volume of the liquid syrup to expand as it boils, reducing the risk of overflow.
- Wooden Spoon: A sturdy wooden spoon is ideal for gently stirring the syrup, if needed, without conducting heat like metal utensils might.
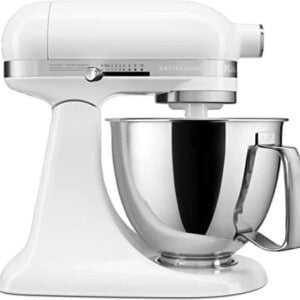
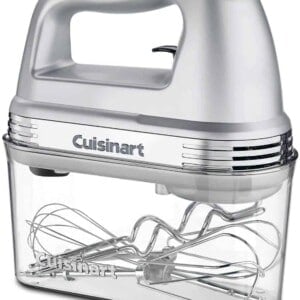
- Stand Mixer or Hand Mixer: A stand mixer with a whisk attachment is the easiest option for whipping the cooled syrup into a creamy texture. A hand mixer works too, but it may require more time and arm strength to achieve the right consistency.
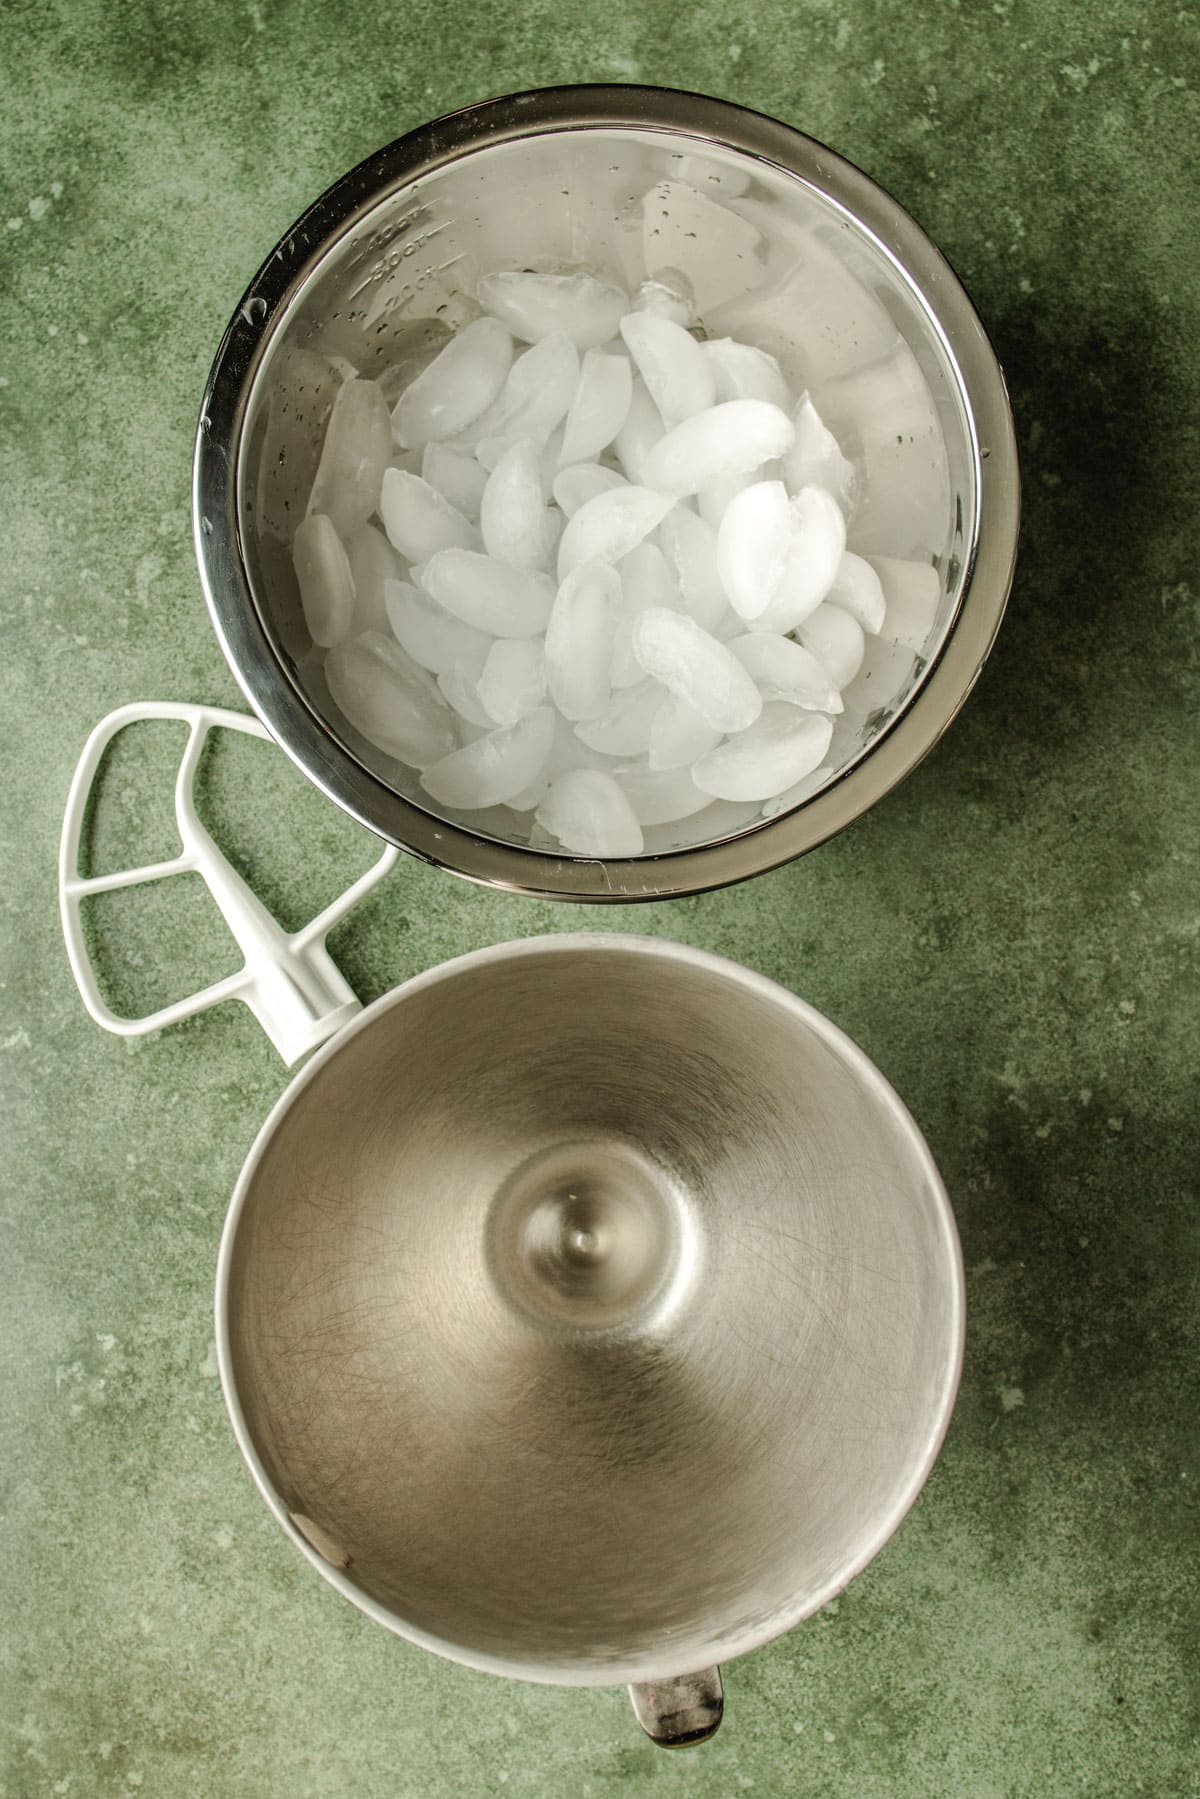
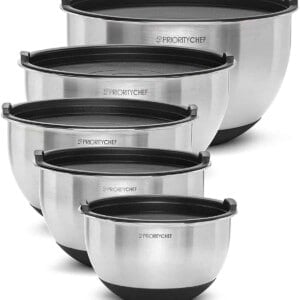
- Two Bowls (for Ice Bath): Choose one large bowl and one smaller, heat-safe bowl. The smaller bowl will hold the hot syrup, while the larger bowl, filled with ice cubes, will create an ice bath to cool the syrup to the right temperature. A stainless steel bowl works well for the large one as it retains cold temperatures for longer.
- Ice: Use enough ice to fill the larger bowl and create a stable cooling environment for the hot syrup. Crushed ice speeds up the cooling process.
For exact ingredient amounts, see the full printable recipe card below.
How to Make Maple Cream
Step 1: Pour Maple Syrup. Pour maple syrup into a large, heavy-bottomed saucepan.
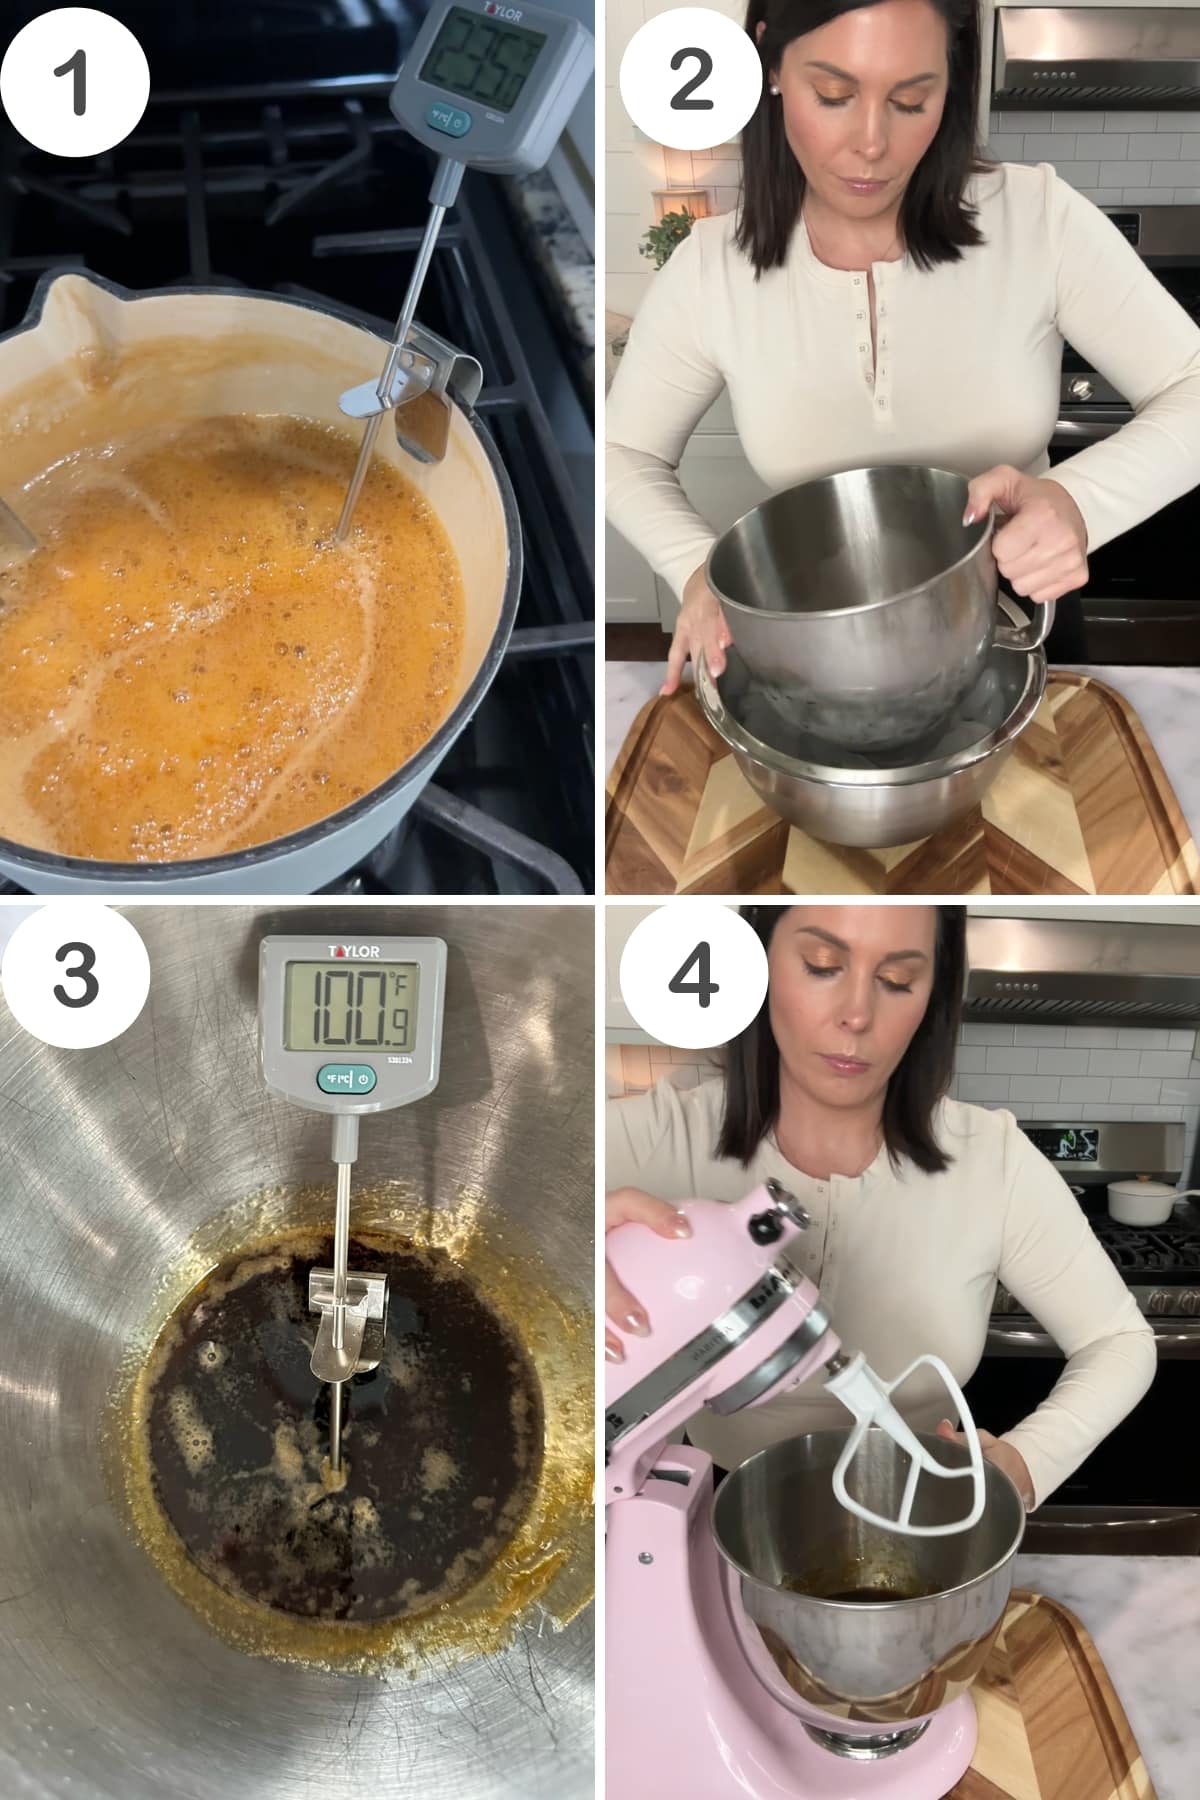
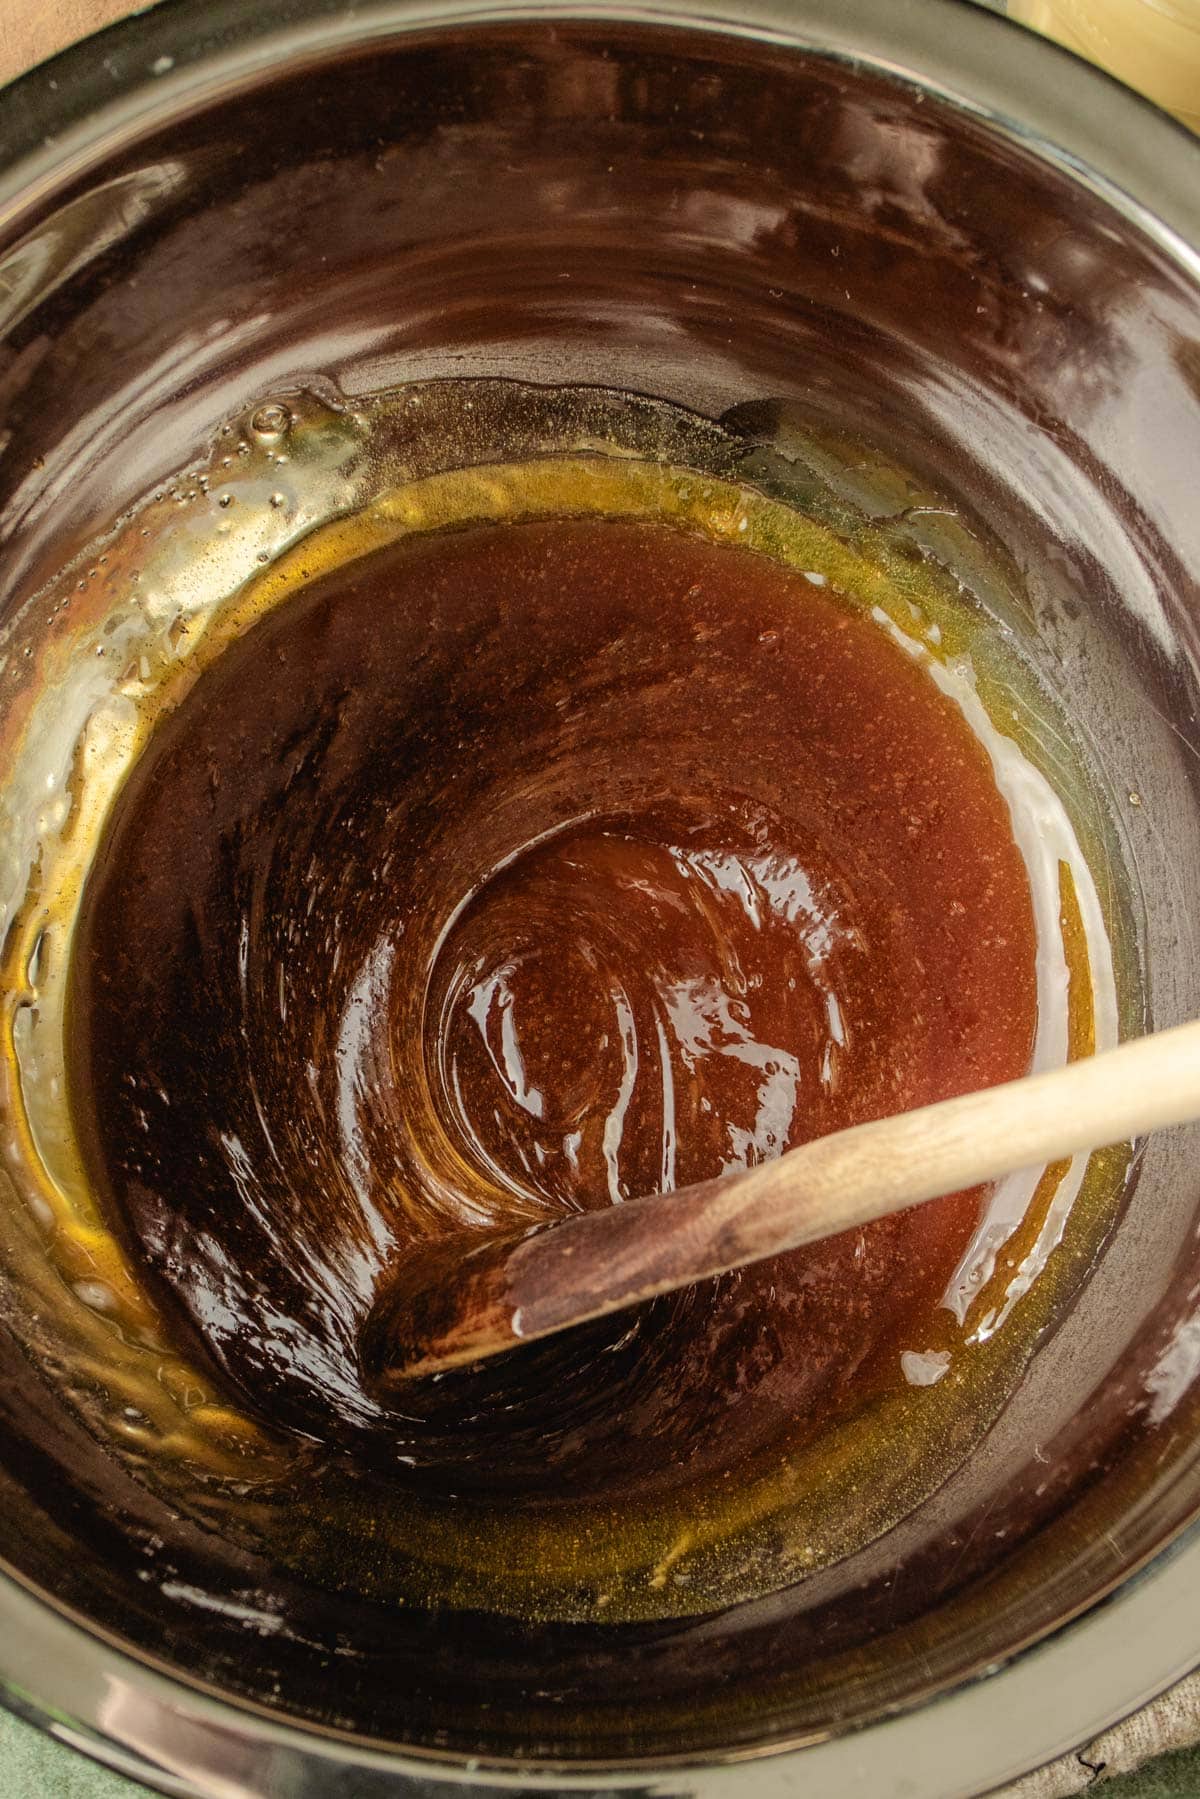
Step 2: Heat Maple Syrup. Bring the maple syrup to a boil over medium-high heat. Attach a candy thermometer to monitor the temperature and boil until the syrup reaches 235°F (113°C). Avoid stirring during this stage, and add a small amount of butter to prevent boiling over if needed. Caution: Boiling syrup is extremely hot.
Step 3: Prepare Cooling Bowls. Select two bowls, one larger than the other. Fill the larger bowl with ice and a bit of water. Place the smaller bowl on top of the bowl of ice—this will hold the hot syrup while it cools.
Step 4: Cool Syrup. When the syrup reaches 235°F (113°C), remove the saucepan from the heat, and quickly pour the hot syrup into the smaller bowl resting on the ice bath. Allow it to cool to approximately 100°F (38°C), which may take about 20 minutes.
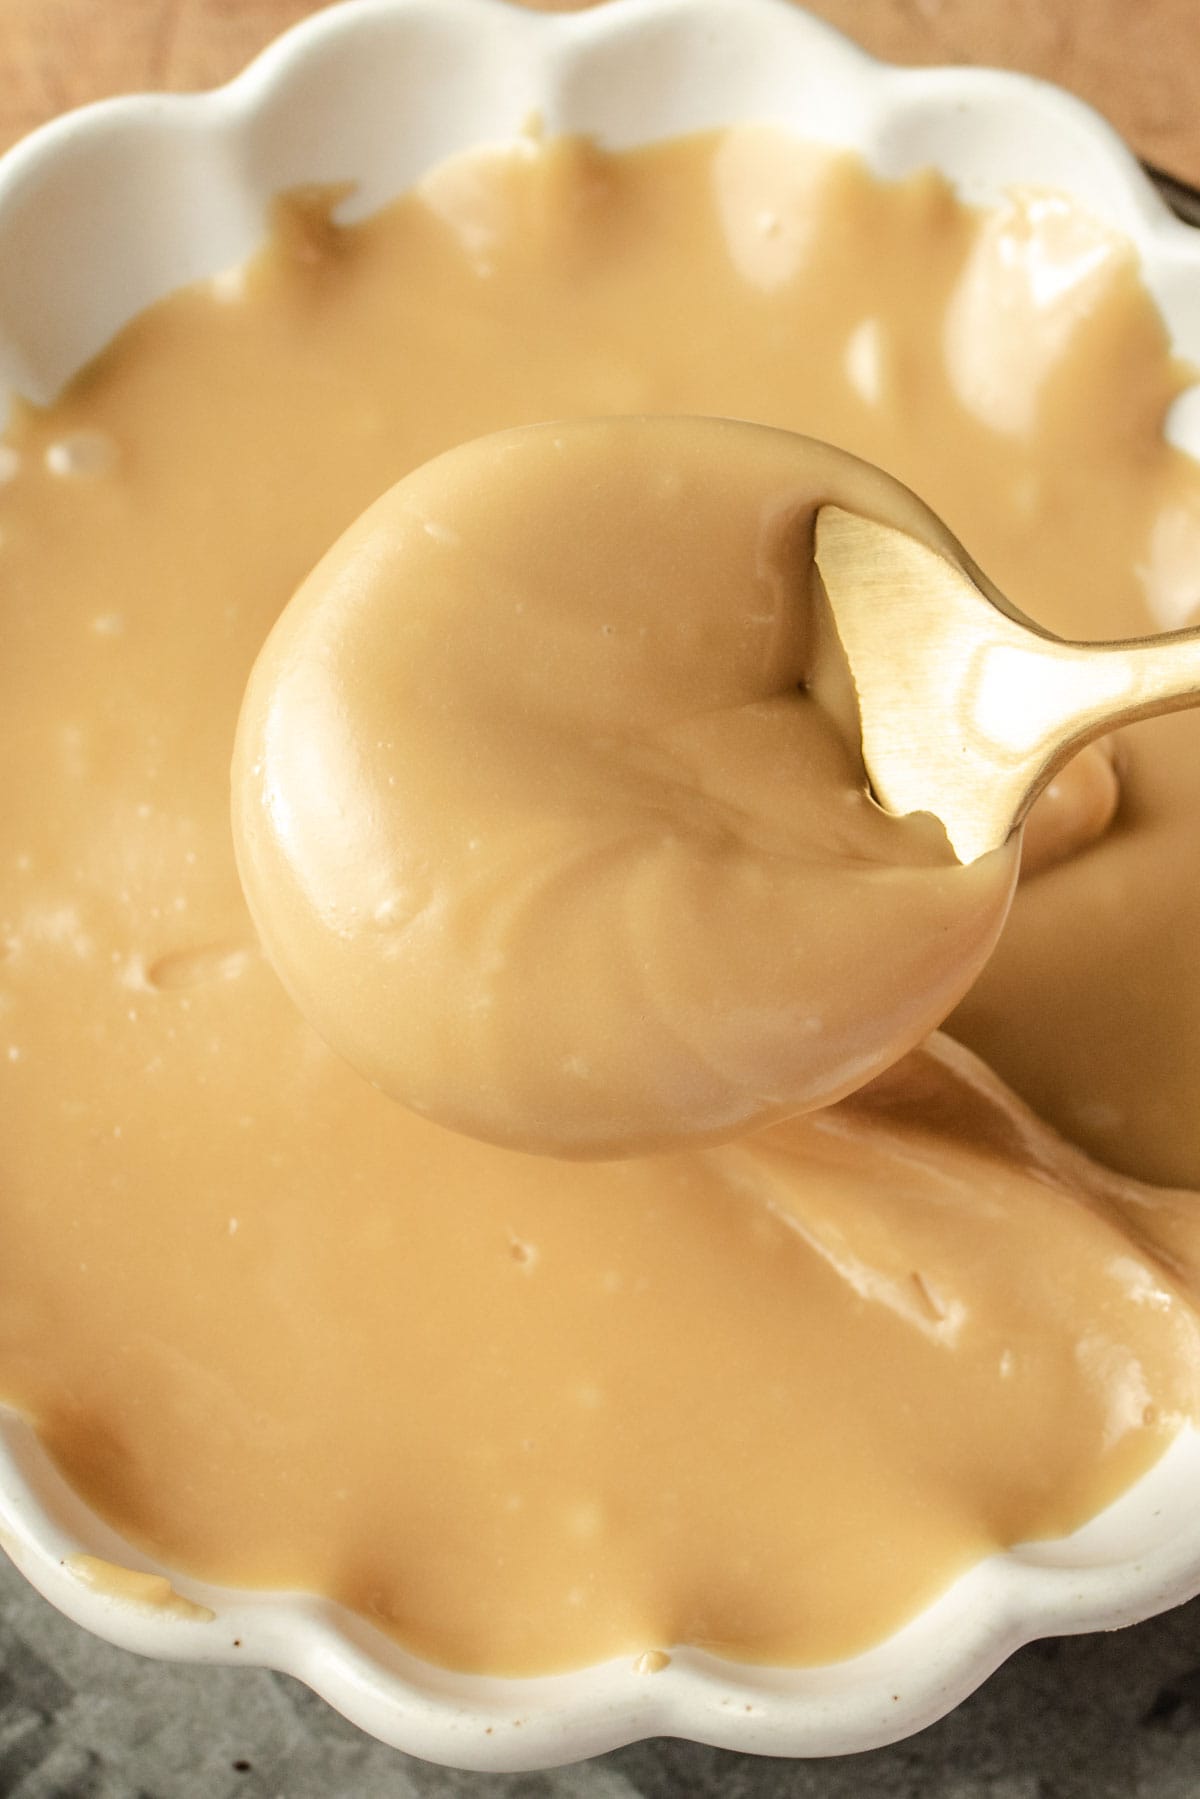
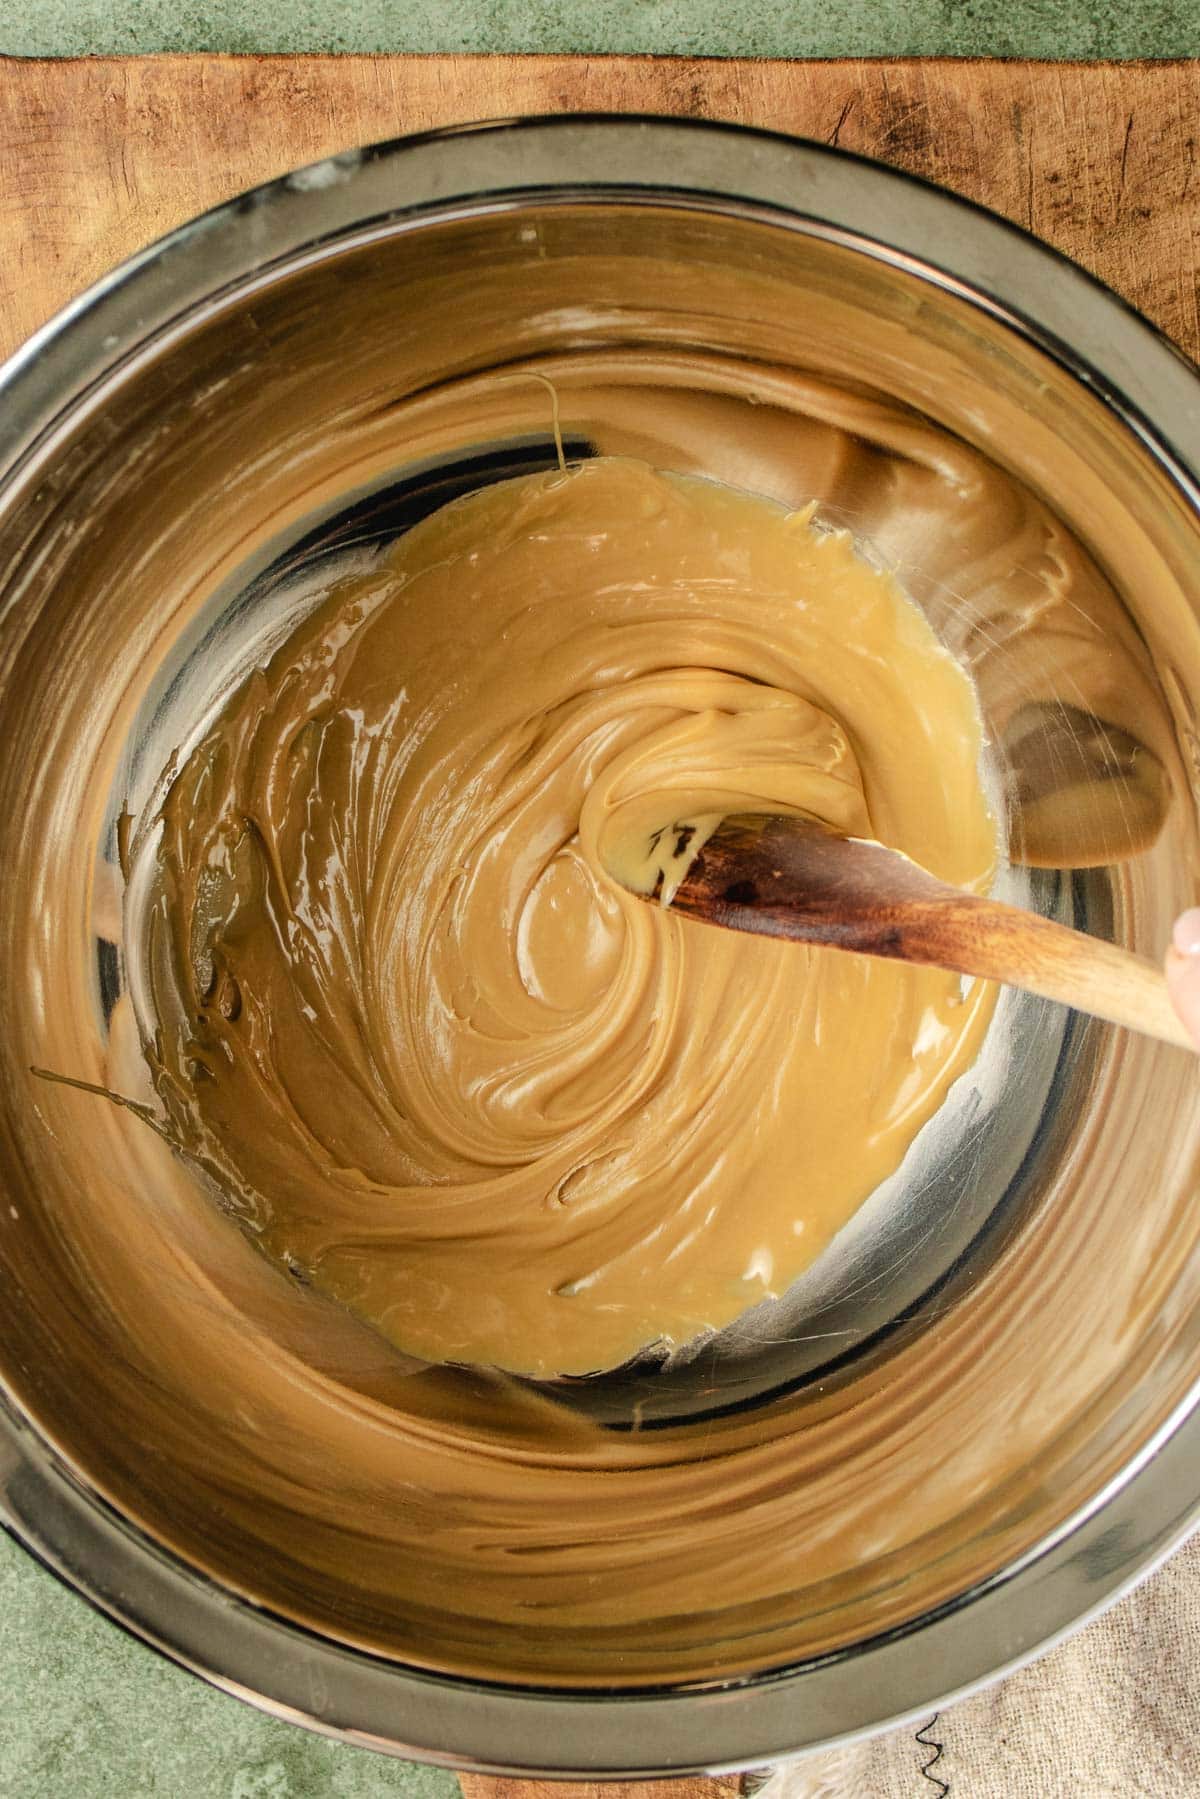
Step 5: Whip Maple Syrup. Transfer the cooled syrup to a chilled mixing bowl. Begin whipping at a low speed, gradually increasing to high. Whip for 15-20 minutes, until the mixture becomes creamy and loses its glossy finish. You’ll know it’s ready when it holds peaks and turns to a creamy golden spread with the consistency of peanut butter.
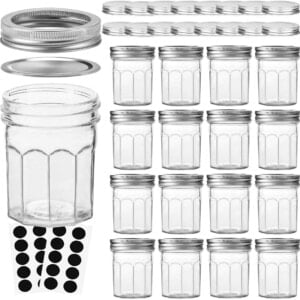
Step 6: Transfer to Jar. Once the maple cream reaches the desired consistency, transfer it to a clean, airtight jar. It will continue to thicken as it cools.
Step 7: Store. Seal the jar and refrigerate for several weeks to a few months. If you prefer a softer texture, remove from the fridge a short time before serving to allow it to soften.
Alternative Method
If you don’t have a standing mixer, there are several alternative methods to mix this recipe, and even a simple wooden spoon can do the trick. With a wooden spoon, start stirring the syrup vigorously in a circular motion.
This manual method requires a bit of effort, but it allows you to control the process and gradually incorporate air into the mixture. As you continue stirring, you’ll notice the syrup thickening and taking on a creamier consistency.
The key is to be patient and maintain a consistent stirring rhythm. It may take a bit longer than using a mixer, but the end result will be a delicious homemade maple cream that’s well worth the effort.
Mac’s Pro TipS
Pro Tips for the Perfect Maple Cream
- Mistakes Happen: Be mindful that this can sometimes turn into maple candy if overheated—but don’t worry, it’s still delicious! It may take you a few tries to get this recipe down pat. An accurate candy thermometer is essential here to help you avoid this, ensuring you reach the ideal temperature for a creamy, spreadable consistency.
- Choose Quality Maple Syrup: The quality of your maple cream directly depends on the syrup, so select the best real maple syrup available.
- Candy Thermometer: Accurate temperature control is essential. A meat thermometer may not measure high enough temperatures, so a good candy thermometer is a must.
- Cold Equipment: Chilled mixing bowls and beaters help achieve a smoother texture when whipping.
- Be Patient: Whipping can take up to 20 minutes; don’t rush the process!
- Small Batches: Smaller amounts whip more easily, resulting in a smooth, consistent texture.
SERVING
How to Serve
- Toast, Bagels, or English Muffins: Spread maple cream for a natural, sweet touch.
- Waffles, Pancakes, and French Toast: Drizzle or spread for a breakfast treat.
- Oatmeal or Yogurt: Stir in for added richness.
- Fresh Fruit: Use as a dip with apple slices or frozen bananas.
- Ice Cream or Desserts: Top off for an extra special finish.
- Coffee or Tea: Add a spoonful for natural sweetness.
- Savory: Try drizzling this over baked sweet potatoes or even bacon!
Storage Tips
Separation over time is normal—just give it a good stir or re-whip it briefly to restore its creamy texture.
Store in a clean, airtight container to maintain freshness and prevent odor absorption.
If your maple cream is too hard after refrigerating, let it sit at room temperature for 5–10 minutes or warm it gently in a bowl of warm water to bring back its creamy consistency.
Make It a Gift (Free Printable Labels!)
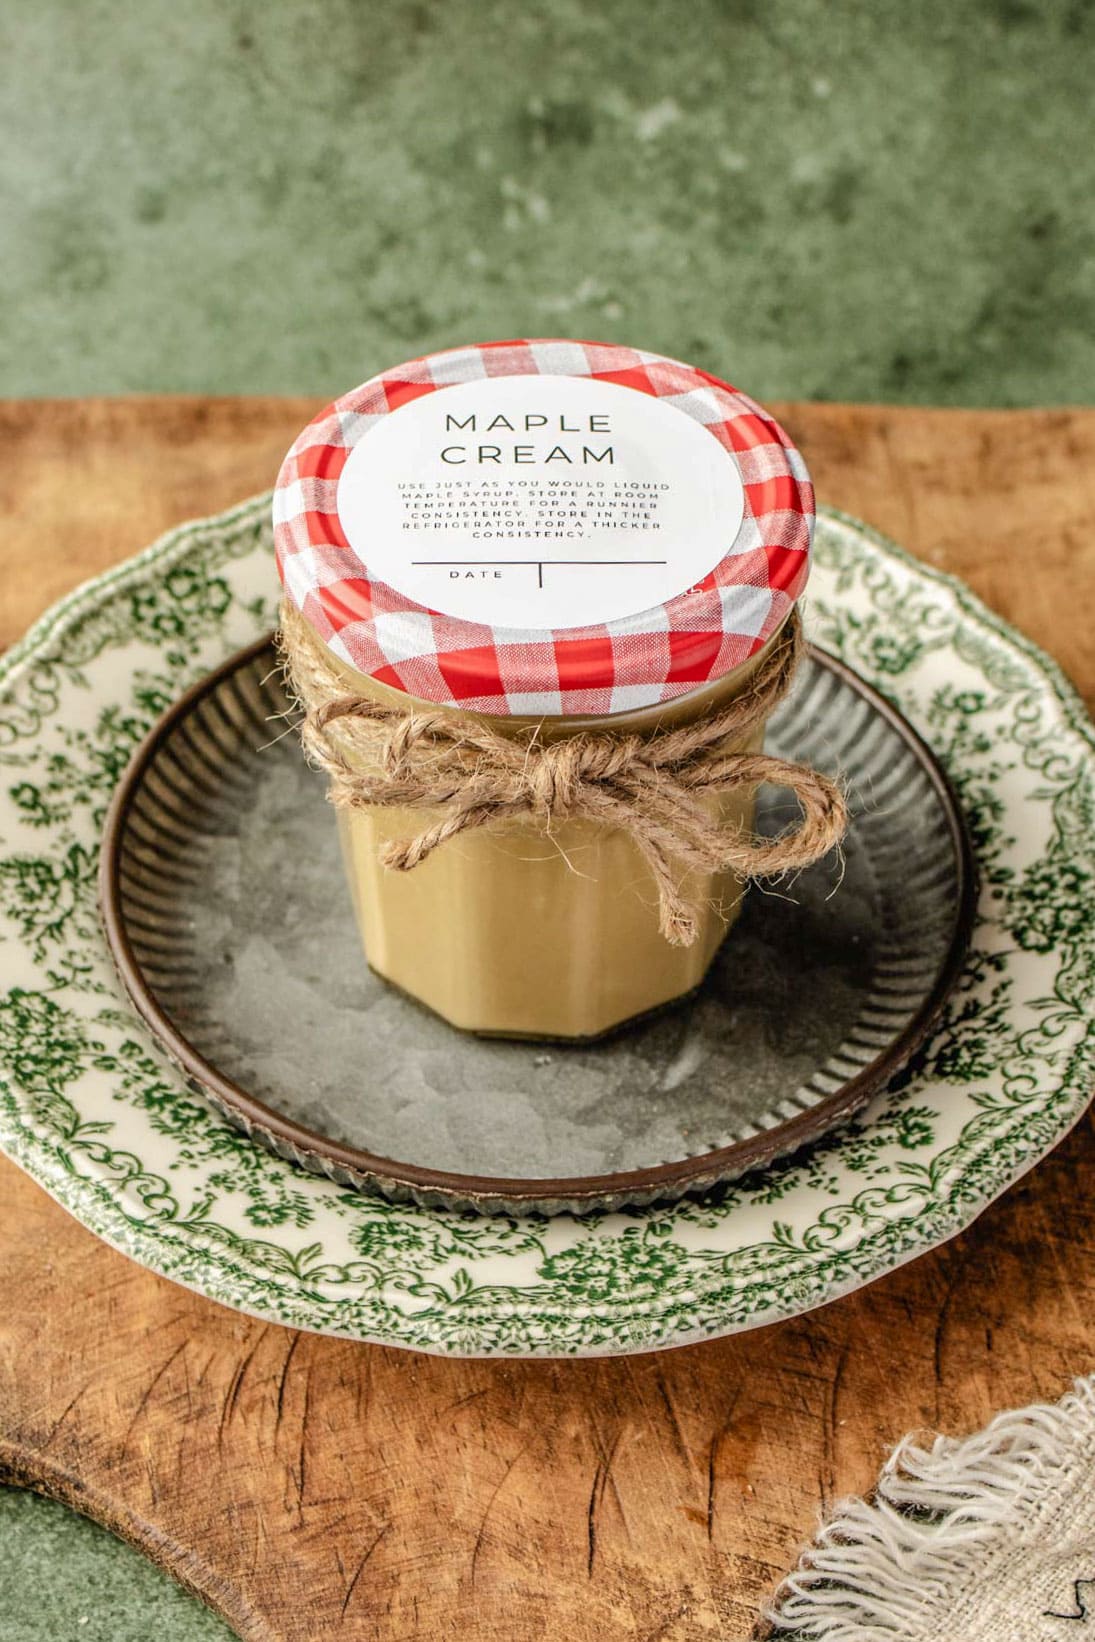
This makes a fantastic DIY gift. It’s super versatile and can be used in various ways, such as a spread for toast, a sweetener for tea or coffee, or a topping for desserts. Put it in a cute jar with a ribbon, and you’ve got a thoughtful and yummy gift that shows you put in some kitchen love!
Get your FREE PDF download with cute labels for your honey jars. Just click the link below to grab these charming labels. We’ve got two options—one for Avery Round Labels White 2.5″ Diameter 27953 available at Walmart or Target, and the other for cardstock. The cardstock option is perfect for those who don’t want to buy stickers and prefer cutting out the circles themselves.
Recipe FAQs
It’s not recommended. The heat must be precise to achieve a smooth texture, so a thermometer is essential.
If your maple syrup isn’t thickening, it may not have reached the correct temperature of 235°F. Check that your candy thermometer is accurate by testing it in boiling water—it should read close to 212°F. If needed, gently reheat the syrup to the correct temperature, then allow it to cool before whipping turn it into a spreadable cream.
Graininess can happen if the syrup crystallizes during whipping. Ensure it’s fully dissolved, boiled to the correct temperature, and cooled before whipping.
Stored properly in the fridge, it will last several weeks.
Yes, freezing extends storage time. Thaw in the fridge before using.
Yes, sometimes gas stoves run hot. Consider removing the syrup at around 230°F to avoid burning.
More Maple Recipes
If you love this recipe, please give it a star rating and leave a comment below! Follow me on Pinterest, Facebook, and Instagram for more!
Follow on Instagram


How to Make Maple Cream (1-Ingredient Recipe!)
Ingredients
Maple Cream
- 4 cups pure maple syrup
- OPTIONAL: 1/4 tsp butter helps the maple syrup not boil over
- FREE Maple Cream Labels
Tools
- Candy thermometer
- Heavy-bottomed saucepan (large enough so the syrup won't overflow)
- Wooden spoon
- Stand mixer or hand mixer
- 2 bowls one bigger than the other (for ice bath)
- Ice
Instructions
- Pour Maple Syrup: Pour the maple syrup into a larger, heavy-bottomed saucepan.
- Heat Maple Syrup: Bring the maple syrup to a boil over medium-high heat. Do not stir the syrup. Attach a candy thermometer to the pot's side and continue boiling until it reaches 235°F (113°C). Do not walk away during this process. It can easily boil over. To help remedy this, add 1/4 tsp butter to the maple syrup without stirring. Boiling takes around 8 minutes or so CAUTION: Boiling maple syrup is extremely hot. Handle with care.
- Prepare Bowls For Cooling: Choose two bowls, one larger than the other. The smaller bowl will contain your hot syrup. Fill the larger bowl with ice cubes. Use crushed for faster cooling. Pour a small amount of water into the larger bowl with the ice. Set the smaller bowl on top of the ice.
- Cool Syrup: Remove the saucepan from the heat and pour in the small bowl that will be cooling over the ice. Allow the syrup to cool down to around 100°F (38°C). This cooling process may take some time, around 20 minutes.
- Whip Maple Syrup: Transfer the cooled syrup to a cold mixer bowl. Begin whipping the syrup on low speed, gradually increasing to high. Continue whipping until the mixture thickens, becomes creamy, and loses its glossy appearance. This may take approximately 15-20 minutes.
- Transfer to Jar: Once the maple cream reaches the desired consistency, transfer it to a clean, airtight jar right away. It will continue to set as it cools and becomes thicker and a little darker in color.
- Store: Seal the jar and store the maple cream in the refrigerator for several weeks to even a few months. The texture may become more solid in the fridge. If you prefer a softer texture when serving, you can take the maple cream out of the refrigerator a short time before use to allow it to slightly soften at room temperature.
Notes
-
- Heating Tips: From experience, when using my gas stove I have had to adjust the boiling temp. I usually take my syrup off at 230F if cooking over gas. I have burned my syrup before at 235F. It does require patience and a little practice to get it right.
- Prevent maple syrup from boiling over: Add 1/4 teaspoon of butter. The fats in the butter coat the surface of the syrup, creating a barrier. This barrier prevents the syrup from rapidly expanding and overflowing.
- Choose High-Quality Maple Syrup:
Begin with the best-quality pure maple syrup you can find. The flavor of your maple cream will largely depend on the quality of the syrup.
-
- Invest in a Candy Thermometer:
Use a reliable candy thermometer to monitor the temperature of the maple syrup accurately. This ensures that you reach the desired soft-ball stage for the ideal consistency. If the temperature is off even a little, it will not work.
- Invest in a Candy Thermometer:
-
- Whip at the Right Temperature:
Allow the boiled syrup to cool to the recommended temperature range (around 100-120°F or 38-49°C) before whipping. This helps achieve the desired creamy texture.
- Whip at the Right Temperature:
-
- Patience is Key:
Whipping the syrup into maple cream takes time, typically around 15-20 minutes. Be patient and avoid rushing the process. The end result is worth the wait.
- Patience is Key:
-
- Cold Equipment Enhances Whipping:
Place your mixer bowl and beaters in the freezer before whipping. A cold environment aids in achieving a smoother and creamier texture.
- Cold Equipment Enhances Whipping:
-
- Store Properly:
Store the maple cream in a clean, airtight jar in the refrigerator. This preserves its freshness and prevents unwanted odors from affecting the flavor.
- Store Properly:
-
- Small Batches for Better Consistency:
Consider making maple cream in smaller batches. This can make the whipping process more manageable and result in a consistently smooth product.
- Small Batches for Better Consistency:
-
- Flavor Variations:
Experiment with flavor variations by adding a hint of vanilla extract or a pinch of cinnamon during the whipping process. This can add subtle nuances to the final product.
- Flavor Variations:
-
- Labeling and Dating:
If making larger quantities, label the jar with the date of preparation. This helps you keep track of freshness and usage timelines.
- Labeling and Dating:
-
- Freeze for Extended Storage:
If you want to store maple cream for an extended period, consider freezing it in smaller portions. Thaw in the refrigerator before use.
- Freeze for Extended Storage:
Equipment


Nutrition
Nutrition information is automatically calculated, so should only be used as an approximation.


Can you can this recipe to make it shelf stable for gifting?
Unfortunately, maple cream cannot be canned to make it shelf-stable. The process of making maple cream involves bringing maple syrup to a specific temperature and then cooling and stirring it to achieve the creamy consistency. Canning would likely alter its texture and quality.
Love your recipes
Thanks so much Pam!
Is there any chance that this would be shelf stable or does it have to be refrigerated?
Yes, maple cream should be stored in the refrigerator to maintain its smooth consistency and prevent spoilage.
How long is this good for after refrigeration?
Maple cream can last for a few days to a week at room temperature once taken out of the refrigerator, as long as it’s kept in a sealed container. However, for the best quality and to extend its shelf life, it’s best to keep it refrigerated when not in use. If you plan to use it gradually over several days without refrigerating, just watch for any changes in texture or smell, as it can start to crystallize or dry out.
I have just made this and used a brand new candy thermometer (confirmed it is accurate because my caramels came out perfect 😉) however this is not whipping for me. It not really grainy but more of a paste and very very thick. Is there anything I can do to salvage this? I whipped for 20 minutes or longer.
I’m really sorry this didn’t work out for you. It’s such a finicky process, and I struggled to get it right at first too. When it reaches that pasty consistency, it’s usually because the mixture got too hot. On the bright side, if you let it harden, it makes a delicious candy!
This is my second time making this recipe. It is very yummy! Both times I had to use my kitchen aid at least double the time to mix. I followed the directions. Can you give me any pointers for mixing in the 15-20 minute time frame.