Ninja Creami Vanilla Ice Cream Recipe

Published Jul 15, 2026
This post may contain affiliate links. Please read our disclosure policy.
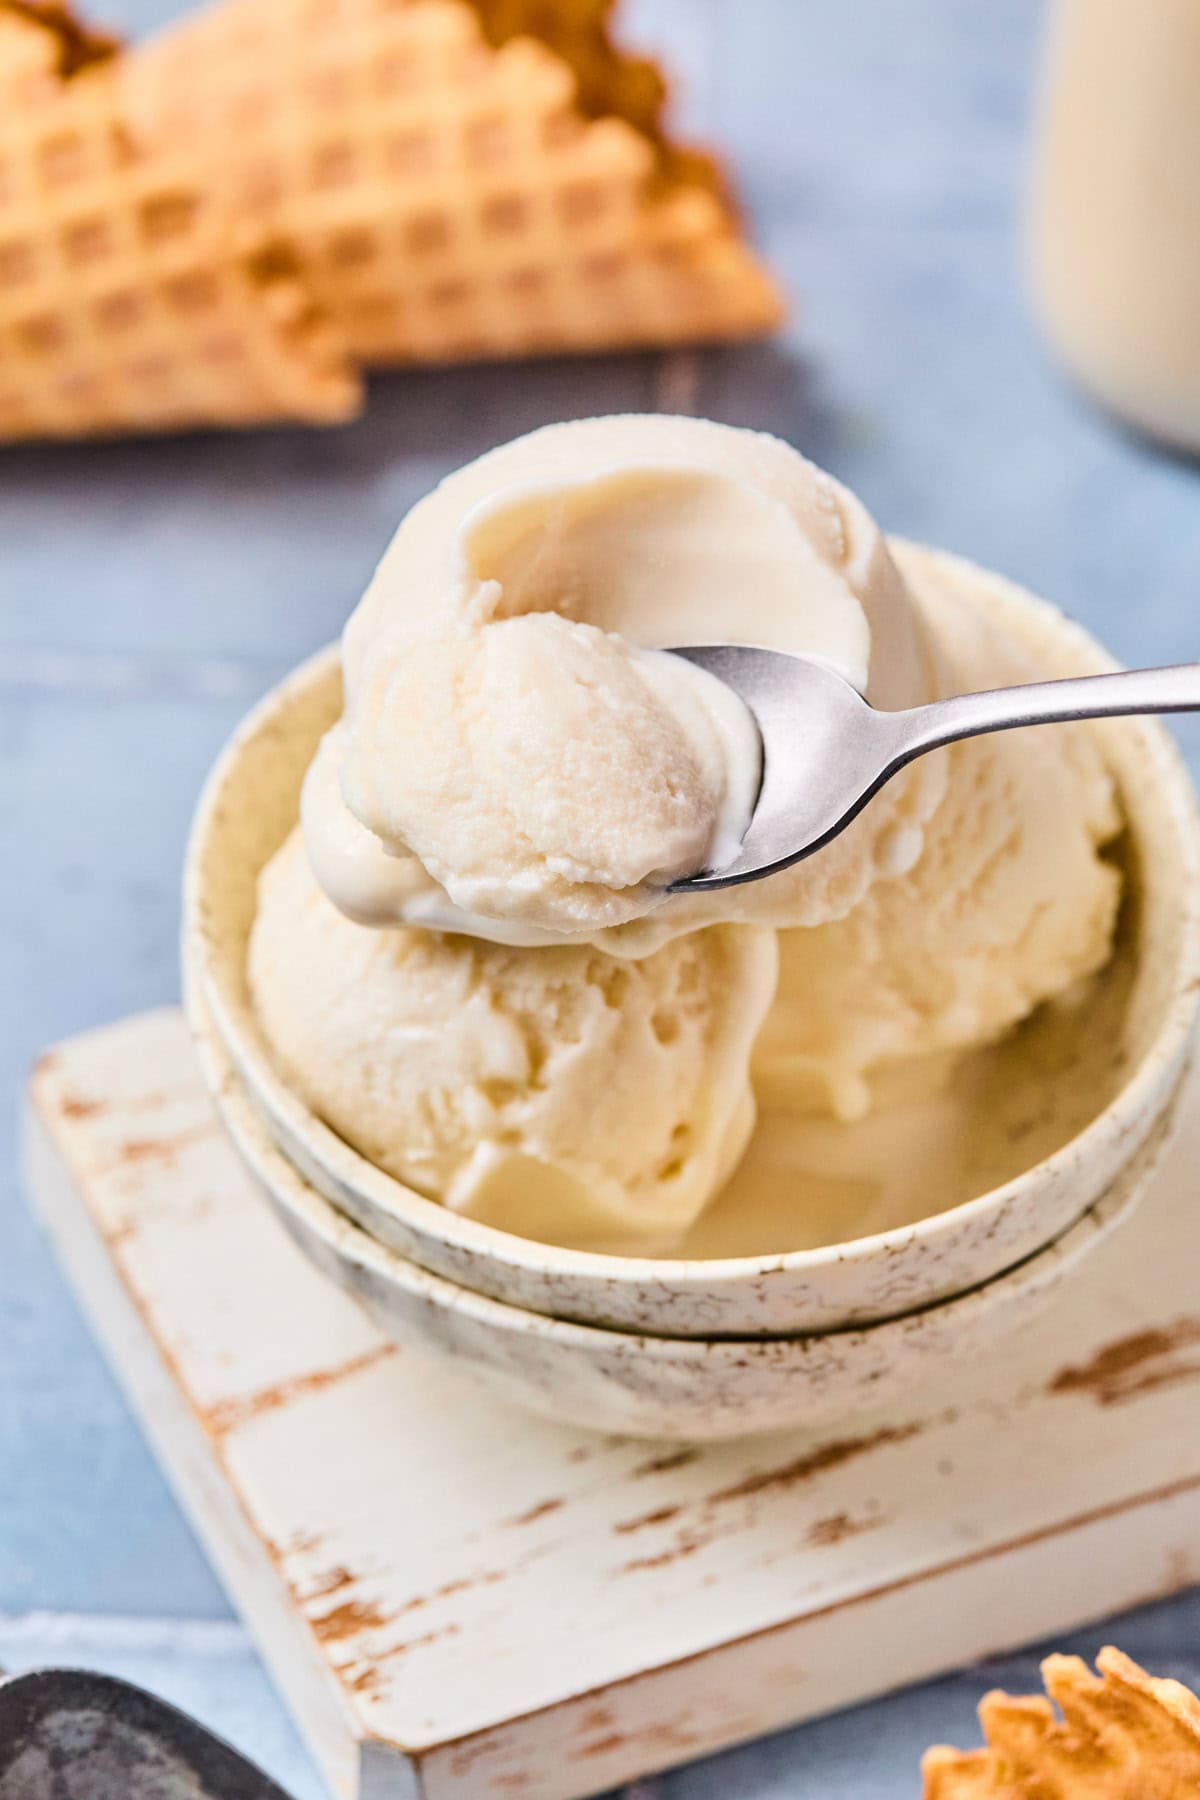
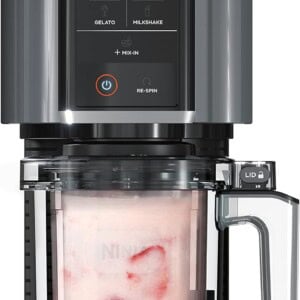
This Ninja Creami vanilla ice cream recipe has become one of my favorite desserts to keep in the freezer! If you’ve been looking for an easy way to make healthy vanilla ice cream, this recipe is creamy, full of classic vanilla flavor, and made with simple ingredients like almond milk, yogurt, vanilla protein powder, and just a touch of maple syrup.
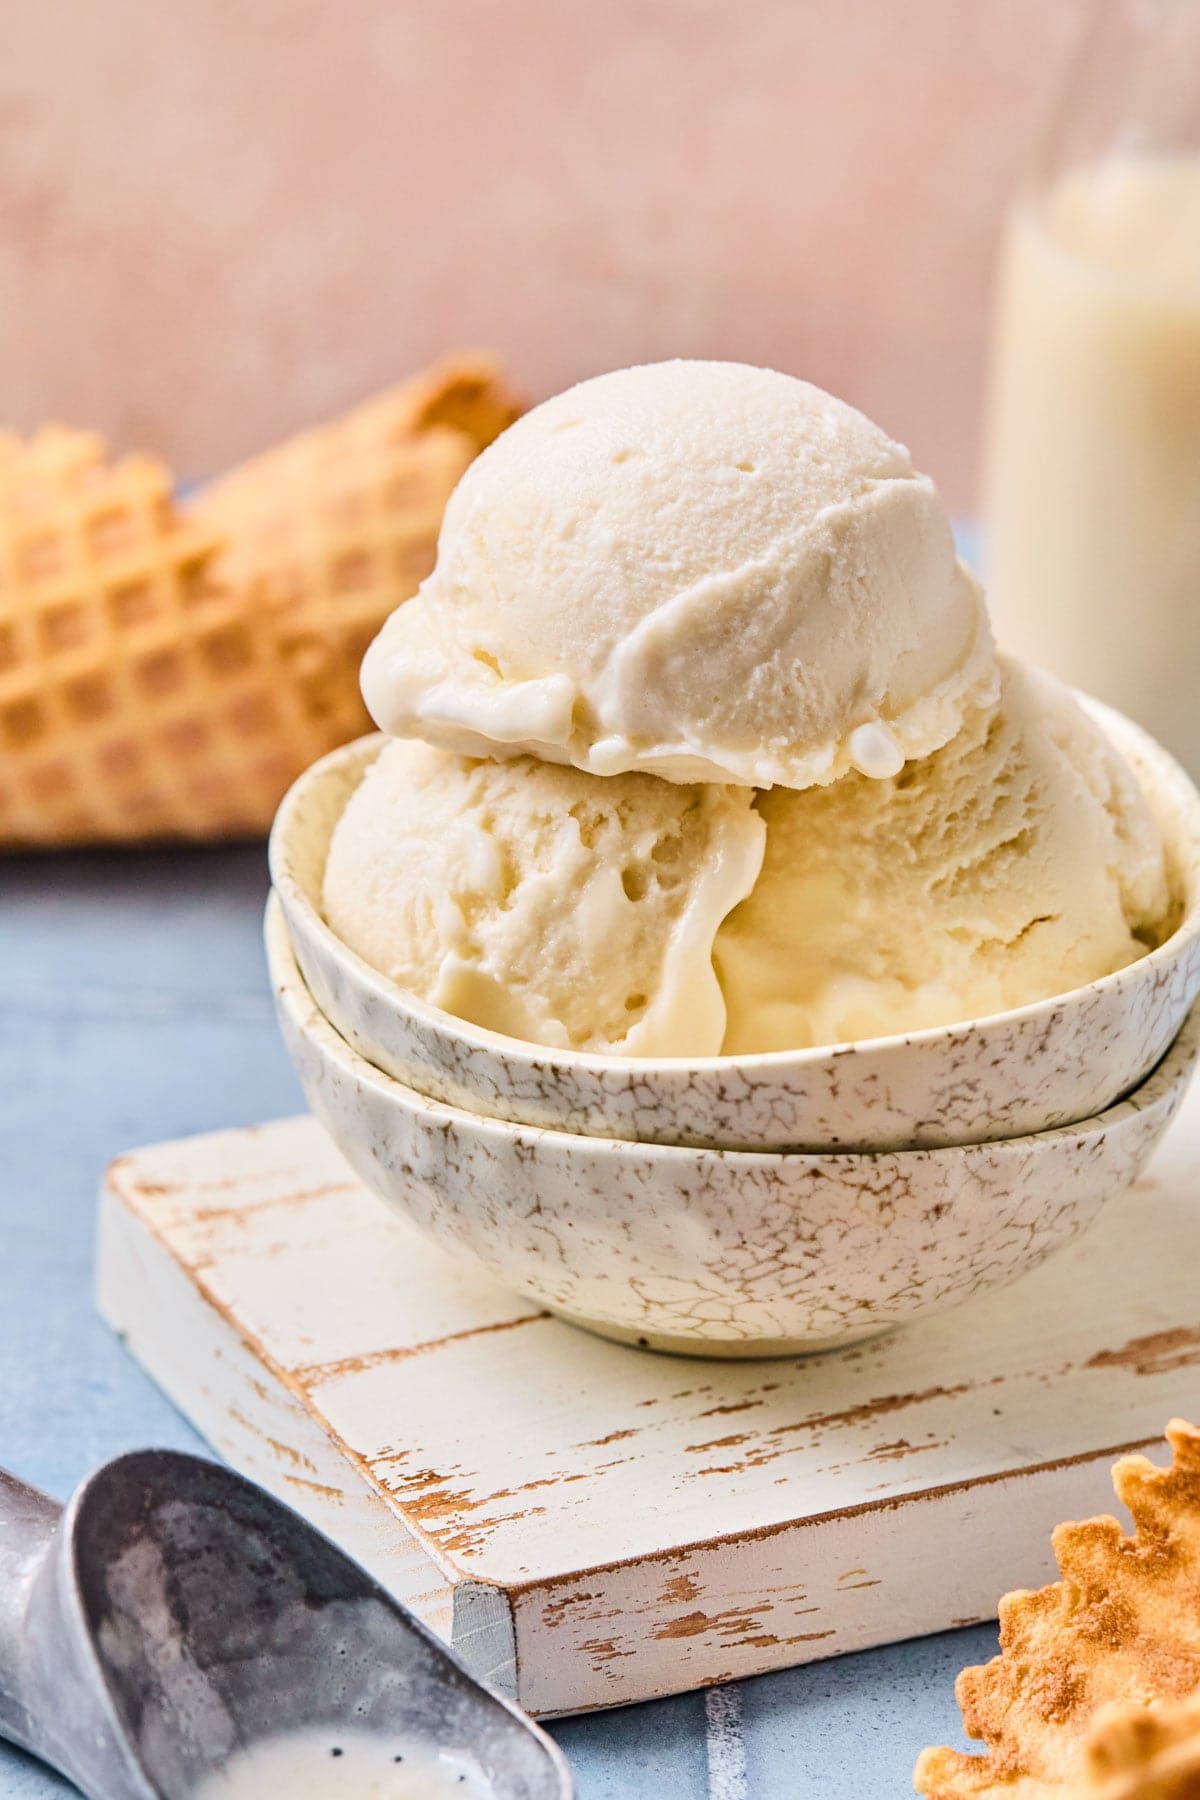

Table of Contents
Why You’ll Love Ninja Creami Vanilla Ice Cream
Y’all, ever since getting my Ninja Creami, I’ve been having way too much fun experimenting with healthier ice cream flavors. While I love fun combinations like my Ninja Creami strawberry ice cream and Ninja Creami chocolate ice cream, I always find myself coming back to plain old vanilla. I’ve had my paleo vanilla ice cream recipe on the blog for years, so it only felt right to make a Ninja Creami version too.
My favorite thing about this recipe is how easy it is to make your own. Some nights I keep it simple with fresh berries, and other times I stir in chocolate chips or crushed cookies when I’m craving something a little more indulgent. I almost always have a pint tucked away in my freezer because it’s an easy dessert that feels like a treat any night of the week.
Ingredients You’ll Need
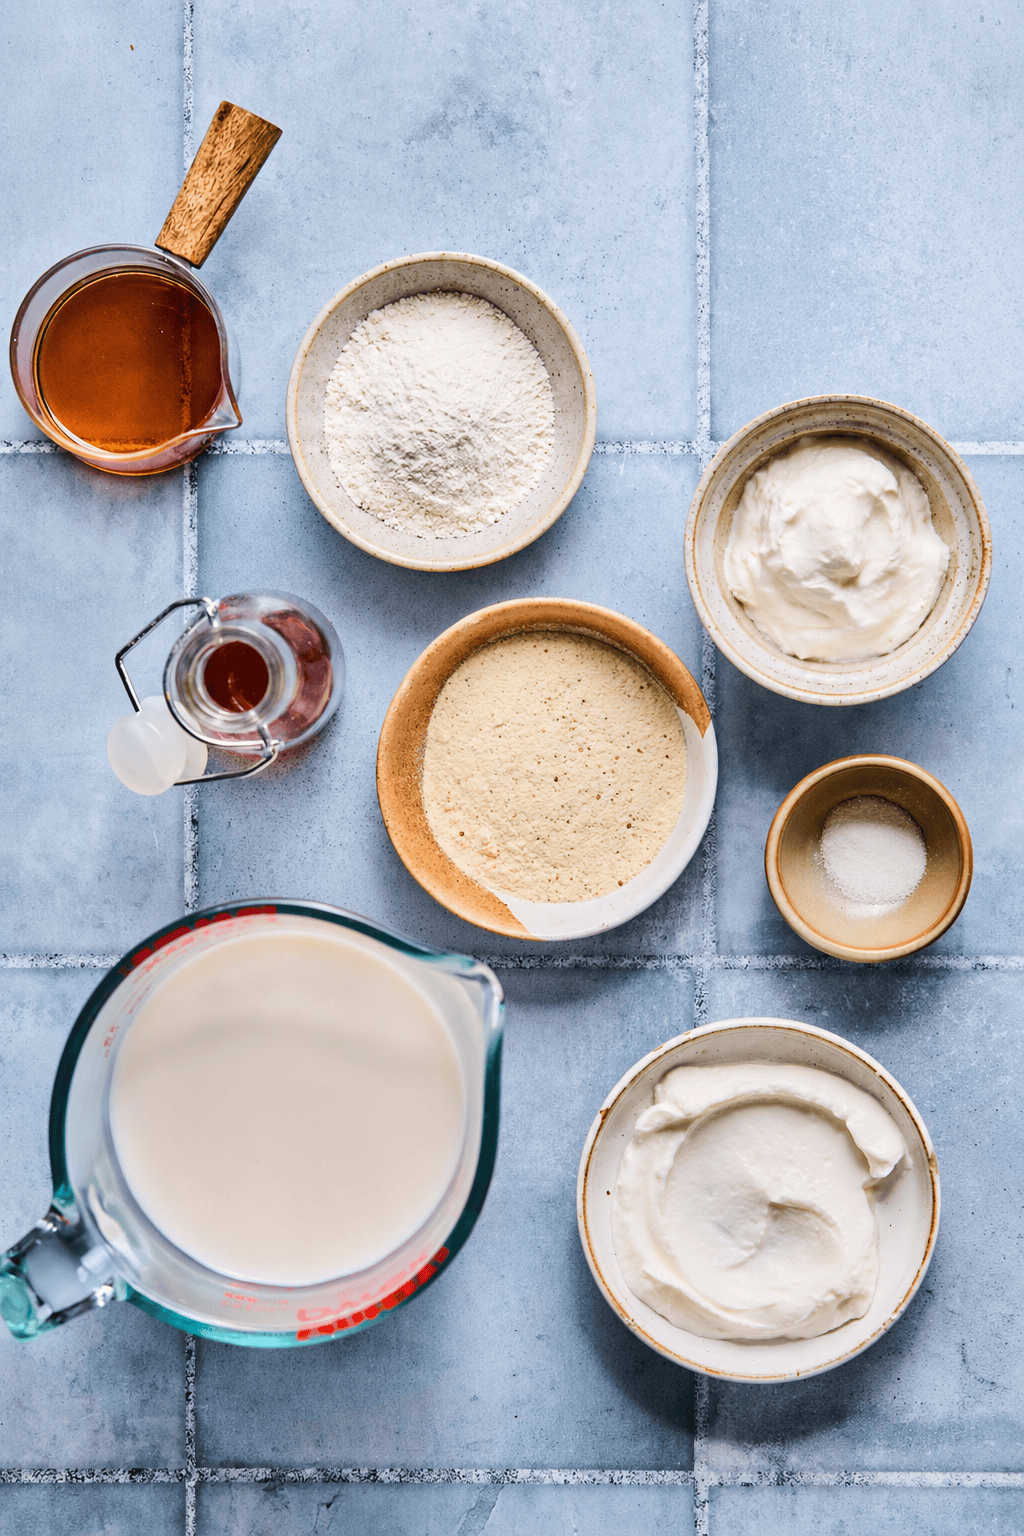
- Unsweetened almond milk: Keeps the base light while still blending into a smooth, creamy ice cream.
- Sugar-free vanilla pudding mix: Helps create a creamier texture and reduces iciness. I love Simply Delish vanilla pudding for its cleaner ingredients. Omit it if you’re making a dairy-free version.
- Vanilla protein powder: I’ve tested this with whey, collagen, and plant-based protein powders, and they’ve all worked well. Just know that every brand is a little different, so the texture can vary slightly.
- Yogurt: Greek yogurt makes the ice cream extra creamy, while dairy-free yogurt works well if needed.
- Vanilla extract: Since vanilla is the star of this recipe, use the best-quality extract you have.
- Maple syrup: Adds just enough natural sweetness while helping the finished ice cream stay smoother after freezing.
- Sea salt: Just a pinch makes the vanilla flavor pop.
Mac’s Pro Tip
Recipe Variations
One of my favorite things about this recipe is how easy it is to change up depending on what you’re craving.
- Make it dairy-free: Use your favorite dairy-free yogurt and omit the vanilla pudding mix. Since dairy-free bases tend to freeze a little firmer, you may need an extra splash of almond milk during the Re-Spin.
- Want it a little sweeter? Add another drizzle of maple syrup before freezing.
- Mix-ins: Chocolate chips, crushed cookies, chopped nuts, sprinkles, fresh berries, or peanut butter cups are all delicious additions after the first spin.
- If you’re craving something lighter and fruitier, my Ninja Creami pineapple sorbet is another freezer favorite that’s especially refreshing during the summer.
How to Make Ninja Creami Vanilla Ice Cream
Simply blend everything together, freeze it overnight, then let the Ninja Creami work its magic. Whenever I’m craving something sweet after dinner, this is the dessert I reach for!
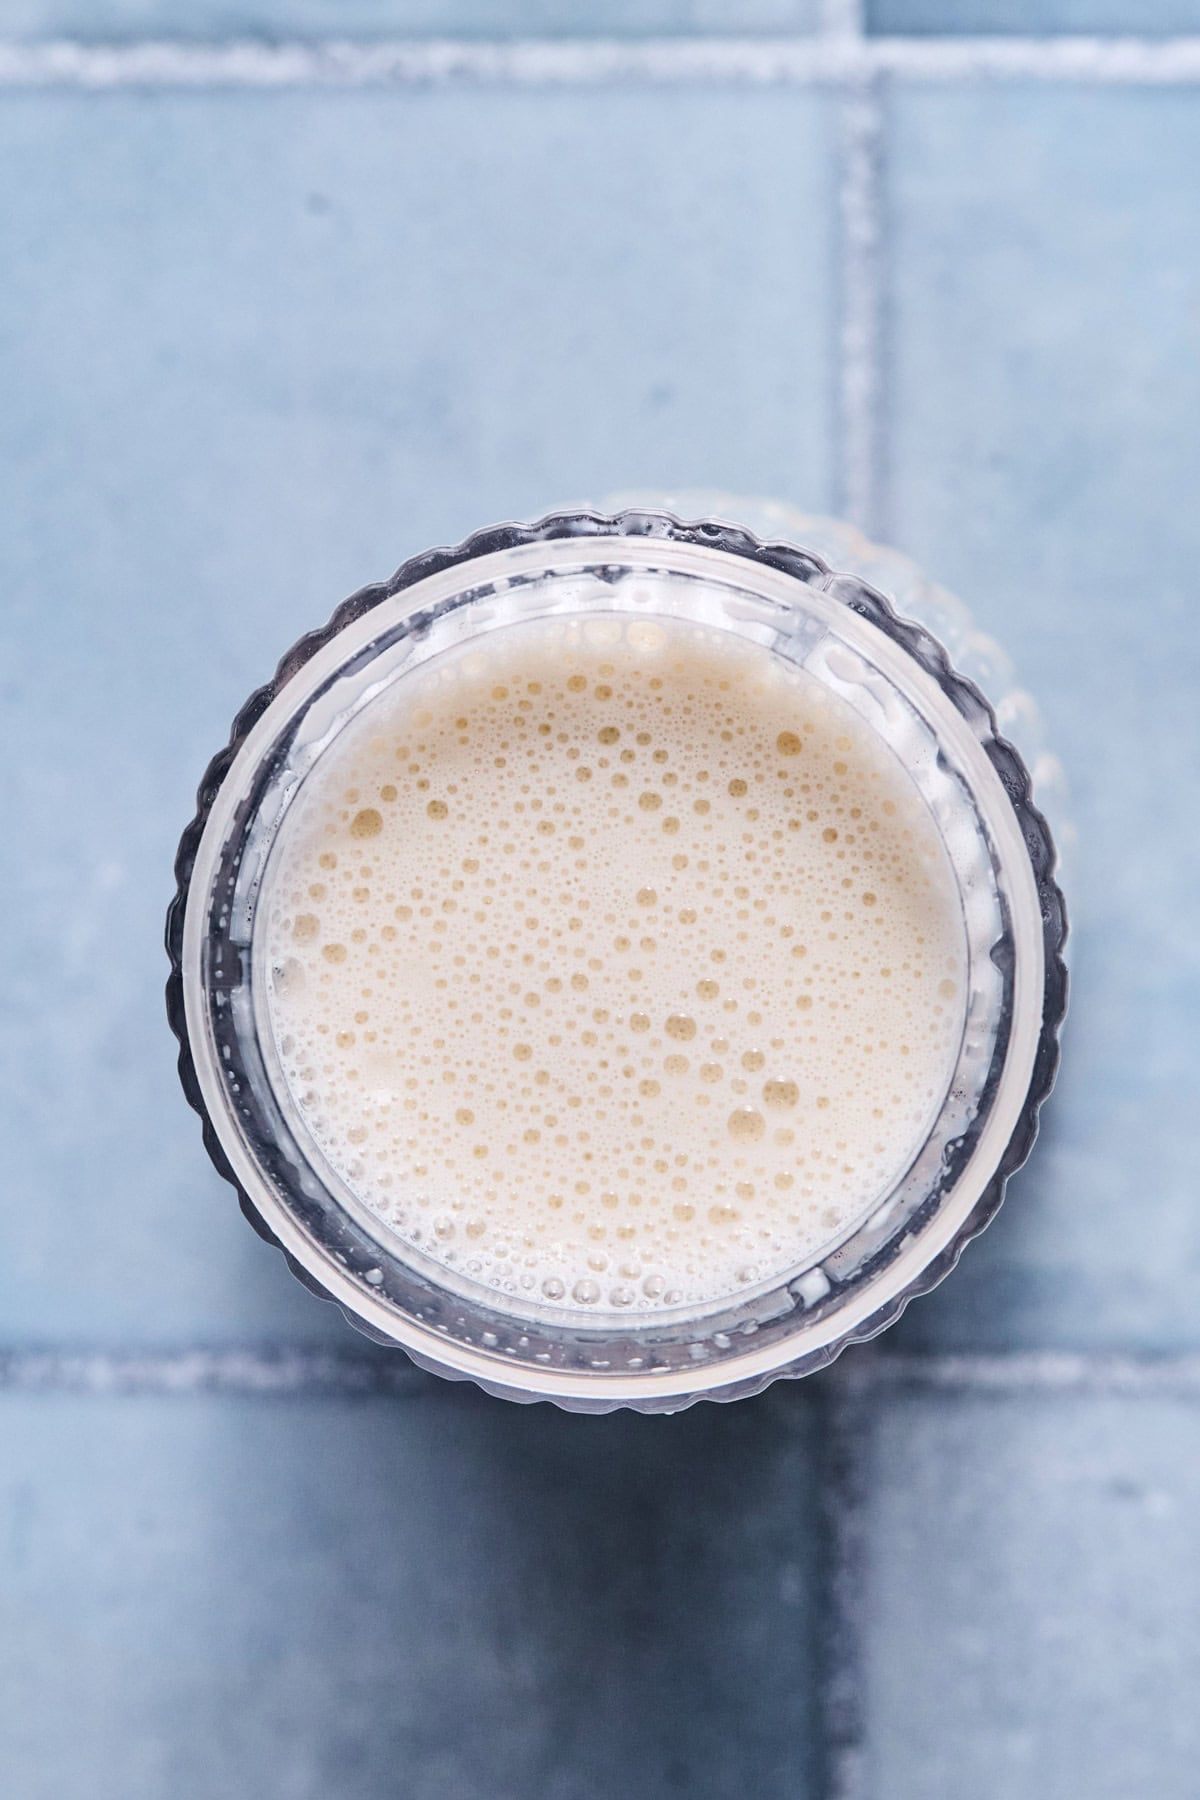
Step 1: Blend: Add all ingredients to a high-speed blender and blend for 30 to 45 seconds until completely smooth. Let the mixture sit for 1 to 2 minutes so any foam can settle before freezing.
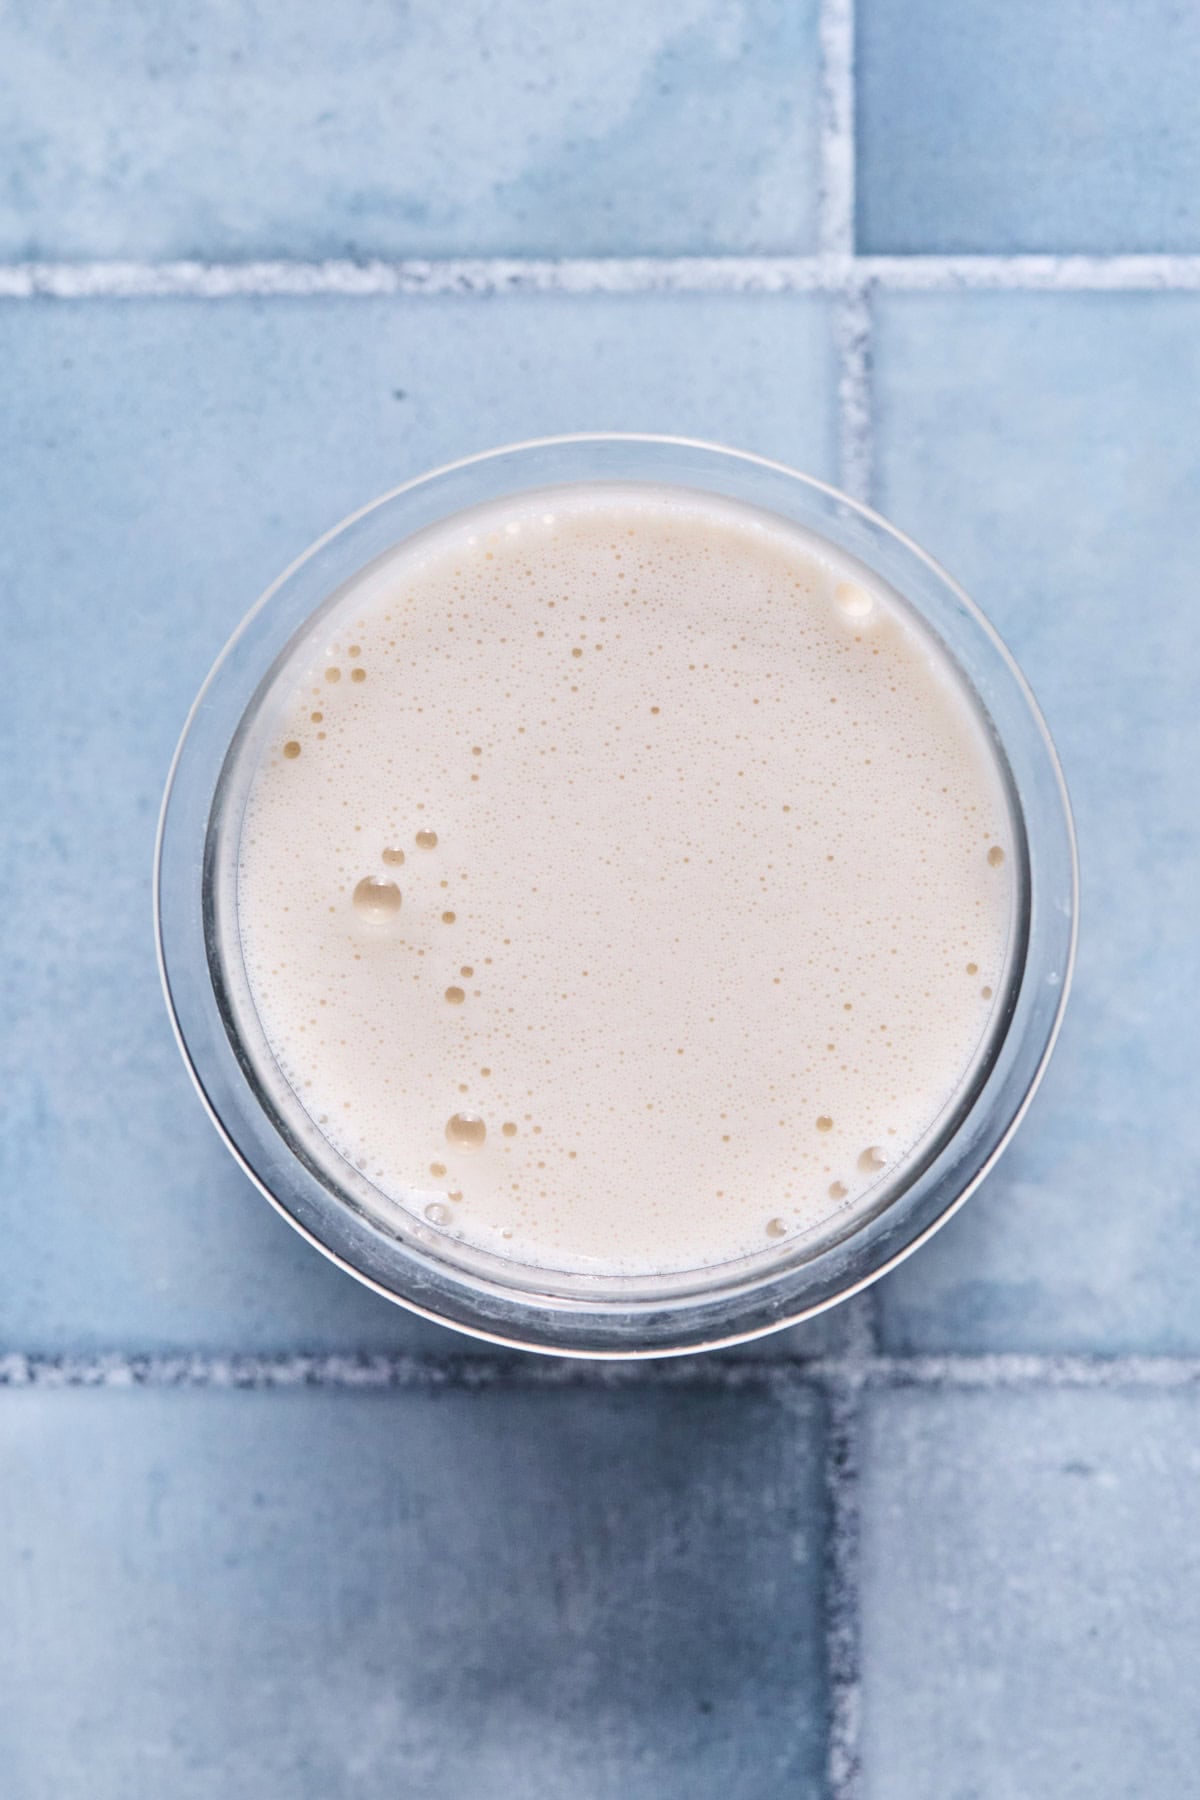
Step 2: Freeze: Pour the mixture into a Ninja Creami pint container, stopping just below the MAX FILL line. Freeze on a level surface for at least 24 hours.
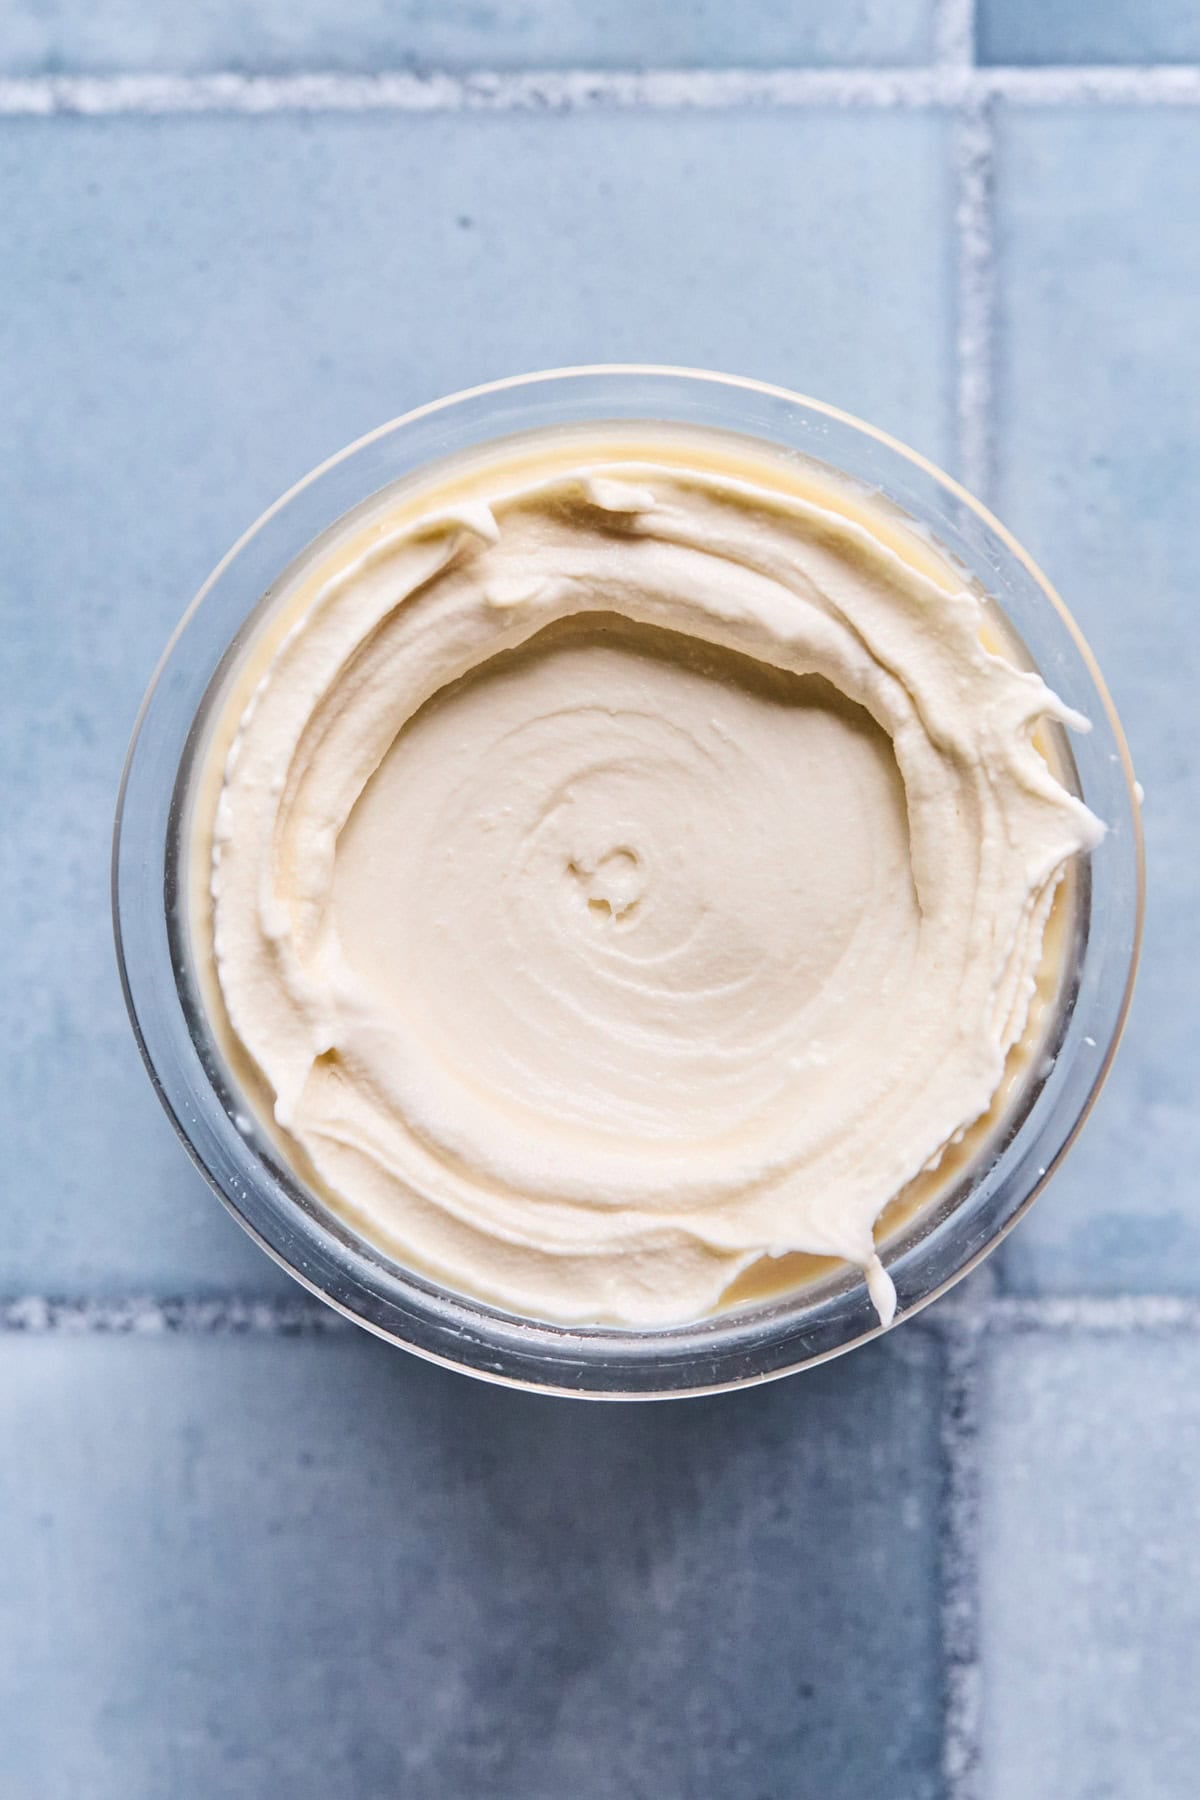
Step 3: Spin: Process using the Lite Ice Cream function. If the texture is crumbly after the first spin, add 1 tablespoon of almond milk and use the Re-Spin function until smooth and creamy.
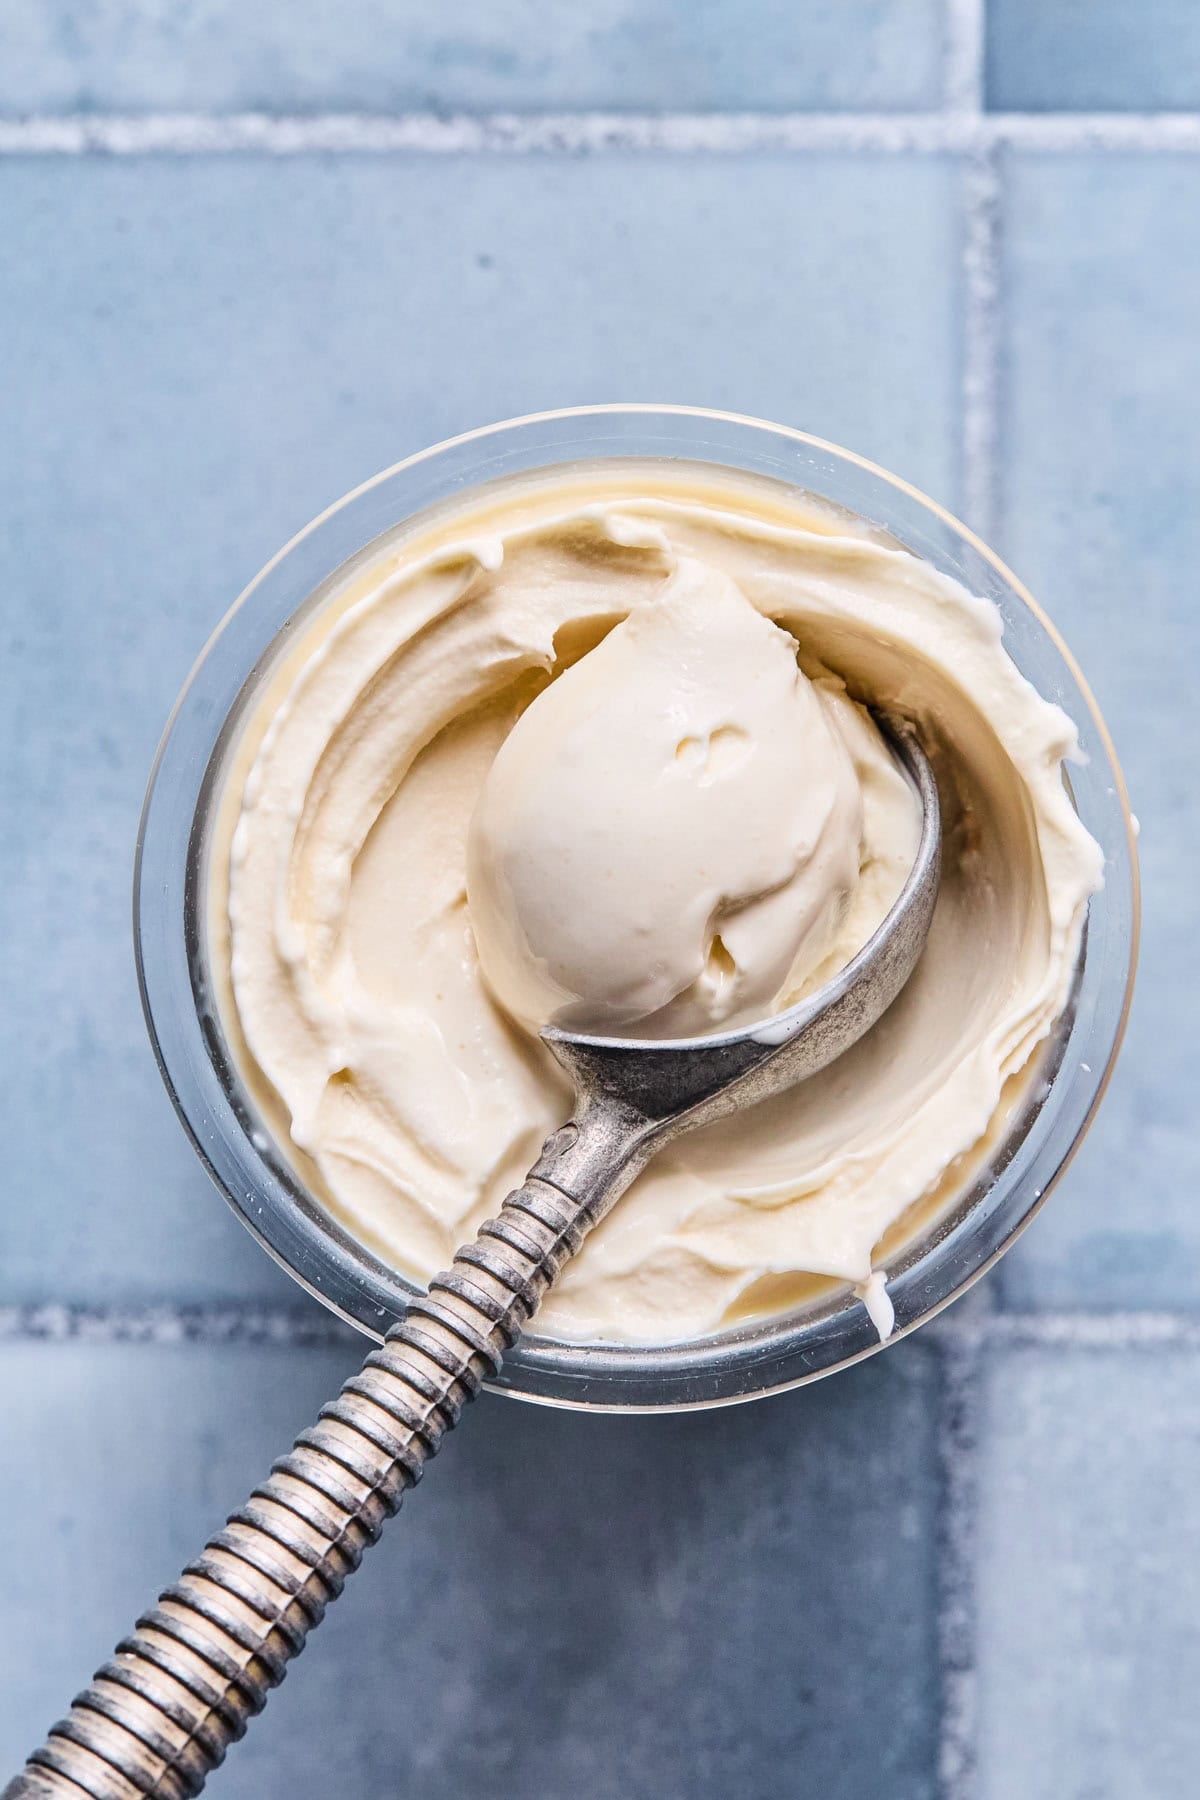
Step 4: Mix-Ins (Optional): Add your favorite mix-ins, such as chocolate chips, crushed cookies, berries, or chopped nuts, then use the Mix-In function. Scoop and enjoy!
Mac’s Pro Tip
Expert Tips
- Let the blended mixture rest for 1 to 2 minutes before freezing so any foam can settle. This helps the ice cream freeze more evenly.
- Freeze the pint on a completely level surface so the top stays flat. An uneven surface can affect how the Ninja Creami processes the ice cream.
- Don’t worry if the first spin looks powdery or crumbly. That’s completely normal for lighter, protein-rich recipes like this one. Add 1 tablespoon of almond milk and use the Re-Spin function until it’s smooth and creamy.
- Since vanilla is the star of the show, this is the recipe to pull out your favorite vanilla extract. You’ll really taste the difference.
- If you’re serving this for friends or family, set out a few mix-ins and let everyone customize their own bowl. It’s always a hit.
Storage & Make-Ahead Tips
- When you’re ready for another scoop, process the pint using the Lite Ice Cream or Re-Spin function until it’s creamy again. For the best flavor and texture, enjoy within 1 to 2 weeks.
- Freeze the base for at least 24 hours before spinning for the best texture.
- Store leftovers in the Ninja Creami pint with the lid tightly secured. Before placing it back into the freezer, smooth the top flat with the back of a spoon so it re-spins more evenly later.
Recipe FAQs
This is totally normal! A crumbly first spin is completely normal for lighter, protein-rich recipes. Add 1 tablespoon of almond milk and use the Re-Spin function until the texture becomes smooth and creamy.
Since this recipe uses almond milk, yogurt, and protein powder instead of a traditional ice cream base, I recommend using the Lite Ice Cream setting because it produces the creamiest texture.
Vanilla protein powder adds both flavor and protein to this recipe, so I don’t recommend leaving it out. Whey, collagen, and plant-based protein powders have all worked well during testing.
More Chilled Sweet Treats
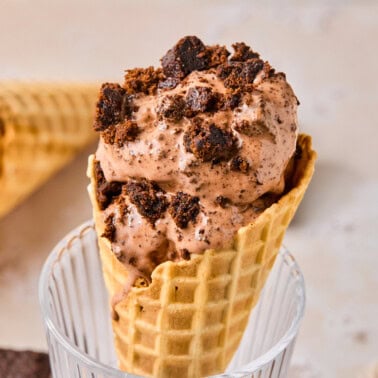
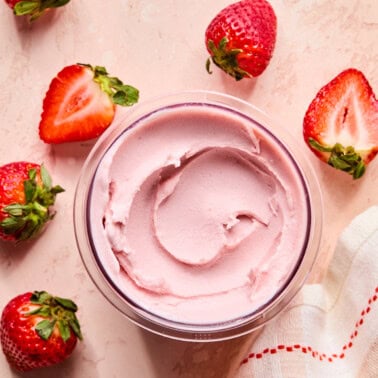
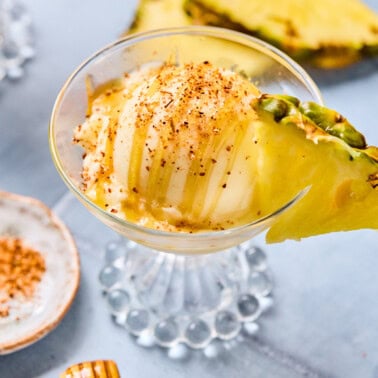
If you love this Ninja Creami vanilla ice cream recipe, please give it a star rating and leave a comment below! Follow me on Pinterest, Facebook, and Instagram for more!

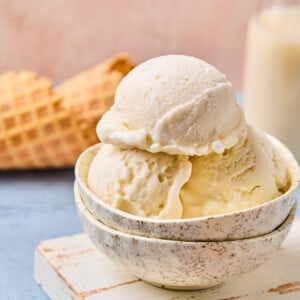
Ninja Creami Vanilla Ice Cream Recipe
Ingredients
- 12 oz unsweetened almond milk
- 1 tbsp sugar-free vanilla pudding mix optional omit if dairy-free
- 1 scoop vanilla protein powder whey, plant-based, or collagen
- 2 tbsp yogurt Greek or dairy-free
- 1 tsp vanilla extract
- 1-2 tbsp maple syrup or more to taste
- Pinch of sea salt
Instructions
- Blend: Add all ingredients to a high-speed blender and blend for 30–45 seconds until completely smooth. Let the mixture sit for 1–2 minutes to allow any foam to settle.
- Freeze: Pour into a Ninja Creami pint container, stopping just below the MAX FILL line. Freeze on a level surface for at least 24 hours.
- Spin: Process using the “Lite Ice Cream” function. If the texture is crumbly after the first spin, add 1 tablespoon of almond milk and press “Re-Spin” until smooth and creamy.
- Mix-Ins (Optional): Add your favorite mix-ins, such as chocolate chips, crushed cookies, berries, or nuts, and use the “Mix-In” function. Serve and enjoy!
Notes
- Let the blended mixture rest for 1 to 2 minutes before freezing so any foam can settle. This helps the ice cream freeze more evenly.
- Freeze the pint on a completely level surface so the top stays flat. An uneven surface can affect how the Ninja Creami processes the ice cream.
- Don’t worry if the first spin looks powdery or crumbly. That’s completely normal for lighter, protein-rich recipes like this one. Add 1 tablespoon of almond milk and use the Re-Spin function until it’s smooth and creamy.
- Since vanilla is the star of the show, this is the recipe to pull out your favorite vanilla extract. You’ll really taste the difference.
- If you’re serving this for friends or family, set out a few mix-ins and let everyone customize their own bowl. It’s always a hit.
- Freeze the base for at least 24 hours before spinning for the best texture.
- Store leftovers in the Ninja Creami pint with the lid tightly secured. Before placing it back into the freezer, smooth the top flat with the back of a spoon so it re-spins more evenly later.
- When you’re ready for another scoop, process the pint using the Lite Ice Cream or Re-Spin function until it’s creamy again. For the best flavor and texture, enjoy within 1 to 2 weeks.
Equipment
Nutrition
Nutrition information is automatically calculated, so should only be used as an approximation.