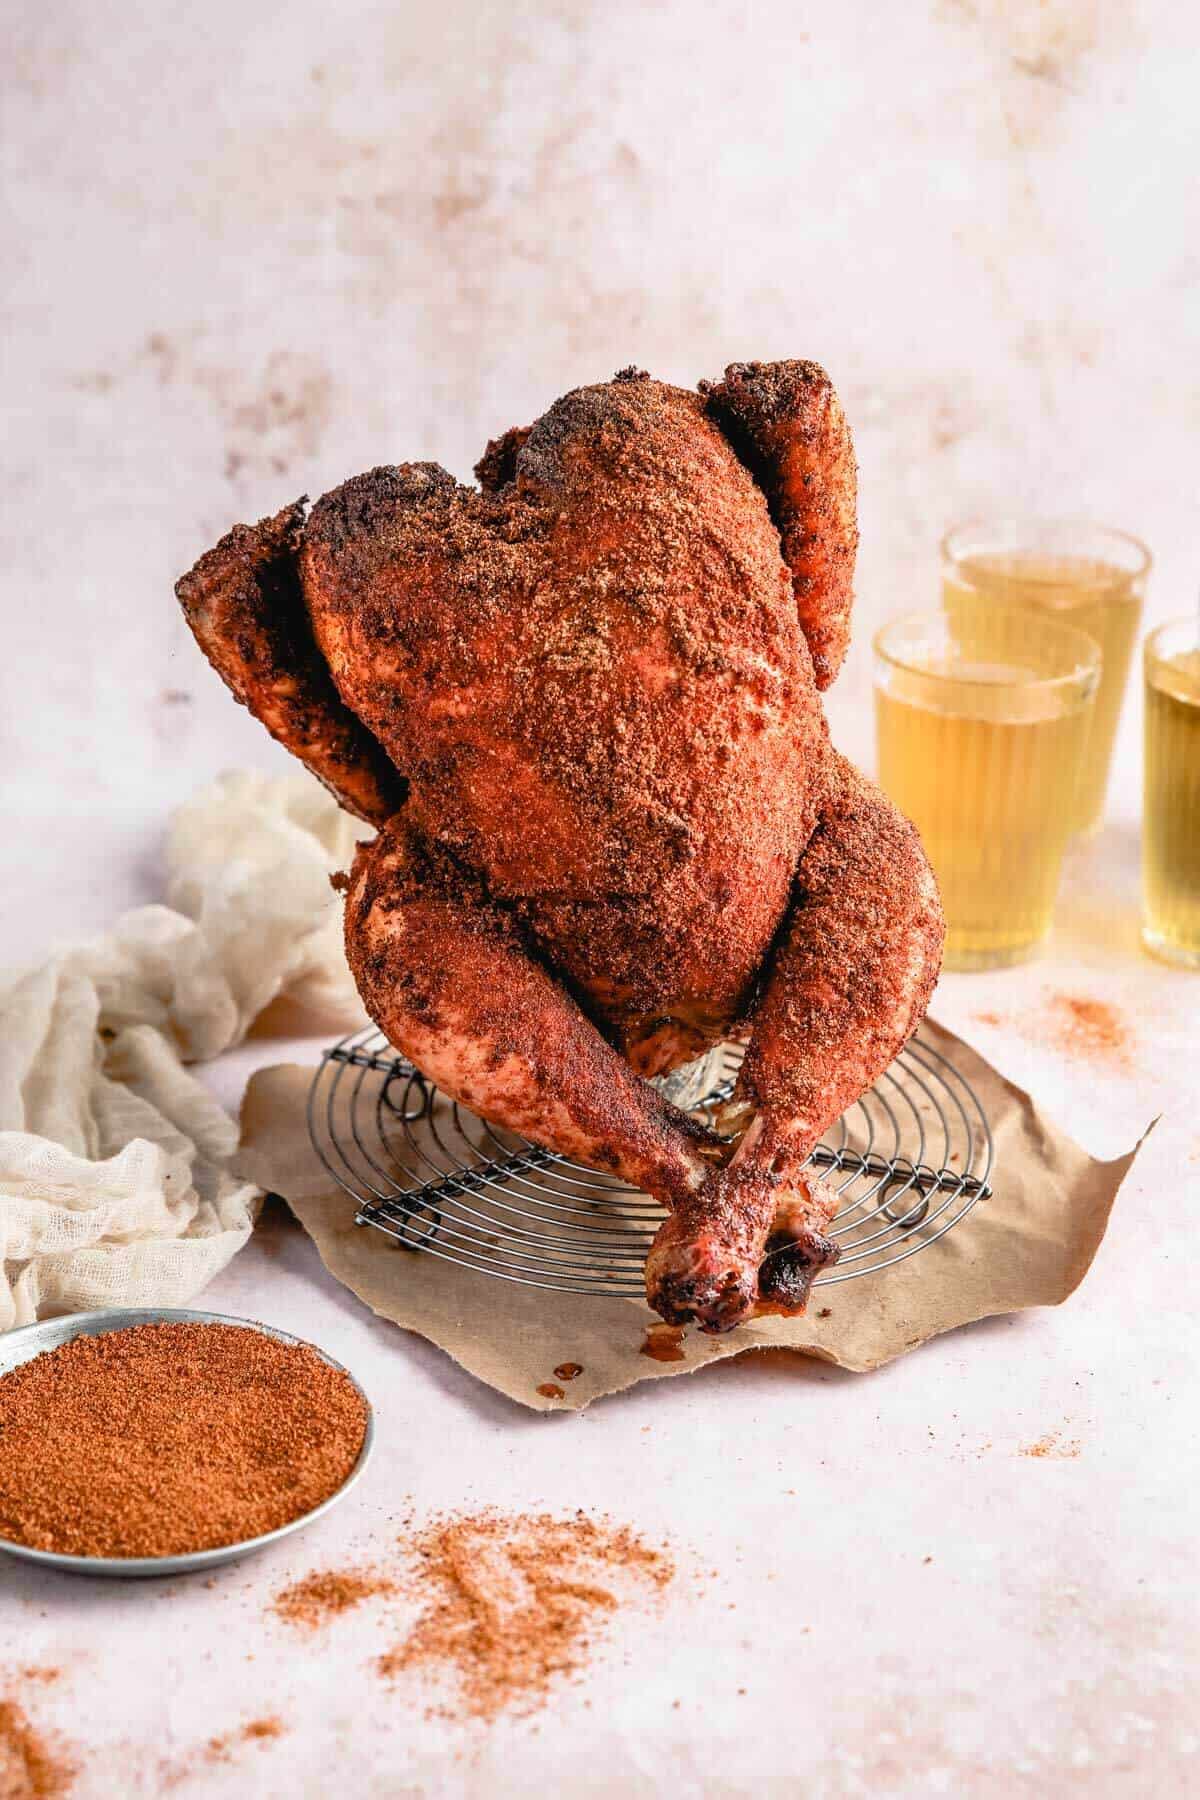
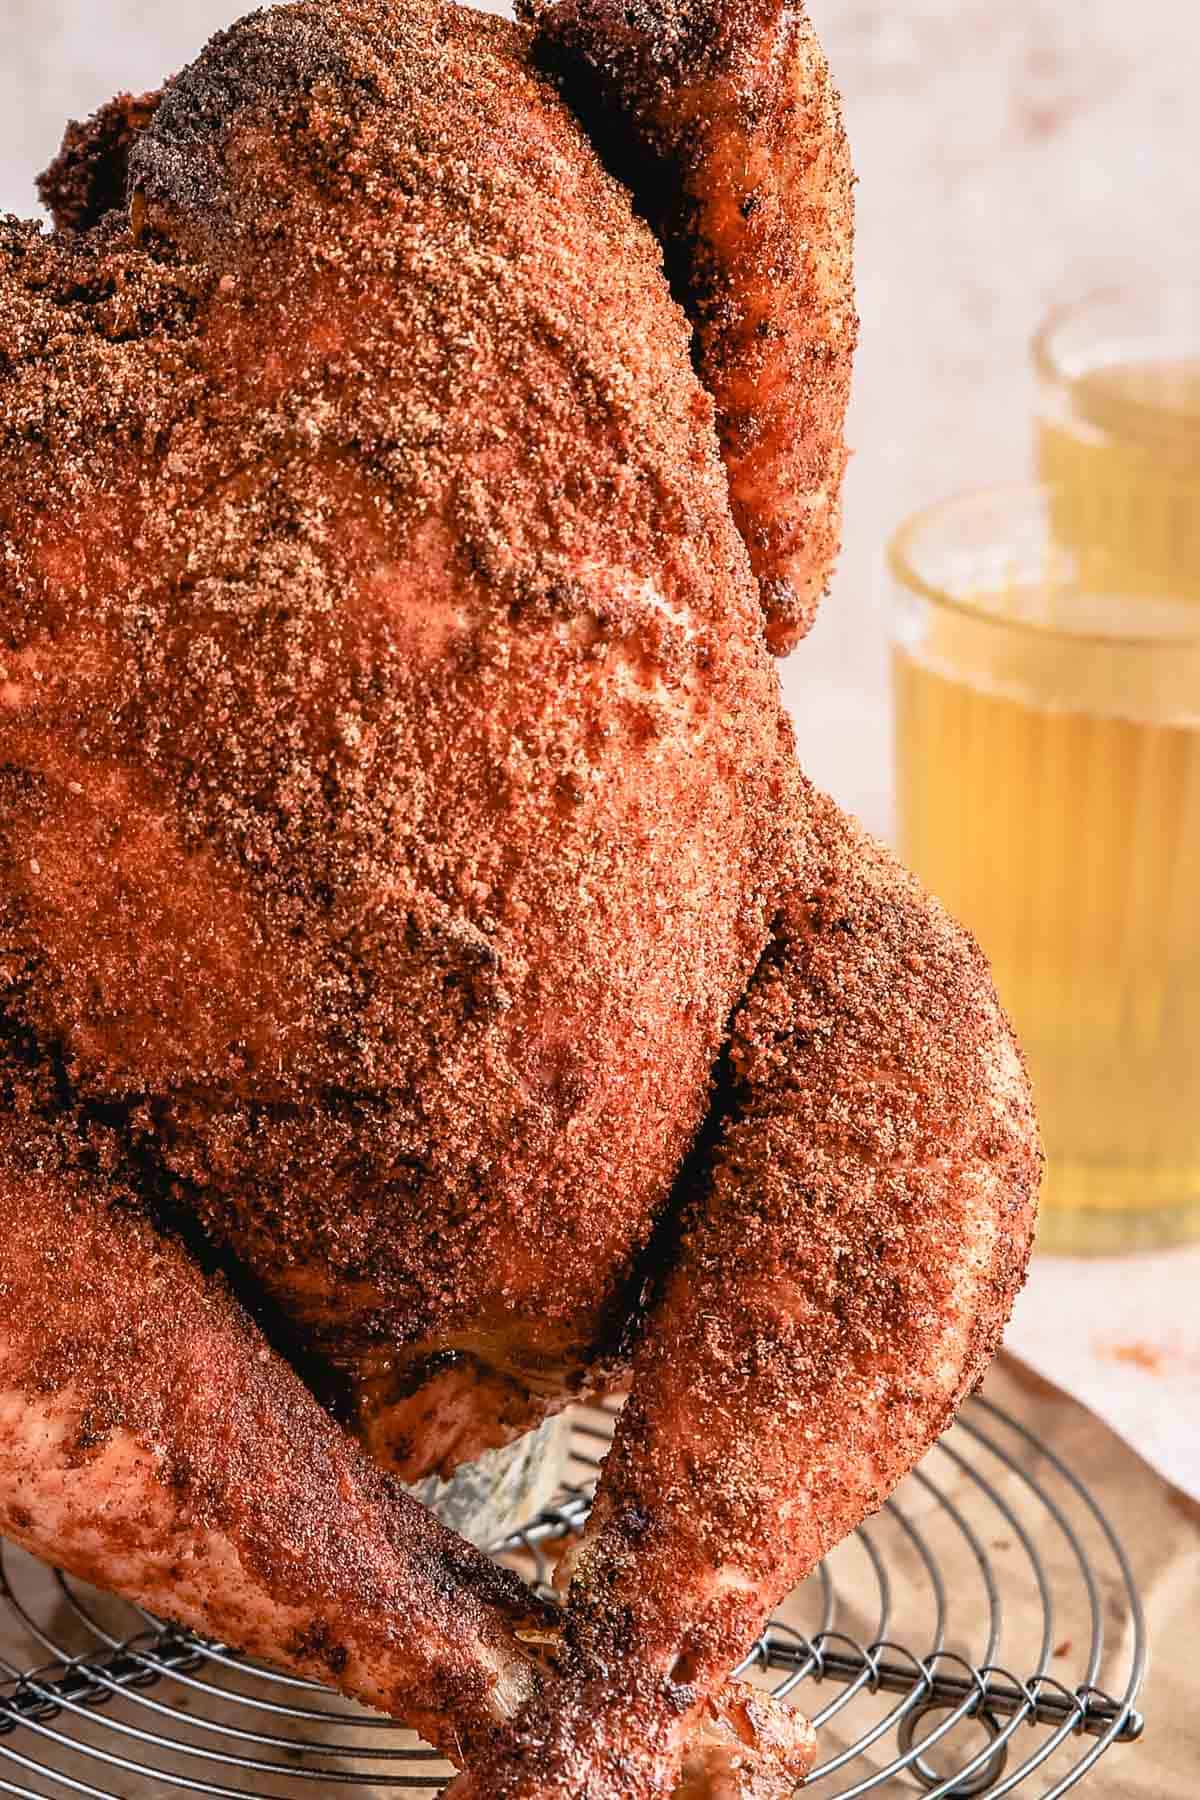
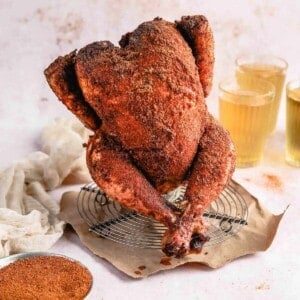
Traeger Beer Can Chicken
Published Aug 16, 2022 Updated Jul 11, 2023
This post may contain affiliate links. Please read our disclosure policy.
Summer is in full swing and in between day trips and family vacations, we’re spending a ton of time outside playing and grilling and enjoying these summer months! Amazing days call for even more incredible food, and this Traeger Beer Can Chicken is one that I can’t stop making!
Complete with a homemade dry rub, easy prep, and a smoker to do all the work, this smoked beer can chicken is everything you want in a summertime meal! Easy, delicious, and sure to be gobbled up by your family and friends.
What Makes This Recipe Great
- Easy, 10-minute prep.
- Simple ingredients.
- The grill does all the hard work!
- No hot kitchen, oven, or stove.
- Flavorful, juicy, and tender chicken.
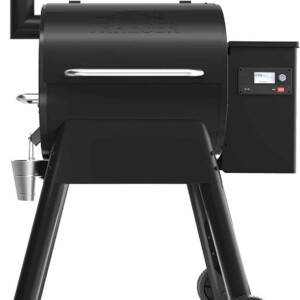
- Traeger smoker and regular Grill options.
Ingredient Notes
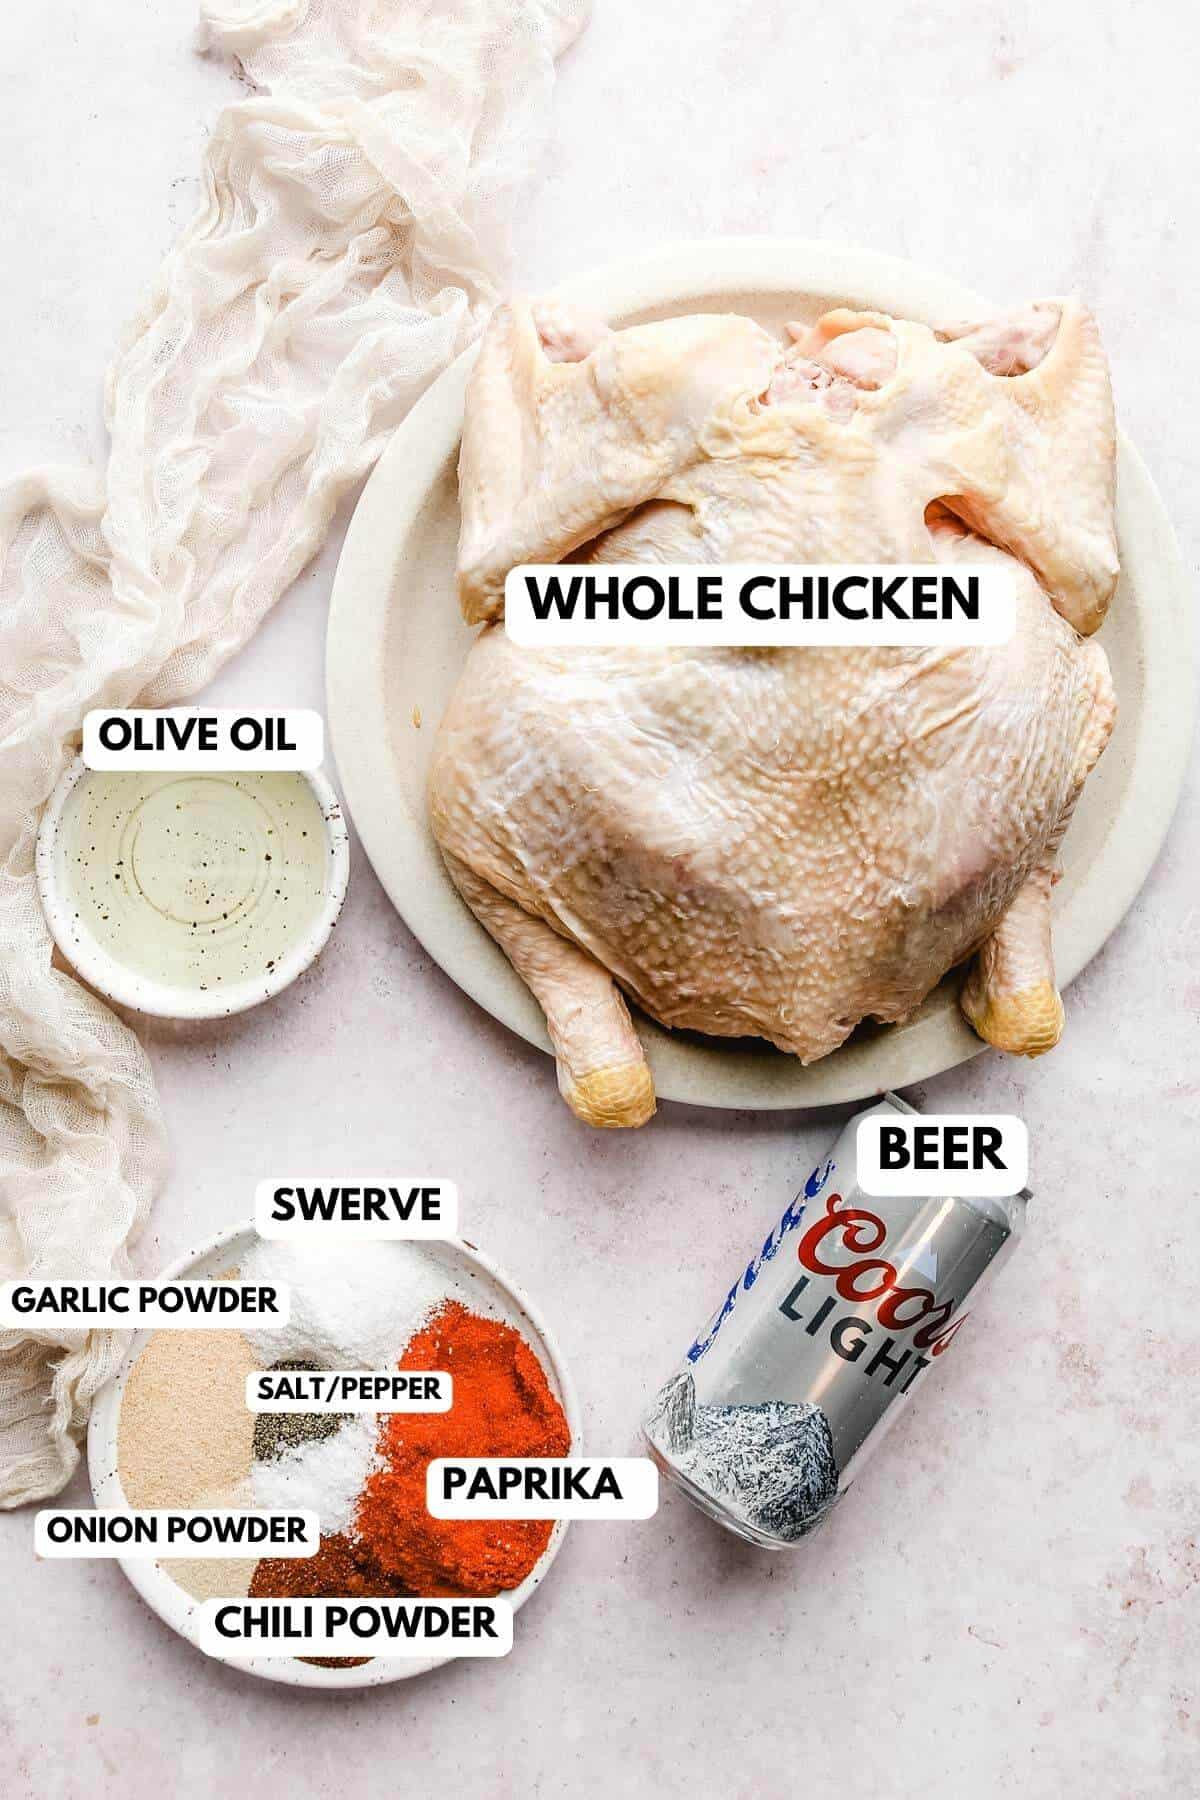
Whole Chicken: For this smoked beer can chicken, you’ll need a 4-5lb whole chicken, with the neck and giblets removed.
Olive Oil: You can also use avocado oil if you prefer!
Beer: You just need 1 can of beer for this recipe. Choose a beer that you like to drink, preferably something lighter for a mild flavor.
Spices: The rub for this recipe is a combination of smoked paprika, chili powder, garlic powder, onion powder, salt, and pepper. That’s it! It’s super easy to make and provides tons of flavor.
Sweetener: If you’d like to add sweetness to the rub, add 1 tablespoon Swerve, Monk Fruit, or sweetener of choice. Optional.
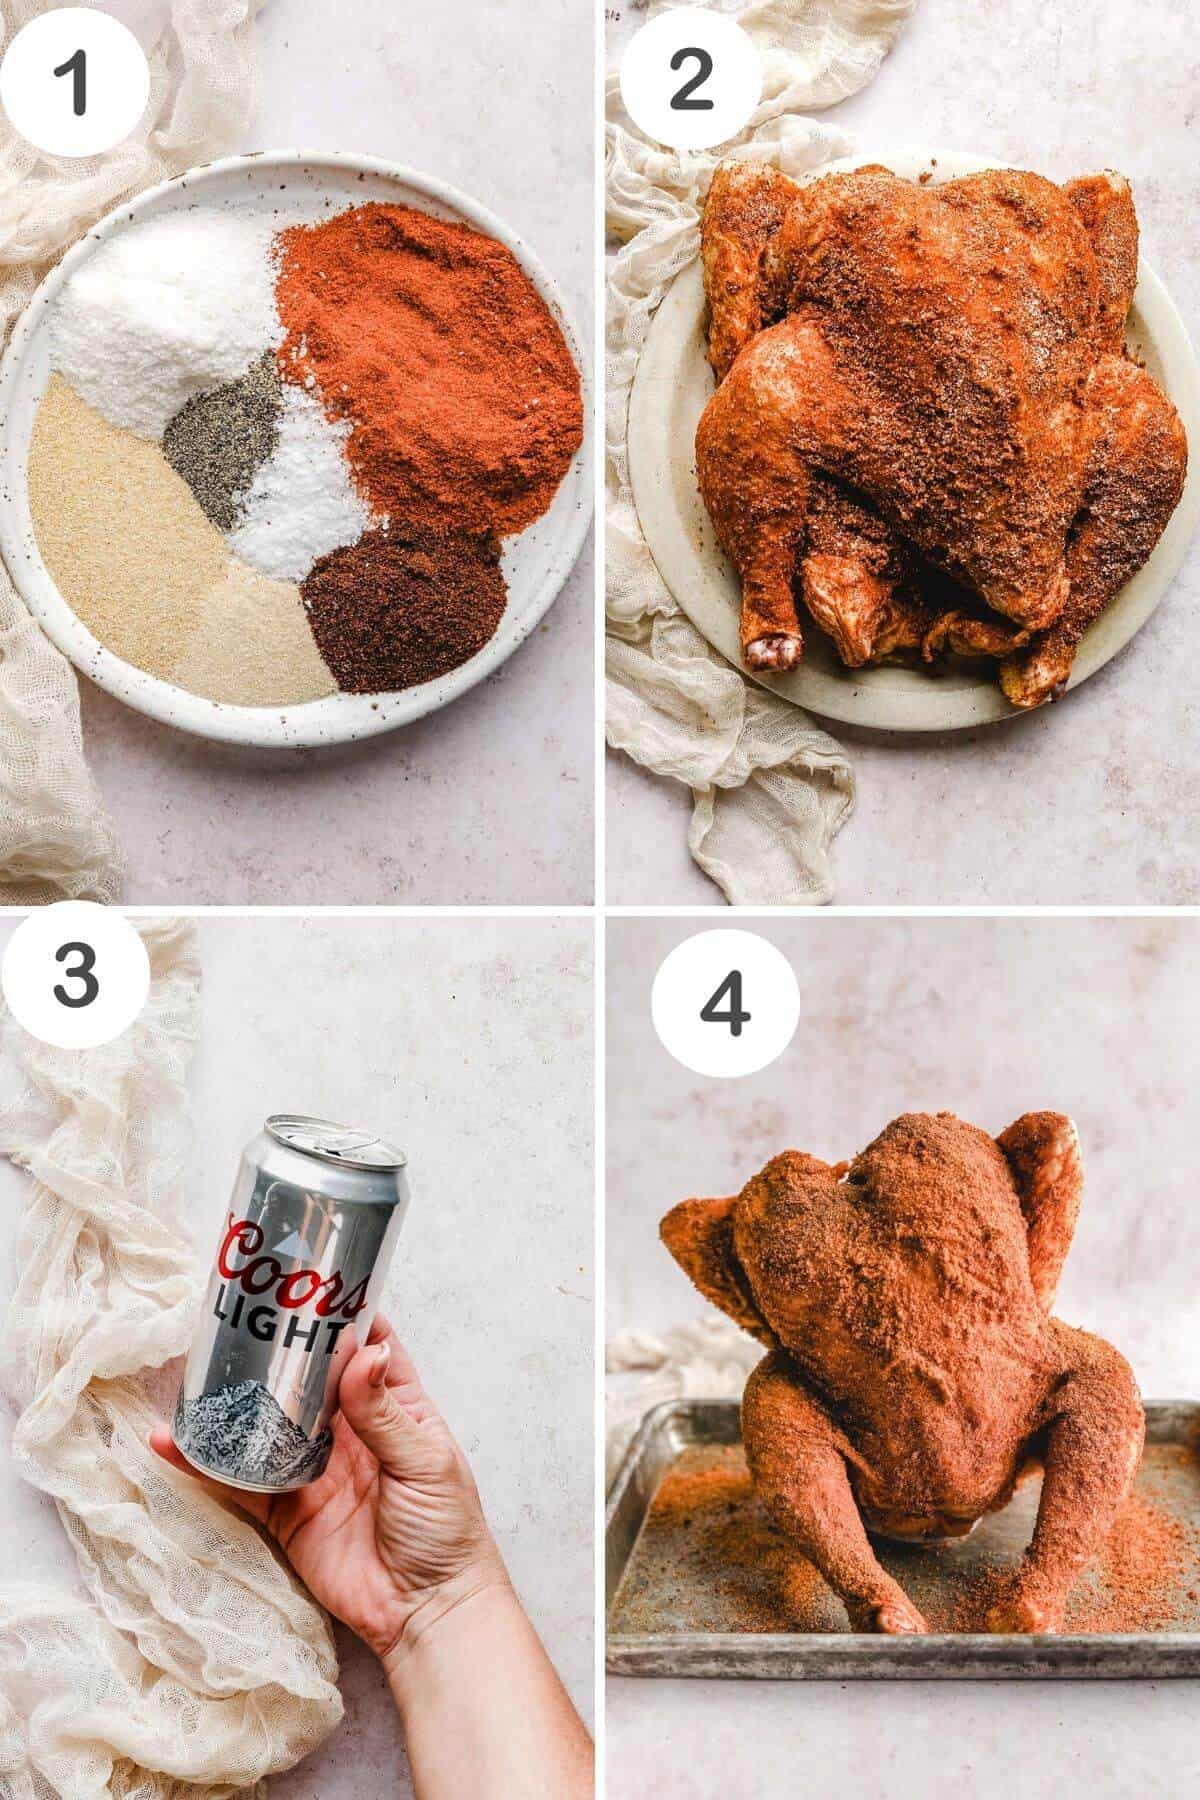
Recipe Step by Step
Traeger Smoked Beer Can Chicken Option
- Set your Traeger wood pellet grill to 350°F (180°C). Close the lid and preheat according to the manufacturer’s instructions for 15 minutes.
- Pat dry the chicken and cover it with olive oil. Season the chicken, including the cavity, generously with the rub. Tuck the wing tips behind the back.
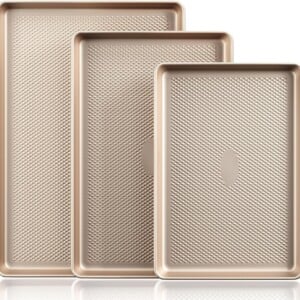
- Open the can of beer and place it in the middle of a baking sheet. Set the chicken with the legs pointing down over the can. Make sure all but the bottom 1 1/2 inches (4 cm) of the can is inside the chicken cavity.
- Place the baking sheet on the grill grate, close the lid, and cook. Cook until an instant-read thermometer inserted into the thickest part of the breast registers 165°F (74°C), 60 to 75 minutes.
- Transfer the chicken and beer can to a carving board, upright, and let rest for 5 to 10 minutes. Lay the chicken on its back and remove the can. Carve the chicken into serving pieces and serve. Serves 4 to 6.
Grill Option
- Preheat an outdoor grill for medium-high heat, about 375 degrees F (190 degrees C). Pat dry the chicken and cover it with olive oil. Season the chicken, including the cavity, generously with the rub. Tuck the wing tips behind the back.
- Place the chicken, standing on the can, directly on the preheated grill. Close the lid and cook the chicken until it’s no longer pink and the juices run clear. This is about 1 hour 15-30 minutes. An instant-read thermometer inserted into the thickest part of the thigh should read 180F when it’s done.
- Remove the chicken from the grill and discard the beer can. Cover the chicken with a double sheet of aluminum foil. Allow it to rest in a warm area for 10 minutes before slicing.
Mac’s Pro Tips
The Best Beer to Use: The best beer for this Traeger beer can chicken recipe is one that you enjoy drinking! I find that light beer adds a great flavor without overpowering the chicken.
Prepping the Chicken: To prep the chicken, you’ll first want to remove the neck and giblets, then pat dry the chicken. Apply the olive oil generously over the chicken with clean hands and season the chicken with the dry rub mixture. Make sure to cover the chicken thoroughly with the spice mixture, getting into all the crevices.
How to Serve Traeger Beer Can Chicken: Carve the chicken (see the FAQs below for a super helpful carving “how to” video!). Then, serve with your favorite sides!
Storage: Store leftovers in an airtight container in the refrigerator for up to 5 days.
Recipe FAQs
Cook until an instant-read thermometer inserted into the thickest part of the breast, away from the bone, registers 165°F (74°C), about 60 to 75 minutes.
You can use also use coke, another soda, or chicken broth.
The key to crispy skin is making sure your grill is at the proper temperature throughout cooking, and that you covered the bird with enough rub. These two simple steps will ensure you have delicious crispy skin on your Traeger beer can chicken.
I prefer hickory or apple pellets for this recipe.
If you haven’t carved a chicken before or if you need a refresher, this video is super helpful! Follow these steps to carve your smoked beer can chicken and enjoy!
The Perfect Side Dishes

Beer Can Chicken
Ingredients
- 4-5 lb whole chicken neck and giblets removed
- 2 tablespoons avocado or olive oil
- 1 can beer
- 2 tablespoons smoked paprika
- 1 tablespoon chili powder
- 2 teaspoon garlic powder
- 1 1/2 teaspoon onion powder
- 1 teaspoon salt
- 1/2 teaspoon pepper
- OPTIONAL: For sweetness 1 tablespoon Swerve, Monk Fruit, or sweetener of choice
Instructions
Traeger Option:
- Set your Traeger wood pellet grill to 350°F (180°C). Close the lid and preheat according to the manufacturer’s instructions for 15 minutes.
- Pat dry the chicken and cover it with olive oil. Season the chicken, including the cavity, generously with the rub. Tuck the wing tips behind the back.
- Open the can of beer and place it in the middle of a baking sheet. Set the chicken with the legs pointing down over the can. Make sure all but the bottom 1 1/2 inches (4 cm) of the can is inside the chicken cavity.
- Place the baking sheet on the grill grate, close the lid, and cook. Cook until an instant-read thermometer inserted into the thickest part of the breast registers 165°F (74°C), 60 to 75 minutes.
- Transfer the chicken and beer can to a carving board, upright, and let rest for 5 to 10 minutes. Lay the chicken on its back and remove the can. Carve the chicken into serving pieces and serve. Serves 4 to 6.
Grill Option:
- Preheat an outdoor grill for medium-high heat, about 375 degrees F (190 degrees C). Pat dry the chicken and cover it with olive oil. Season the chicken, including the cavity, generously with the rub. Tuck the wing tips behind the back.
- Place the chicken, standing on the can, directly on the preheated grill. Close the lid and cook the chicken until it's no longer pink and the juices run clear. This is about 1 hour 15-30 minutes. An instant-read thermometer inserted into the thickest part of the thigh should read 180F when it's done.
- Remove the chicken from the grill and discard the beer can. Cover the chicken with a doubled sheet of aluminum foil. Allow it to rest in a warm area for 10 minutes before slicing.
Notes
Equipment


Nutrition information is automatically calculated, so should only be used as an approximation.